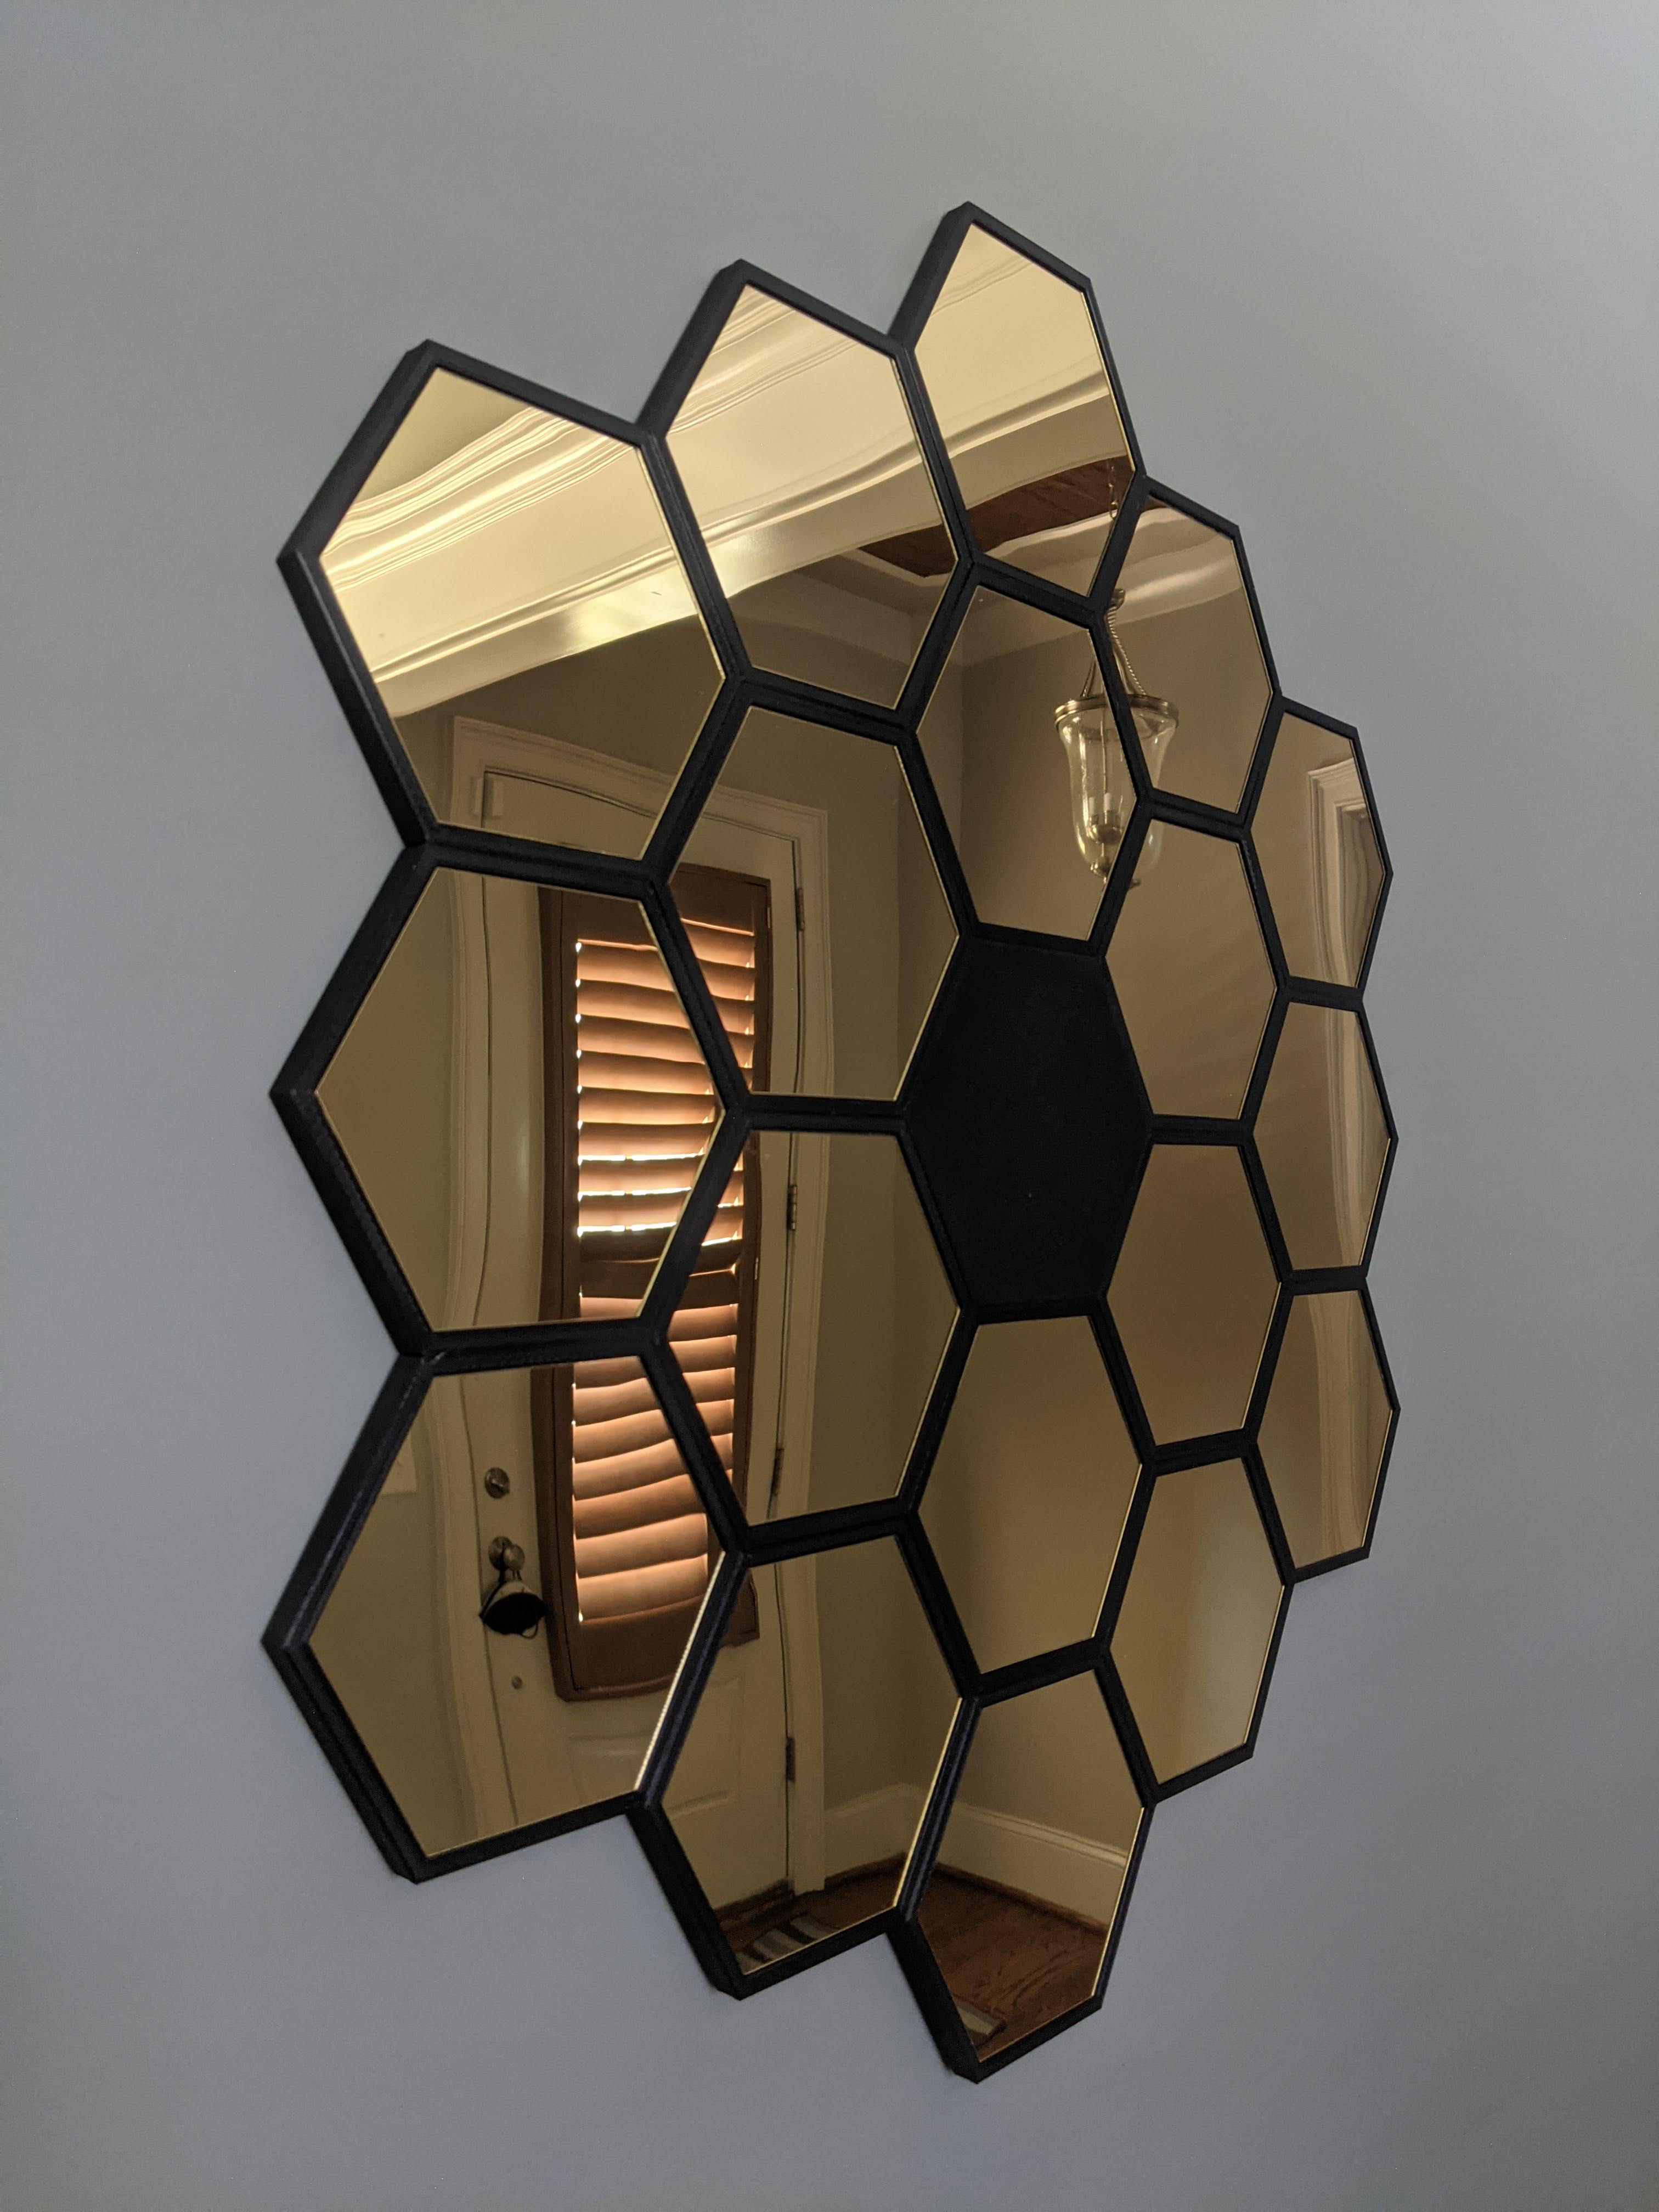
James Webb Decoration, Flat Edges
prusaprinters
<p>These files ensure that all edges of the final product have a flat edge without the holes.<br><br>Instructions:</p><ul><li>Print 1 “webb center” from the original model</li><li>Print 6 “webb outer” from the original model</li><li>Print 6 “webb outer_2o_1i_print6” from this remix</li><li>Print 6 “webb_outer_3o_1i_print6” from this remix<br> </li></ul><p>Assembly Instructions:</p><ul><li>Upside down, put together the inner loop</li><li>Upside down, put together the outer loop</li><li>Place the inner loop on the outer loop, and use a rubber mallet if needed</li><li>Place the center piece in the middle and use a rubber mallet if needed</li></ul><p>I've seen feedback here and on Reddit that people have had trouble fitting the parts together. The tolerances are intended to be very tight, and I simply followed that from the original model. Good luck, and don't be afraid to use a little force :).</p><p><br>Other suggestions / comments:</p><ul><li>Align the seam to ensure it isn't noticeable</li><li>Add a topfill pattern “monotonic” to ensure the top layers are smooth and don't distract from the mirrors</li><li>IF you order the mirrors that are peel and stick, I highly suggest you super glue them instead. Otherwise, you'll have 90% of the sticky side not actually sticking to anything.</li><li>I printed at .20, and the tolerances are extremely tight to ensure a strong hold / no gaps. I used a rubber mallet for fit.</li><li>I used 4x velcro command strips to stick to the wall, not the included keyhole.</li></ul><p> </p>
With this file you will be able to print James Webb Decoration, Flat Edges with your 3D printer. Click on the button and save the file on your computer to work, edit or customize your design. You can also find more 3D designs for printers on James Webb Decoration, Flat Edges.
