J-Bot Core-XY?
thingiverse
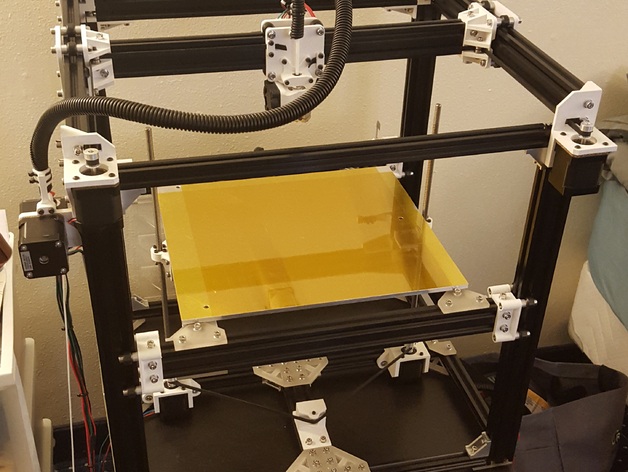
Work in progress. I really liked the initial D-Bot Core-XY setup, but there were a few things that I changed. I made it ride on both back and front rails and shifted lead screws towards center, added part to connect belts together so z steps aren't lost, beefed up some parts, and changed bed mounting brackets to something more rigid. I added optical end stop for z axis because it's a lot more precise to alter first layer z height in firmware than with screw. There are a few things you need to modify in firmware to use it. I have attached two photos of what you'll need to edit in firmware. First photo is changing endstop to trigger when visual field is broken. Second picture is where you adjust manual home position. You adjust z value to change first layer height. Optical end stop: http://r.ebay.com/M1UBdX The belt tensioner uses 860mm GT2 timing belt and same pulley system that's used for belts above, m3 washers are used to get right height. Two more GT2 16T pulleys will be needed to attach belt to motor shafts. You'll need to obtain stepper motors with longer shafts to attach to coupler whole accommodating pulley. Mine are 22mm in length. I used countersunk m3 screws with 3 point leveling system to level 1/4in cast (not extruded) aluminum bed. Cast aluminum is perfectly flat, extruded is not and will not work for bed this size. I used laser cutter to cut out triangular brackets. I provided SVG files for them. Additional Pieces: E3dD V6 Fan: http://www.thingiverse.com/thing:354723 V Slot Covers: http://www.thingiverse.com/thing:832077
With this file you will be able to print J-Bot Core-XY? with your 3D printer. Click on the button and save the file on your computer to work, edit or customize your design. You can also find more 3D designs for printers on J-Bot Core-XY?.
