Iron Man Arc Reactor for Osram Dot-it LED
thingiverse
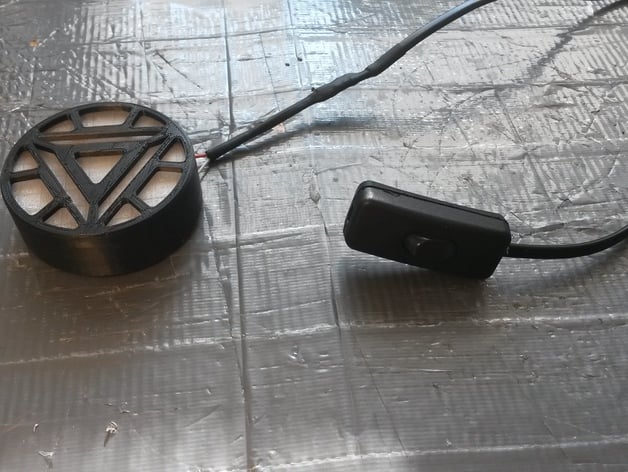
I scaled up the cheap LED lamps to fit the original design.\n1: Remove the silver front cover by cutting along the seam between the cover and the plastic base, then cut the glue holding it in place and pry the cover off.\n2: Cut the soldering wire connecting two of the battery compartments.\n3: Take out the battery cover and batteries, and insert two uninsulated wires behind the battery contacts. Once you put the batteries back in and the battery cover on, they will stay securely in place. Now the LEDs will light up when you connect the wires, just make sure the switch in the center is turned on.\n4: Add the arc reactor and a clear cover printed with transparent filament or cut from a suitable material. I hot glued the reactor and cover together and attached it to the base with double-sided tape for easy removal.\nI leave it up to you to come up with your preferred switch mechanism; I simply used an old light switch lying around and soldered it onto the wires.\nAs for attaching them to your clothes, the lamps came with some mounting accessories: a sticky material, a magnetic sheet, and a piece of magnetic metal with a ring for hanging on a hook. I hot glued some magnet to the battery cover and attached it to the metal piece through my t-shirt using adhesive-backed magnets.
With this file you will be able to print Iron Man Arc Reactor for Osram Dot-it LED with your 3D printer. Click on the button and save the file on your computer to work, edit or customize your design. You can also find more 3D designs for printers on Iron Man Arc Reactor for Osram Dot-it LED.