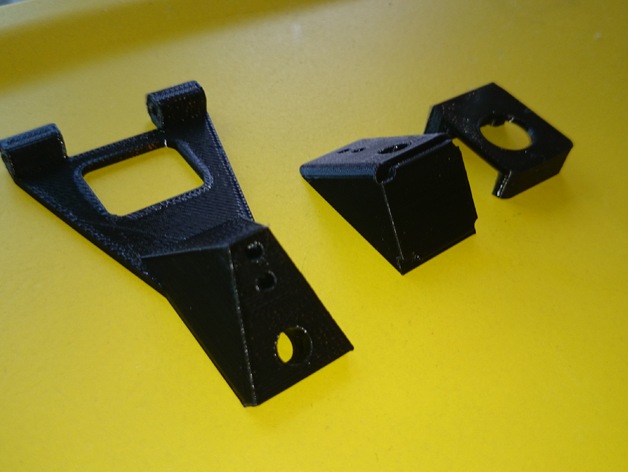
IRIS+ Rear Door replacement
thingiverse
Tired of struggling with the battery cable slipping out of the door? Simplify your flight prep by installing this revolutionary door. It securely fastens the battery, allowing you to connect the power source and get airborne. Upon successful calibration, take to the skies! This design is cleverly divided into three parts for effortless printing. Weighing exactly the same as the original door, it ensures seamless integration without added weight. I optimized the LED placement by swapping it out with a new one, since the original was firmly embedded in place. However, you should be able to seamlessly integrate your existing LED if you manage to remove it from its current location. For replacement purposes, I sourced mine from Good Luck Buy's Pixhawk RGB USB Module External LED Indicator for Pix Flight Controller. I utilized an M3 screw to secure the triangle piece to the door and hot glue to attach the LED cover to the triangle, guaranteeing a sturdy connection. While I'm unsure if it will fit the original Iris model without modification, I don't anticipate any difficulties with this design. Check out my video of it in operation at http://youtu.be/eOrgSR_q_FE for a better understanding.
With this file you will be able to print IRIS+ Rear Door replacement with your 3D printer. Click on the button and save the file on your computer to work, edit or customize your design. You can also find more 3D designs for printers on IRIS+ Rear Door replacement.
