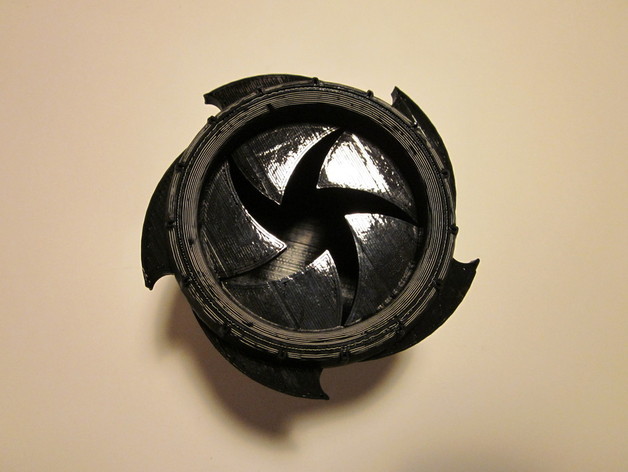
Iris Box v3
thingiverse
To revamp the antiquated iris box, its design was reworked in OpenSCAD to produce a printable model with fewer parts and simpler assembly. The item's dimensions were increased, and the tracks were remodeled for improved rigidity. Additionally, it now follows the righty-tighty, lefty-loosey rule when opening and closing. The aesthetic of the ring was enhanced, and the base interior was redesigned to reduce wall thickness and create more internal space. To print the model, you need three parts: base, ring, and leaves. Unlike version 2, the base is printed right-side up, while the ring is upside down. A test base is also provided for testing the mechanism's functionality. Ensure that leaf clips onto a ring peg smoothly but doesn't wiggle. After testing, remove the clip before starting assembly. Hold the upside-down ring and leaves in place as shown in the picture. Place the assembly on the base, aligning the ring pegs with the larger openings in the base. Press down and apply left torque until the base pegs fall into the leaf tracks. Twist the ring fully right, then line up leaf keyholes with the ring pegs and clip them on each peg. Adjust parameters in the scad file if needed for smooth operation. A recent update resolved an issue of stickiness when the box was halfway open by improving clearance geometry. The corrected scad file and IrisLeaves.stl are available for download.
With this file you will be able to print Iris Box v3 with your 3D printer. Click on the button and save the file on your computer to work, edit or customize your design. You can also find more 3D designs for printers on Iris Box v3.
