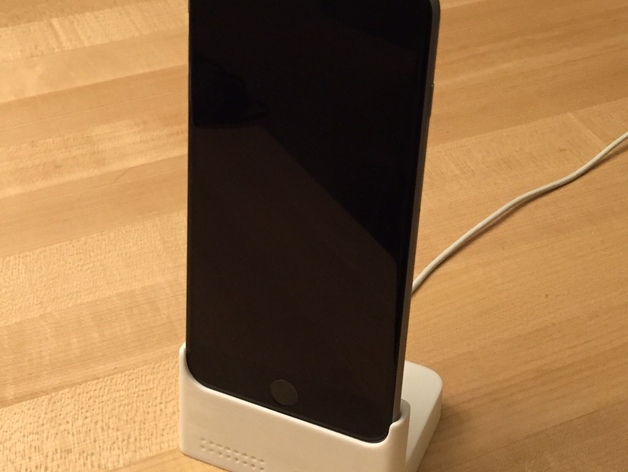
iPhone 6 plus dock
thingiverse
Users take advantage of the standard lightning cable for charging. Files come with guides on how to secure 3M command strips at the base and rear cutouts for their easy removal. Instructions Locking the lightning cable into place requires no extra parts. Command strips, I strongly suggest, make removing your phone a hassle-free experience by letting go of holding the dock down with your other hand! Plug the lightning cable up through the bottom hole on the left, pull the connector through and then shift it to the smaller center hole in the dock. Tug the cable back down until the lightning connector settles into its pocket at the center of the dock. Now, carefully wrap the cable through the curved path keeping it tightly against the interior of the corners. There are built-in tabs to keep the cable in place and friction holds everything steady. For this particular print I used PLA which is a bit oversized so it can be reduced during the cooling process. You won't have to make any adjustments since scaling should give you a perfect fit with most standard printers, even with smaller nozzle settings. In my experience with .35mm nozzle size and .1mm layer height on a variety of devices I had no trouble at all with fitment. Main design doesn't account for phone cases as those dimensions vary by brand and style; Apple seems particularly uncooperative about releasing their product specifications. Assuming standard thickness is 1 mm, however, case files included will work fine. A CAD compatible .step file allows further modification if the user sees the need. This specific item is also scaled in inches.
With this file you will be able to print iPhone 6 plus dock with your 3D printer. Click on the button and save the file on your computer to work, edit or customize your design. You can also find more 3D designs for printers on iPhone 6 plus dock.
