IOT ESP8266 Weather Station with OTA Updates
thingiverse
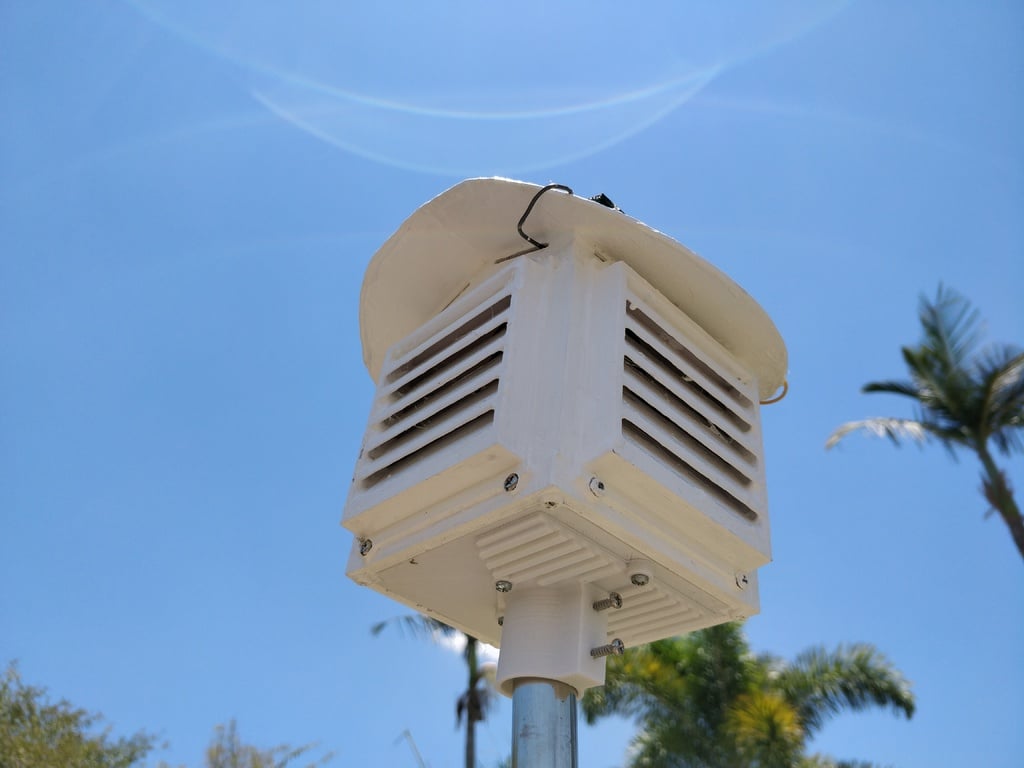
# Note Please use the new version of this weather station. This model is outdated and inferior. #Introduction This weather station has undergone significant evolution over time. Initially, I underestimated the roof and solar panels, creating four distinct versions. The first prototype used a 0.1W solar panel (110mmx60mm) but proved underpowered, only recharging in the late afternoon. My latest iteration employs a 165mm square solar panel, enabling more frequent measurements (every minute versus five minutes), making it suitable for low-lit areas. The most recent firmware introduces a WiFi access point that you can connect to if the device fails to establish an internet connection via WiFi. This allows you to input your ThingSpeak credentials, sampling interval in seconds, and WiFi access point credentials you wish to connect to. To access this page, connect to the ESP access point (named ESP...) and navigate to http://192.168.4.1, then click on the relevant buttons. After configuring the ESP's WiFi access point will disappear if it was configured correctly. #Building Firstly, select the roof based on the solar panel you are using and print all the parts. The components have pre-drilled holes, so all you need to do is screw them together. #Configuring Create a ThingSpeak account and a channel. Enter this channel number and your credentials into the ESP8266 configuration page that appears when you connect to the access point (as discussed above). You can then copy the code for a cool 3D bar graph from my GitHub repository, simply paste it and replace my ThingSpeak channel number with your own. #Issues Solar radiation poses a significant problem, causing the inside of the structure to heat up. You will need to coat any surface that comes into contact with the sun with multiple layers of exterior UV-resistant paint (I used high-gloss and about six coats). The latest design incorporates a large gap beneath the roof (which holds the solar panel) to facilitate airflow. The roof is designed so that water will accumulate and drip off areas away from the electronics - although I have yet to prove it is sufficiently water-resistant. If your WiFi goes down, the ESP8266 will consume a substantial amount of battery as it will not enter deep sleep but will remain awake running the WiFi access point. This cannot be avoided as it is necessary to run the access point to configure the device initially or at a later date. #OTA Update To configure Over The Air updates simply add this to your metadata field on your ThingSpeak channel: { "publishInterval" : 30, "firmwareVersion" : "11", "firmwareURL" : "link to firmware url" } Don't forget to increment your firmware version in the source code as well (to prevent continuous upgrading to the same firmware): const String VERSION = "11"; To generate the firmware "compilation" under "Show verbose output during:" in the Arduino settings dialog. Then copy the firmware listed in the compilation status window after clicking compile: /home/undef/.arduino15/packages/esp8266/tools/xtensa-lx106-elf-gcc/1.20.0-26-gb404fb9-2/bin/xtensa-lx106-elf-size -A /tmp/arduino_build_27952/thingspeak_ota_weatherstation.ino.elf Sketch uses 324156 bytes (31%) of program storage space. Maximum is 1044464 bytes. Global variables use 32228 bytes (39%) of dynamic memory, leaving 49692 bytes for local variables. Maximum is 81920 bytes. In this case, the firmware is located here: /tmp/arduino_build_27952/thingspeak_ota_weatherstation.ino.elf #Parts list - 18650 battery holder - Diode for the solar panel - Wemos D1 Mini - Wemos Battery Shield (or DC-DC Boost Converter Step Up Module) - TP4056 Battery Charger (or MCP73871 solar board) - 6v Solar panel (165mmx165mm recommended) - BME280 sensor - Cabling - Hot Glue - Silicon Sealant (optional) - Exterior UV-resistant paint [View live data.](https://opens3.net/channel-grapher.html) [View source code.](https://github.com/wilyarti/weather_station "Source code.") [View live data.](https://thingspeak.com/channels/645847 "View live data.")
With this file you will be able to print IOT ESP8266 Weather Station with OTA Updates with your 3D printer. Click on the button and save the file on your computer to work, edit or customize your design. You can also find more 3D designs for printers on IOT ESP8266 Weather Station with OTA Updates.
