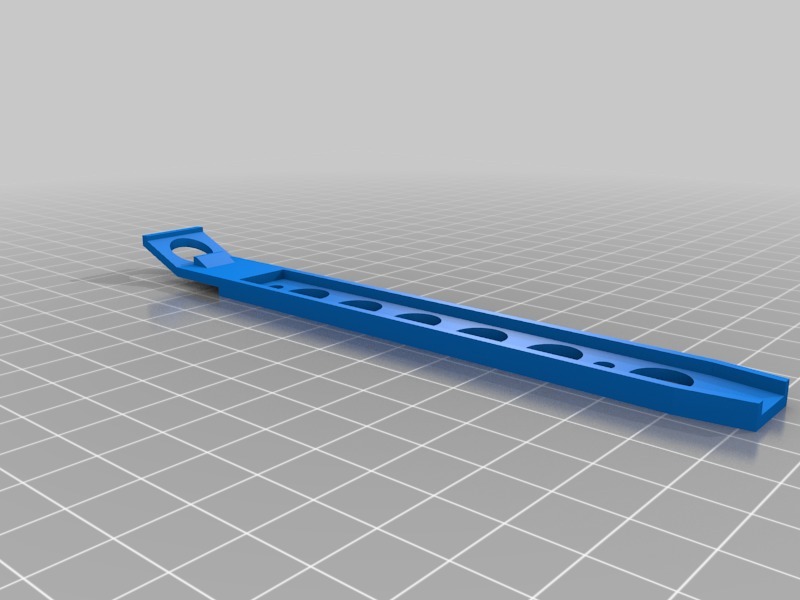
InWin disk rail
thingiverse
Mounting drives into enclosure INWIN IW-J551 is a straightforward process that requires some basic tools and knowledge of the hardware involved. The first step is to prepare the enclosure by removing any protective covering or packaging materials. Next, locate the drive bays within the enclosure and ensure they are free from any debris or obstructions. Insert the drives into the bays, making sure they are properly seated and aligned with the bay's mounting holes. Secure the drives using the provided screws, tightening them firmly but avoiding over-tightening which can damage the drive or the enclosure. Once all the drives are installed, connect the necessary cables to the drives and the motherboard, ensuring that all connections are secure and not loose. Finally, power on the system and verify that all drives are recognized by the operating system.
With this file you will be able to print InWin disk rail with your 3D printer. Click on the button and save the file on your computer to work, edit or customize your design. You can also find more 3D designs for printers on InWin disk rail.
