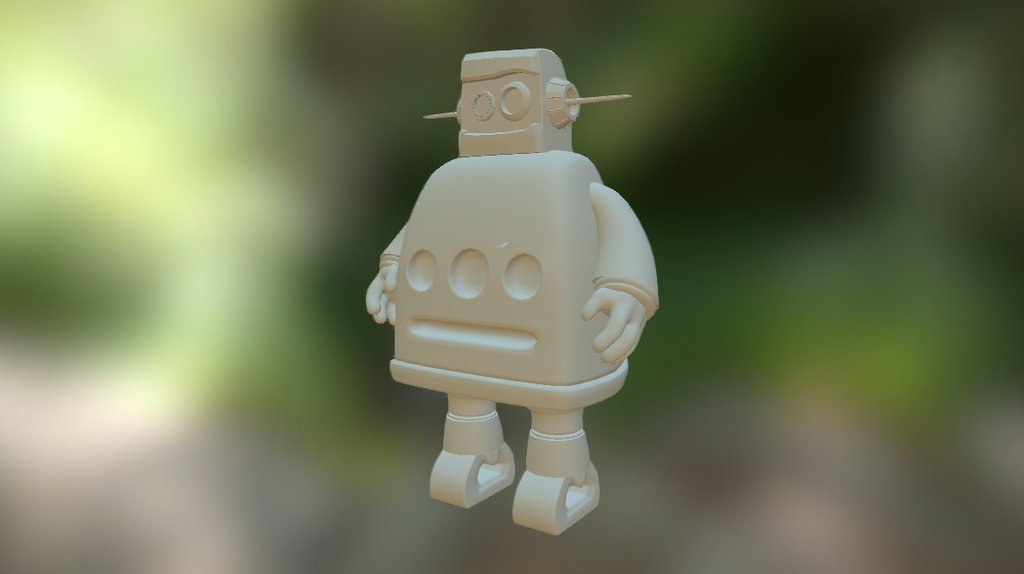
Instructable Robot V2
sketchfab
A Step-by-Step Guide to Building an Instructable Robot Using a 3D Model Build Your Own Instructable Robot with Ease Step 1: Design and Print Your Robot Use your favorite 3D modeling software to design the body of your robot. Once you're satisfied with the design, export it as an STL file and send it off for printing. Choose a high-quality filament that's durable enough to withstand the rigors of robotics. Step 2: Assemble the Body Once your prints are complete, assemble the body of your robot using the provided screws and bolts. Make sure everything is securely fastened before moving on to the next step. Step 3: Add Movement and Controls Use a combination of motors and microcontrollers to give your robot movement and control. You can use a standard Arduino board or opt for something more advanced like an Raspberry Pi. Program the controls using code and test them out to ensure they're working as intended. Step 4: Add Sensors and Cameras Give your robot some eyes with the addition of cameras and sensors. Use these to navigate its surroundings and avoid obstacles. You can also use them to track movement and detect changes in lighting conditions. Step 5: Power Up Your Robot Use a high-capacity battery or power source to keep your robot running for extended periods of time. Make sure it's securely attached to the body to prevent any accidental detachment during use. Step 6: Final Touches Add any final details such as paint, decals, or other customizations to give your robot a unique look and feel. Once you're satisfied with the finished product, take pride in knowing you built something truly special.
With this file you will be able to print Instructable Robot V2 with your 3D printer. Click on the button and save the file on your computer to work, edit or customize your design. You can also find more 3D designs for printers on Instructable Robot V2.
