Inmoov TENSIONER ELASTIC VERSION
thingiverse
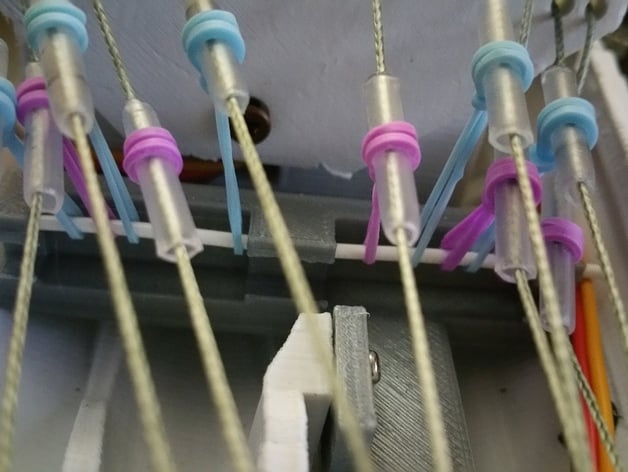
This is my brand-new tensioning finger for Inmoov. Installing it was a breeze, taking only 10 minutes, and all I needed to do was attach some elastics. The spring system had to be removed beforehand, but that's it. If repairs are ever necessary, the stem can be replaced in just 30 seconds, and it will be back up and running in no time. For the rod, I used a piece of PLA, which is about 8 centimeters long. Feel free to use any other material you like for the rod. The elastics I'm using are the same ones that kids use to make bracelets - isn't that cool? Here's how to install it: 1. Print this part. 2. Remove the support material from the print. 3. Slide this part under the servo support. 4. Screw this part into place. 5. Install all of the elastics onto the tendon. 6. Slide the rod inside all of the elastics. 7. Place the rod onto the tensioner. Edit: I've updated the design for the new arm, and it includes a new right-hand finger tendeur and a left-hand finger tendeur.
With this file you will be able to print Inmoov TENSIONER ELASTIC VERSION with your 3D printer. Click on the button and save the file on your computer to work, edit or customize your design. You can also find more 3D designs for printers on Inmoov TENSIONER ELASTIC VERSION.
