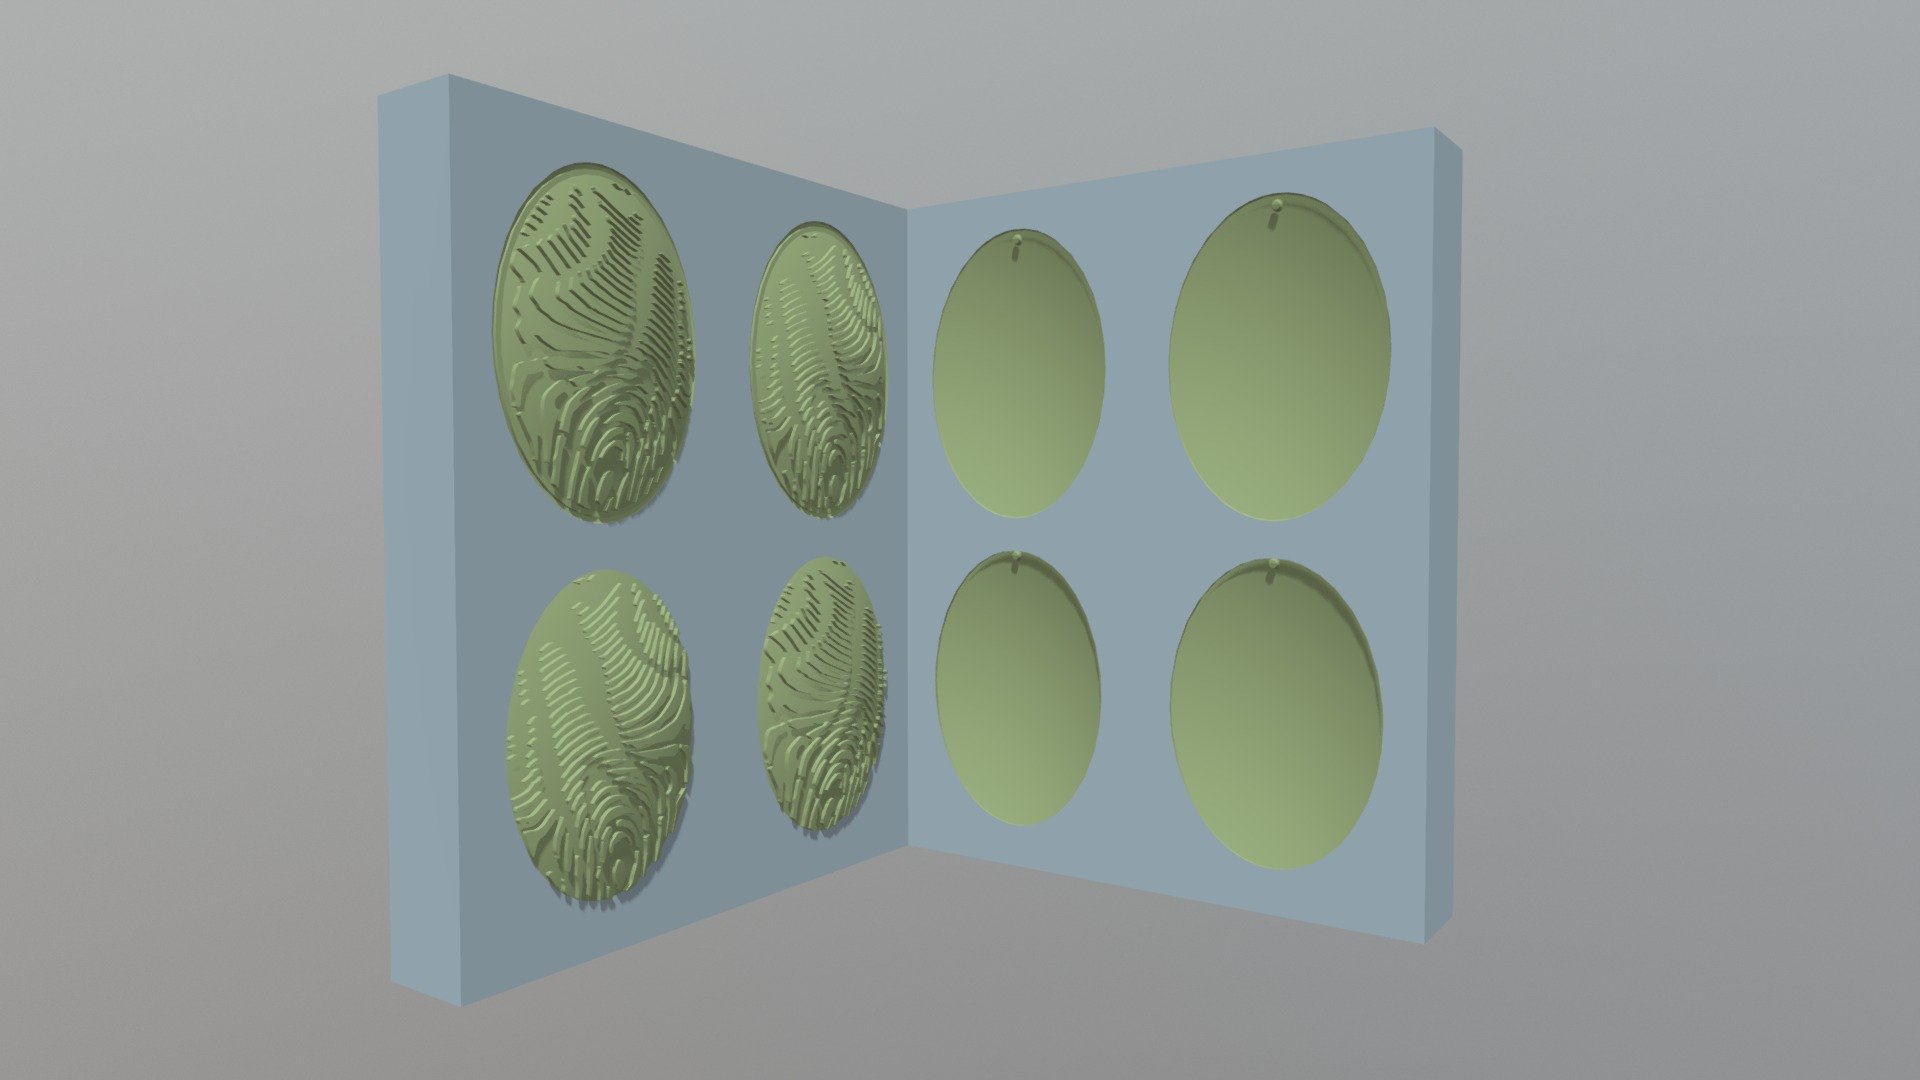
Injection Mould
sketchfab
Designing an Earring Injection Mould from Scratch The process of creating a custom earring injection mould begins by conceptualizing the desired design and shape of the finished product. This involves sketching out detailed drawings or computer-aided designs (CAD) to visualize the final outcome. Next, select the material for the mould, taking into consideration factors such as durability, cost, and ease of maintenance. Popular choices include steel, aluminum, or high-density polyethylene. Fabricate the mould according to the design specifications using techniques like CNC machining or 3D printing. Ensure accurate tolerances and precise surface finish to guarantee consistent earring production. Install the mould onto an injection moulding machine, configuring it for optimal performance and temperature control. Feed raw plastic material into the machine, which will be melted and injected into the mould under high pressure. Once the plastic has cooled and hardened, eject the earring from the mould. Inspect it for any imperfections or defects before repeating the process to produce multiple earrings. Consider adding features like earring backs, hinges, or other embellishments to enhance product functionality and aesthetic appeal. Packaging and shipping the finished earrings require careful handling to prevent damage during transit.
With this file you will be able to print Injection Mould with your 3D printer. Click on the button and save the file on your computer to work, edit or customize your design. You can also find more 3D designs for printers on Injection Mould.
