Individual Clearance Tests
prusaprinters
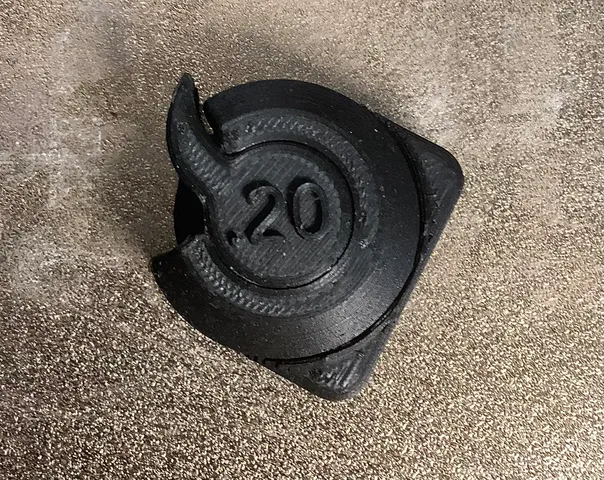
Clearly, I did not yet have my printer fine-tuned. In my first attempt at printing K2Van's challenge piece - a little under 4 hours to print, every nut was frozen solid. While informative, I decided that I could have learned as much from just printing the largest gap test piece. I would have learned 6 times faster, and have only tossed away 1/6 of the plastic.This singleton model allows you to test whichever gap size you want & then decide what comes next. You can print the same gap over & over with different settings, to fine-tune your system. You can spot-check your ability to print a particular gap size, after making changes to your system. It is comparatively easy to cut the print open and inspect for clues as to why it is frozen stiff. (Just me?)The Fusion360 model allows you the option of adding other sizes or of remixing yet again.Updated 22 May 2022:Added v2 Added & improved a handle to help grip the shell without squeezing itAdded 0.18 and 0.20mm clearance testsAdded a Fusion360 model (big thanks to K2Van for the leg-up, to get me over a couple of hurdles.Based on my own efforts, I recommend that you try these measures, in this order:First try printing the largest gap test (0.20mm)If you can move the lever on that piece, then try the next one down & so-on, until you print a model for which you are unable to move the lever without using pliers. (Do take care to hold the outer shell with the integral handle, being sure not to squeeze the shell against the nut.)When you are unable to move the printed piece, check the following printer performance factors (using the appropriate calibration models):Verify the e-steps.Verify the % flow rate/extrusion factorVerify the Linear Advance/Pressure Advance setting.I use Cura 5.0.0 as my slicer.The 5axes Calibration/Shapes Cura plug-in provides suitable models for all 3 of these calibrations. NOTE: One thing I learned is that Matte finish PLA is likely to have chalk powder mixed into the filament. If you look closely at the photos attached hereto, you may notice what looks like dust embedded in the surface. Those bumps seem to be giving me trouble printing small gaps…
With this file you will be able to print Individual Clearance Tests with your 3D printer. Click on the button and save the file on your computer to work, edit or customize your design. You can also find more 3D designs for printers on Individual Clearance Tests.