Indicator Holder for Lathe Saddle Travel - Improved
prusaprinters
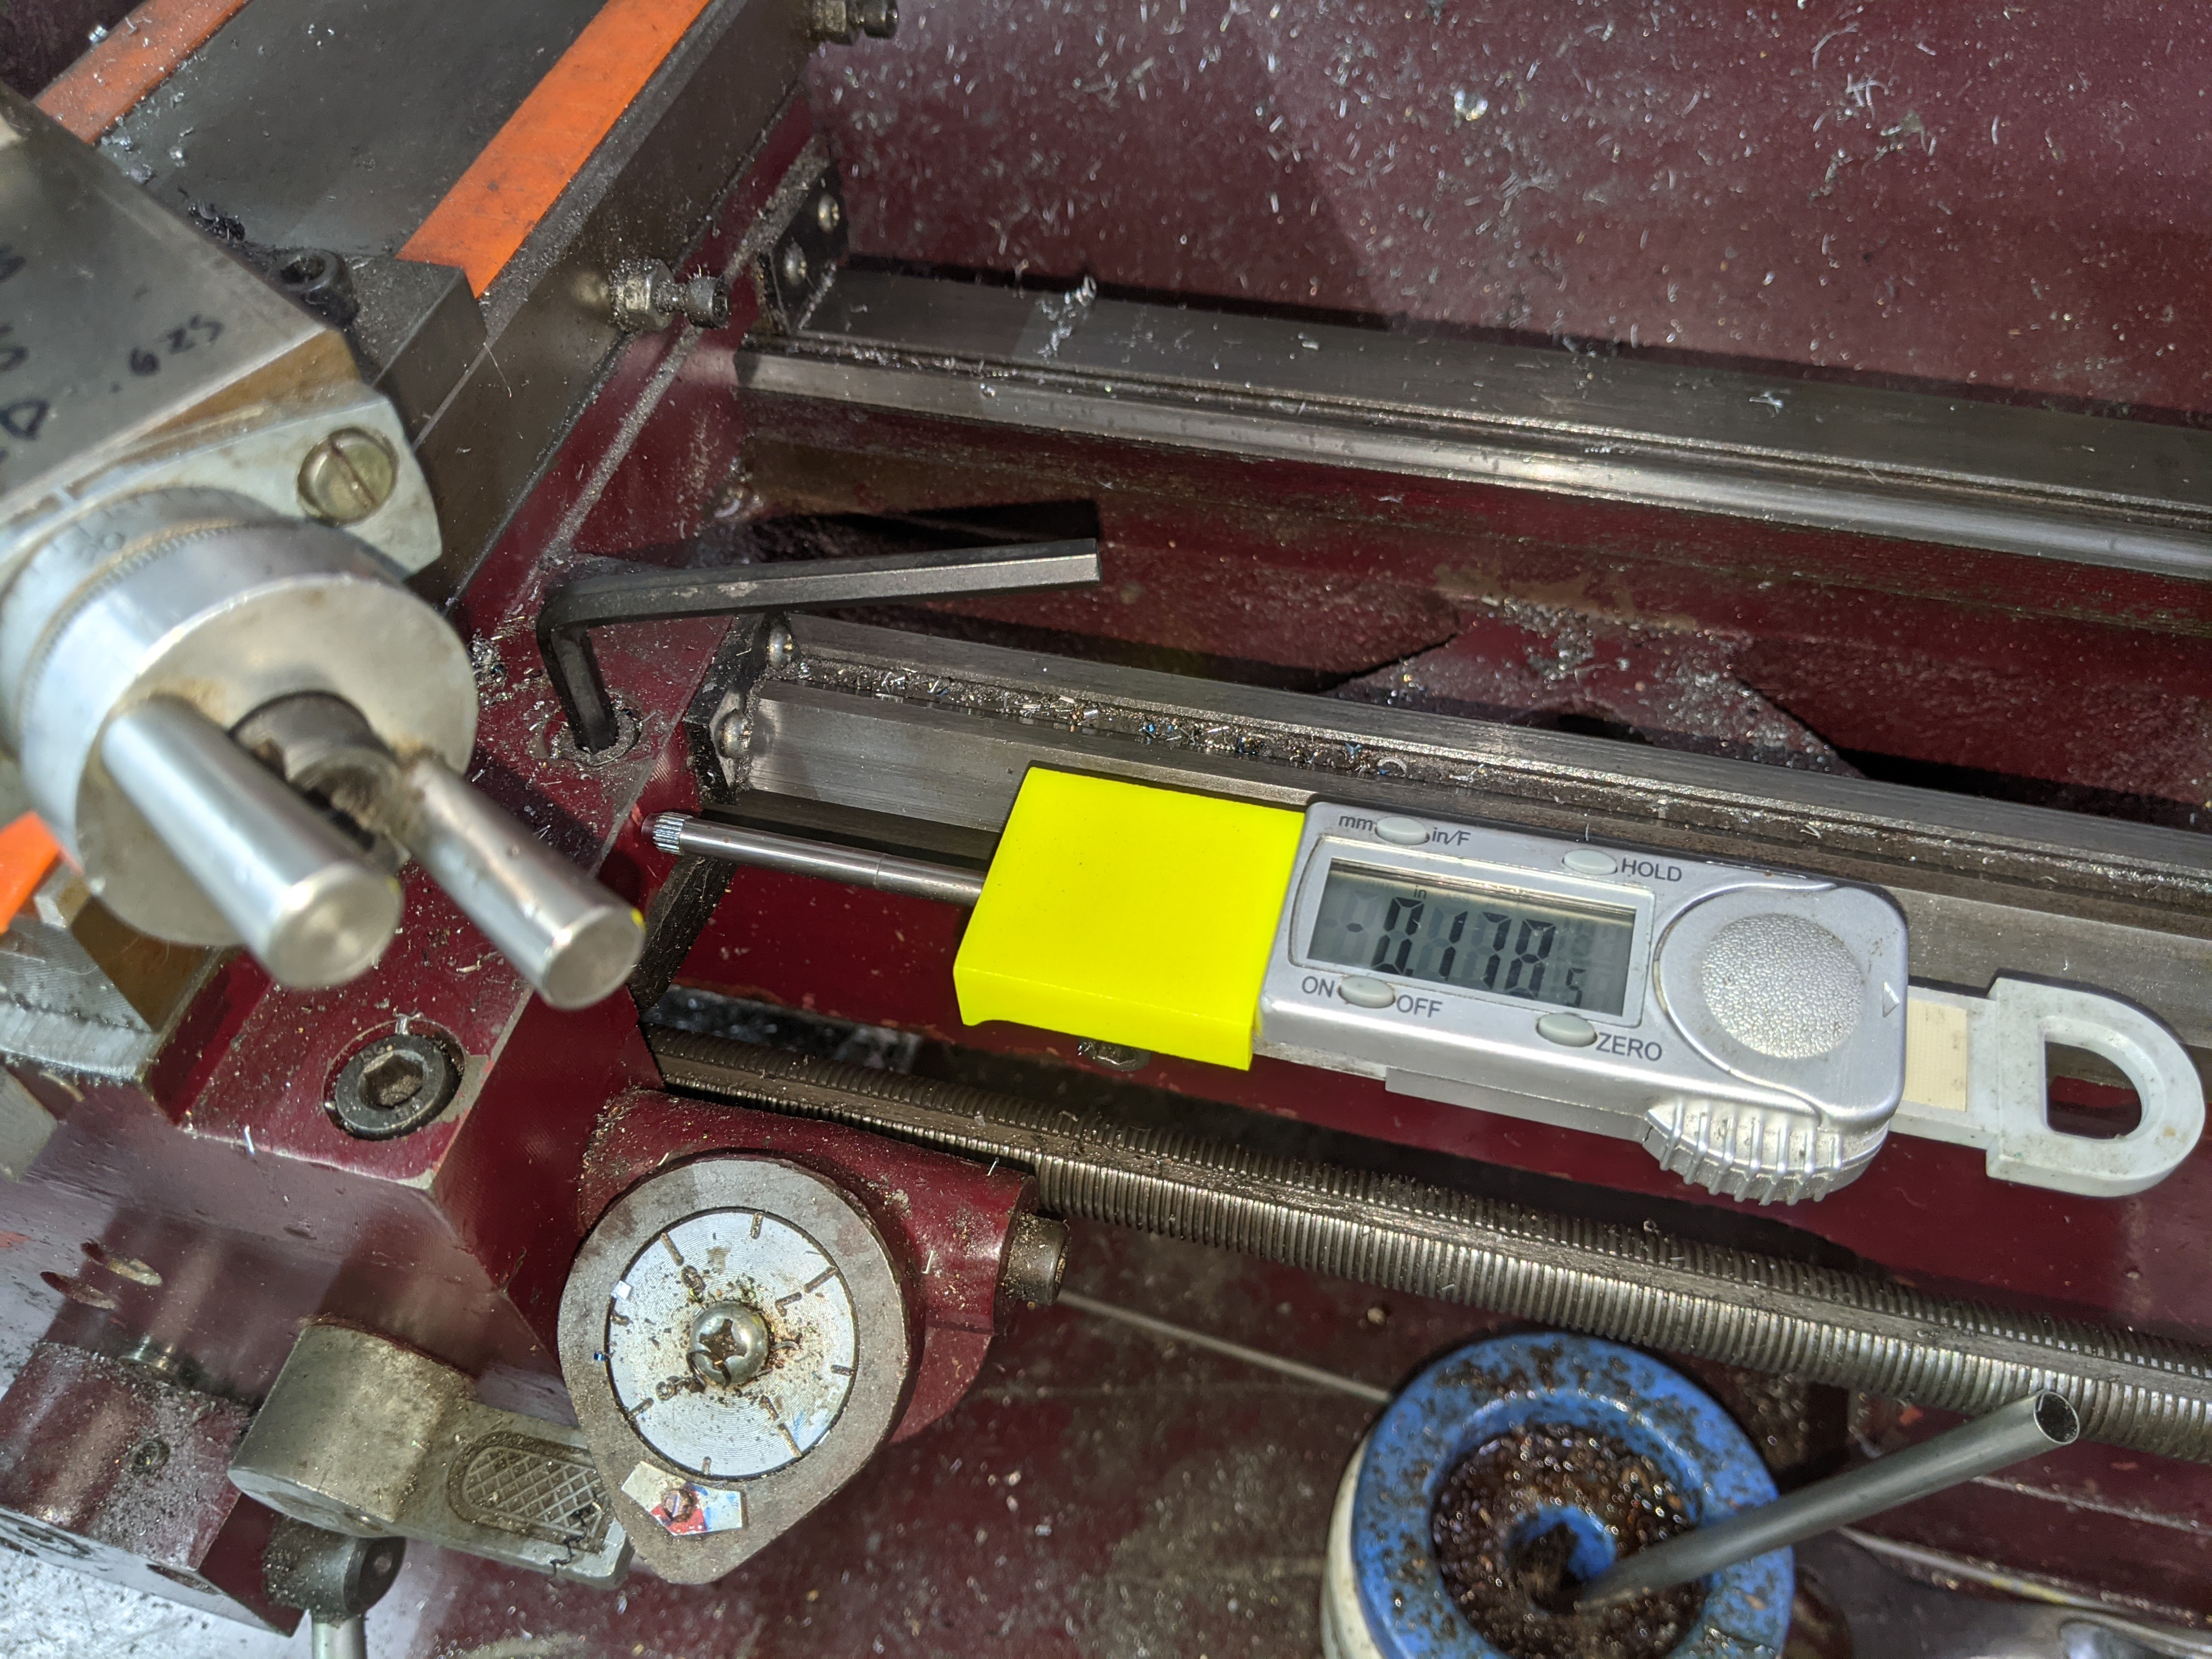
<p>Improved by the addition of a “dust cover.”</p><p>This holder is for use with a digital depth gauge of the type shown in the pictures. Note that you need the type of depth gauge which has metal indicator stem with length extension. Although these have a plastic body, they are surprisingly accurate. </p><p>The depth gauge also needs to be modified by cutting off the "wings" so it will fit against the lathe bed(see the included stock photos of an un-modified indicator). I cut off the wings (after unscrewing the cover) by milling them off. Unfortunately, removing the wings also leaves [art of the indicator exposed to chips from the lathe. My previous version worked fine for many months, but eventually chips started to keep it from functioning properly. This new version includes a cover in place of the removed one. There is also space to include a felt “wiper” - this is optional and somewhat experimental. The wiper is a small piece of felt (25mm X 6mm) with a hole for the indicator plunger.</p><p>Note that I designed the holder to work with my specific model of indicator - it's a common design so it should work with others as well (but no guarantee!).</p><p>You will also need:</p><ul><li>2 high strength cylindrical magnets (10mm diameter by 5mm thick)</li><li>1/4"-20 (or M6x1 for you metric folks) bolt and washer</li><li>threading tap for bolt</li></ul><p>After printing the holder, tap the hole for the bolt. Press the magnets into the holes (the small through-holes enable you to press them back out again if necessary). The magnets are a press fit into the holes - no glue needed (I used a hammer and a wooden block to insert them). I tried the magnets with both poles facing the same, and both poles opposite; didn't seem to make much difference in holding strength, although "both poles same" might have been a bit stronger.</p><p>Bolt the modified indicator to the holder (use the stem extensions to get a length that works with your lathe).</p><p>To use the indicator, simply attach it to the lathe bed with the magnets so that the indicator stem contacts the right side of the lathe saddle (small lathes like mine don't have room for this on the left side). The photos show the indicator on my 9x20 lathe, but it will also work with 7x12 lathes and probably others as well. </p><h4>Print Instructions</h4><p>Print in PETG using the 3mf or gcode files provided. Otherwise :</p><ul><li>0.2mm layer height</li><li>perimeters = 4</li><li>10% rectilinear infill</li><li>print as shown in photos - no supports required</li></ul><p> </p><h4>CAD</h4><p>The OnShape 3D CAD files for this are available here:</p><p><a href="https://cad.onshape.com/documents/cdb76acca987d837909382b0/w/7b4ec5a7445defcb4a47df1f/e/fa41bb49841a096c1463851">https://cad.onshape.com/documents/cdb76acca987d837909382b0/w/7b4ec5a7445defcb4a47df1f/e/fa41bb49841a096c1463851</a></p><p> </p>
With this file you will be able to print Indicator Holder for Lathe Saddle Travel - Improved with your 3D printer. Click on the button and save the file on your computer to work, edit or customize your design. You can also find more 3D designs for printers on Indicator Holder for Lathe Saddle Travel - Improved.
