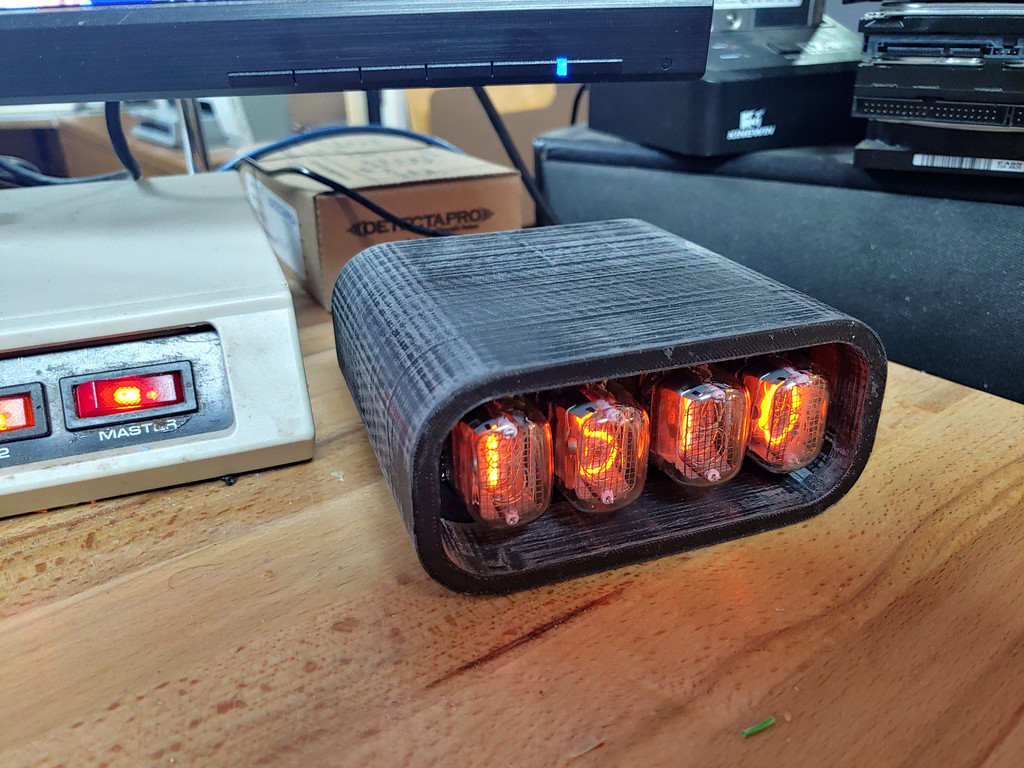
IN-12 Nixie Clock
thingiverse
This is a case I designed specifically for a nixie clock kit that I bought on Ebay. To get it working properly, a couple of modifications need to be made to the kit. First, the display needs to be connected to the main PCB using wires instead of headers. Second, the real time clock module should be soldered directly onto the bottom of the board. To install the PCB and backplate, you will need four M2X8ish screws. These are standard "cheap Chinese crap" screws that can often be found in other broken electronics from dollar stores or wherever. Alternatively, they can also be purchased on Aliexpress. Here is a list of the parts needed: Screws - https://www.aliexpress.com/item/32367637858.html Kit - https://www.ebay.com/itm/Nixie-Clock-Kit-IN-12-With-tubes-with-Arduino/373028484856 The kit was bought from Ebay user poltava_workshop, but it is open source. However, the instructions are in Russian and can be found at https://alexgyver.ru/nixieclock_v2/.
With this file you will be able to print IN-12 Nixie Clock with your 3D printer. Click on the button and save the file on your computer to work, edit or customize your design. You can also find more 3D designs for printers on IN-12 Nixie Clock.
