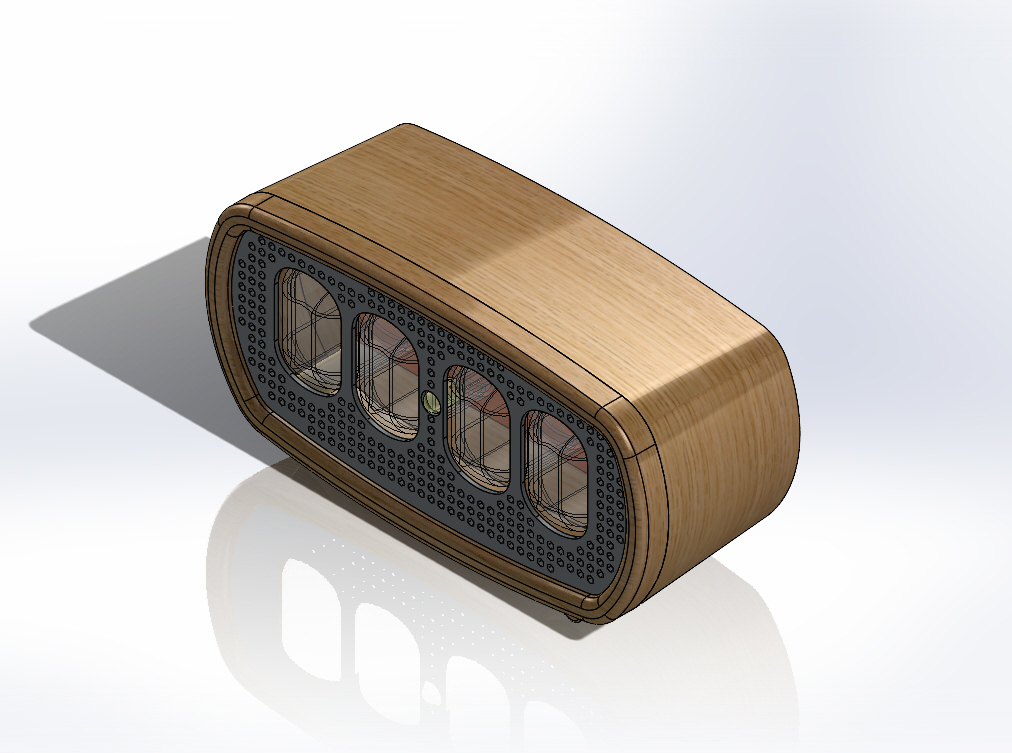
IN-12 clock case.
thingiverse
IN-12 clock case. My take on an IN-12 clock case for the AlexGyver project - https://alexgyver.ru/nixieclock_v2/ The base and frontplate parts were printed with a wooden-filled PLA. The frontplate and spacers, however, were made from standard brown PLA. Assembly Procedure: First, attach the micro-USB adapter plate to the sidewall of the base part using an M3 screw. Next, insert the M3-screw into the base, followed by the IN-12 clock and add the spacers. Fuse the M3-nuts into the frontplate part. Then, attach the frontplate to the base and secure it together. Finally, glue the coverfront to the frontplate. SolidWorks parts attached. Update 21/09/2020: STEP files added.
With this file you will be able to print IN-12 clock case. with your 3D printer. Click on the button and save the file on your computer to work, edit or customize your design. You can also find more 3D designs for printers on IN-12 clock case..
