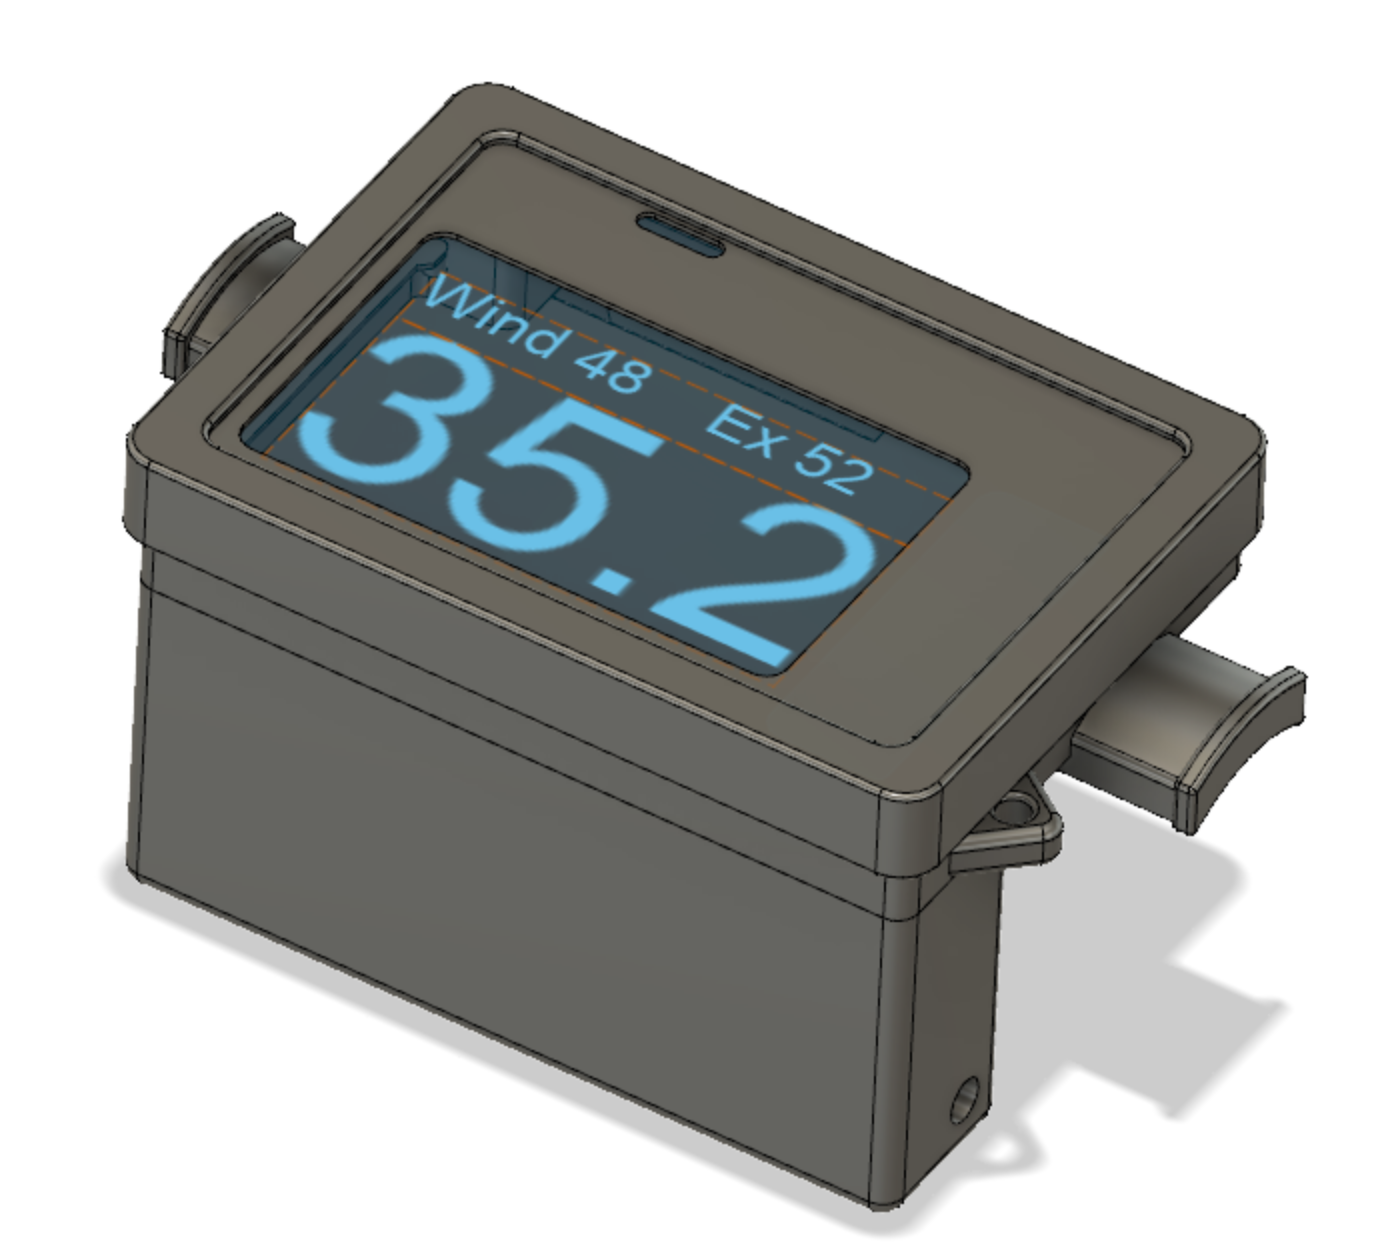
Improved Windsurfing DIY GPS Boom Mount
prusaprinters
<p>Since a pile of people seem to be making these I thought I'd update the design based on lessons learnt. This is to house Jan Heynen's design DIY GPS (links at bottom)</p><p>Note, this is NOT waterproof, it relies on filling the case with potting epoxy to make water tight, see previous designs for more instructions on how I filled with epoxy.</p><p>Changes with this design to original (note original design is still going strong after 8 months and 147 sailing days)</p><ol><li>Removed the switch and reed switch recesses to make easier to print and improved strength. Note this means the on/off switch and the two push buttons need to be snipped off and filed flush. See attached picture how to best mount the reed switches. (there is space to mount the main reed switch on left of wifi antenna if you prefer.)</li><li> Added 4mm epoxy fill holes to suit standard syringe. Note you need to redrill them with 4mm drill as they will print slightly ovalised.</li><li>Added 0.5mm spacers on left and right of screen to create an air gap to allow epoxy to fill properly between polycarb face and the epaper display. The right spacer also blocks all light to the photosensitive area to prevent ghosting. I held these in place with a tiny bit of glue so they didn't wander when putting the clear cover.</li><li>Moved the trim to the outside of the clear Polycarbonate face. Having it inside meant large potential for air bubbles to be trapped. (you don't need the trim or cover, just makes it look more finished/professional)</li><li>Modified the cover to properly fit so no filing necessary.</li></ol><p>Notes: For the trim and two spacers I found printing with 0.1mm layer height gave best results. For the main body and cover I used 0.3mm and draft quality with the print oriented face down. I added supports just at the edge of battery and GPS recess plus the boom and leash mount. Print time is 1hr 54min for the main body ½ hr for cover and ½ hr for trim and spacers. I have included the Gcode for PETG using a Prusa MK3S. No clue if this code works on other printers.</p><p>Recommend to spray the outside of main print prior to installing electronics as this stops the epoxy leaking out whilst it cures. Don't spray the inside as the tolerances are reasonably tight.</p><p>If using abrasion resistant Polycarbonate for the faceplate I've found that Dichloromethane doesn't bond as well…sand a small lip on the polycarb where it meets the 3D print to get better bond. You won't see it as covered by the trim. If you don't do this the epoxy will leak badly at seam and face may fall off during use. You can see in the close up photo Dichloromethane leaking over the inside of the polycarb..this was caused by me using abrasion resistant polycarbonate and trying to reseal the face on after first glue attempt. I didn't notice the streaks at the time so filled with epoxy…I ‘should have' removed the face, sanded and reglued.</p><p>The original design here which includes more photos etc <a href="https://www.printables.com/model/104363-windsurfing-speedo-doppler-gps-low-profile-counter">https://www.printables.com/model/104363-windsurfing-speedo-doppler-gps-low-profile-counter</a></p><p>The GPS is approved for GPS Speed surfing <a href="https://www.gps-speedsurfing.com/default.aspx?mnu=item&item=gpsother">https://www.gps-speedsurfing.com/default.aspx?mnu=item&item=gpsother</a></p><p>It most likely can be approved for GPSTC but this is on a case by case basis. Send message using ‘contact’ on GPS Team Challenge website. <a href="http://gpsteamchallenge.com.au/comment/contact">http://gpsteamchallenge.com.au/comment/contact</a></p><p>Main thread discussing this GPS</p><p><a href="https://www.seabreeze.com.au/forums/Windsurfing/Gps/Another-DIY-GPS-logger-approach?page=1">https://www.seabreeze.com.au/forums/Windsurfing/Gps/Another-DIY-GPS-logger-approach?page=1</a></p><p>Source code</p><p><a href="https://github.com/RP6conrad/ESP-GPS-Logger">https://github.com/RP6conrad/ESP-GPS-Logger</a></p><p>Manuals : </p><p><a href="https://docs.google.com/document/d/1j86kj3bNMID3sHCRT7QTYyrL7IHeQnGPec1LajsDfB4/edit">https://docs.google.com/document/d/1j86kj3bNMID3sHCRT7QTYyrL7IHeQnGPec1LajsDfB4/edit</a></p><p><a href="https://docs.google.com/document/d/1XJD6BV1Xay4nXo0cDuo_IOtxC_f1LyG7DE7X6KGlAB0/edit">https://docs.google.com/document/d/1XJD6BV1Xay4nXo0cDuo_IOtxC_f1LyG7DE7X6KGlAB0/edit</a></p><p> </p>
With this file you will be able to print Improved Windsurfing DIY GPS Boom Mount with your 3D printer. Click on the button and save the file on your computer to work, edit or customize your design. You can also find more 3D designs for printers on Improved Windsurfing DIY GPS Boom Mount.
