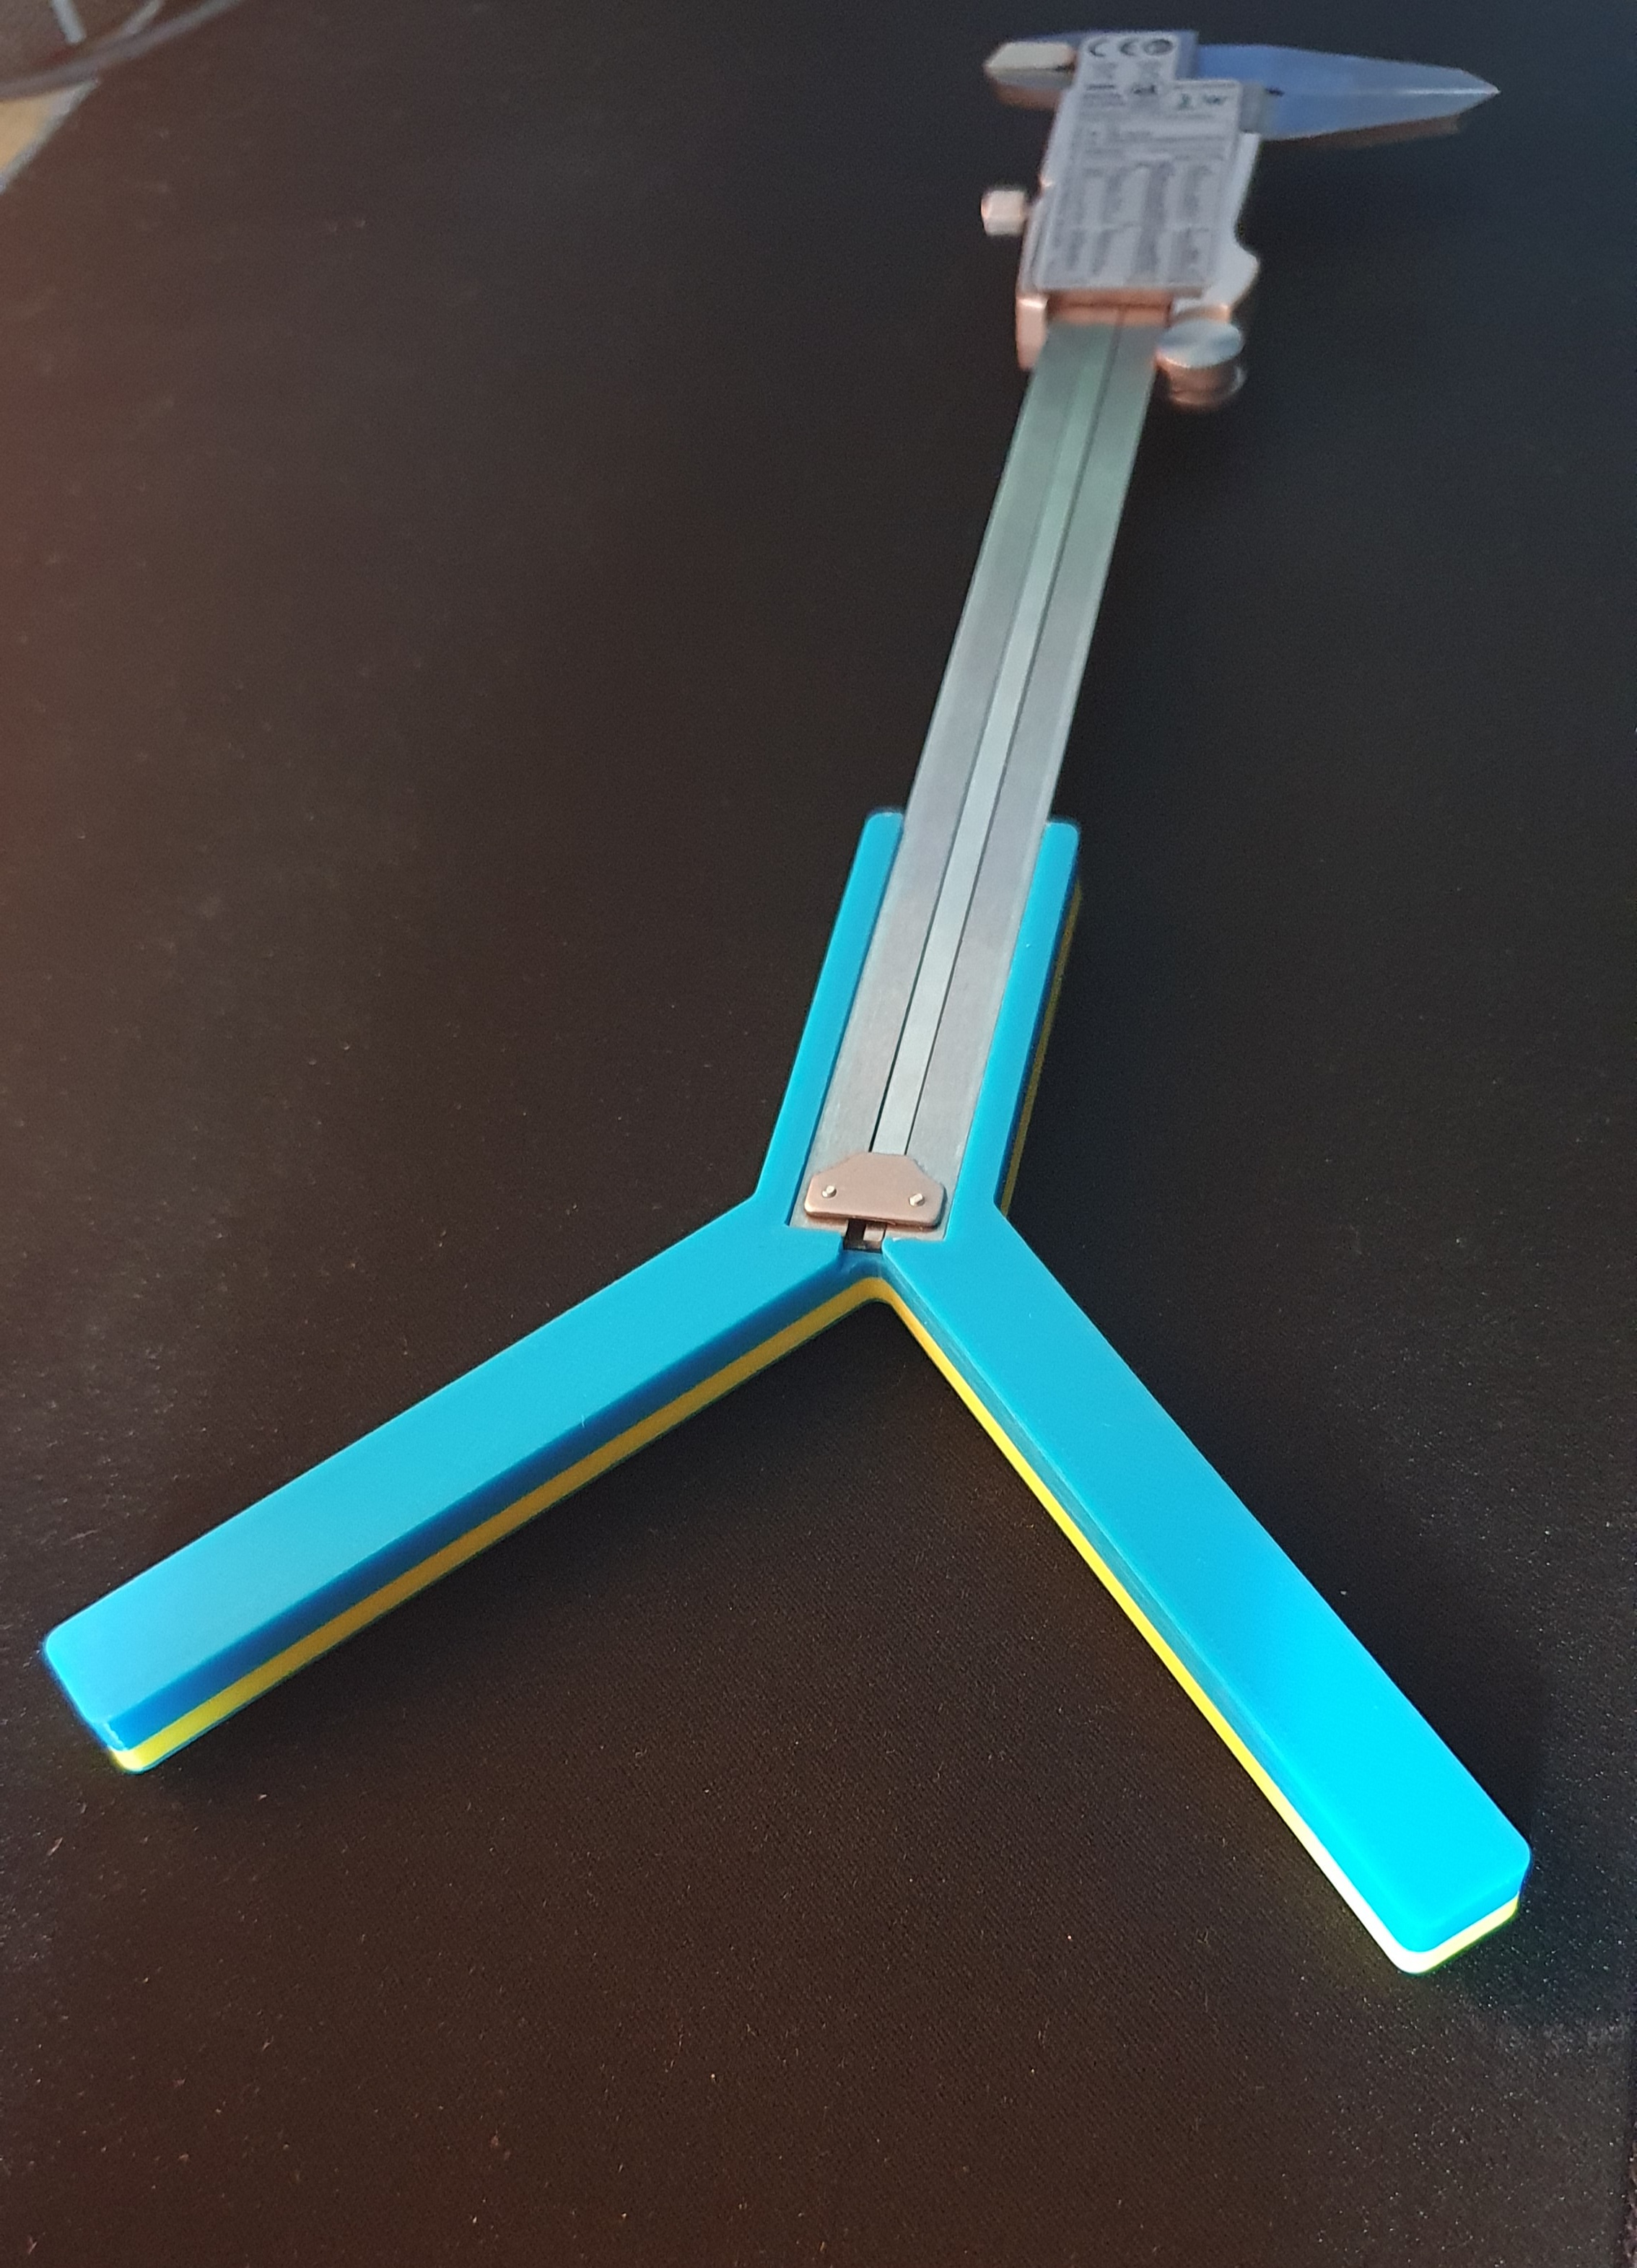
Improved Radius Gauge for Calipers
prusaprinters
<h3>Tldr; how to use it</h3><p>Design or print one of my pre-rendered models, the one with r=2d is most similar to Thyn's original design. In this equation, d is the distance measured by the calipers, and r is the radius of the object (note: radius is half the diameter!). So for the r=2d version, simply double the number shown on your calipers to get the radius of your object, and double it again to get the diameter.</p><p> </p><h3>Design</h3><p>I was impressed with the caliper gauge designed by Thyn available here <a href="https://www.prusaprinters.org/prints/14474-radius-gauge-for-calipers">https://www.prusaprinters.org/prints/14474-radius-gauge-for-calipers</a></p><p>however, I noticed his formula for calculating the radius from the measurement was awkward and required a calculator. I quickly realised that by adjusting the angle of the arms that the object rests within, his formula could be modified to something much easier, or not be required at all. He uses 90 degrees between the arms (45 degrees between the caliper and each arm), but I found that a slightly shallower angle of ~41.81 degrees gives a nice multiplier of 2 (instead of sqrt(2)+1). In fact, the multiplier can be chosen arbitrarily by using the angle asin(a/(a+1)) where a is the multiplier you would like to use.</p><p>Because I have too much time on my hands, I set about deriving the equations from scratch (I've included a diagram that shows the proof), and re-crafted the model in OpenSCAD with Customizer support, such that anyone can easily choose whatever formula they would like to calculate radius [r] or diameter [D] of the object from the measurement on calipers [d]. Thyn asked us to do the maths homework so I did!</p><p>I also setup the model so you can customise any other aspect for fitment, size, strength or aesthetics, and included as optional clips or magnets for securing the attachment to the calipers, and an optional embedded label for the required formula inspired by <a href="https://www.prusaprinters.org/prints/64999-radius-gauge-for-calipers-debossed-formula">https://www.prusaprinters.org/prints/64999-radius-gauge-for-calipers-debossed-formula</a></p><p> </p><h3>Model Settings</h3><p>I encourage you to install OpenSCAD and use Customizer (go to Window > uncheck “Hide Customizer”) to make the gauge exactly as you would like. Most of my measurements are the same as Thyn's model that seems to fit most calipers well, however anything I wasn't sure about was designed around my own (very cheap) set. I did not prototype the clips very far, but would recommend a more pliable material such as PETG or ABS and do a test print with the arms shortened (e.g. maximum_radius=5) first. I printed my personal set with two 20x10x3mm embedded bar magnets (no clips) and it snaps to the calipers quite satisfyingly, although more expensive pairs may have better stainless steel that won't work as well. </p><p>When choosing the interior angle (note: as per the diagram, this is half of the angle between the two arms), I can give some hints on what works best. The larger you set the angle, the larger radii you will be able to measure for a given length of the arms. However this is at the cost of precision, as any error in measurement will be multiplied (e.g. double the error when using r=2*d). So it really depends on what you would like to measure! If you go too shallow on the angles, the arm lengths could get awkwardly long very quickly. I think the version with an interior angle of 30 degrees giving r=d is probably my favourite - up to 40mm radius objects with a reasonably sized arm (about 69mm long), no amplifying of error, and no formula required for measuring! But I've included presets in Customizer with equations for D/2, D, r, 2*r, (sqrt(2)+1)*r and 3*r. You can always bypass these presets and come up with your own easily with the information given here.</p><p> </p><h3>Print Settings</h3><p>Make sure if you use magnets to add a pause in the print, and you can also add in colour changes to make the text stand out as per mine in the photos. See: <a href="https://blog.prusaprinters.org/practical-uses-of-color-change-in-prusaslicer_59563/">https://blog.prusaprinters.org/practical-uses-of-color-change-in-prusaslicer_59563/</a><br>I also like to set the very first layer to only 1 perimeter to make the text easier to read. </p><p>Other than that, standard profiles for your filament of choice should be fine, no supports or anything like that. I personally increased the perimeters to 4 and used a 20% hexagon infill to make sure it was nice and stiff and not prone to flex. I used an 0.2mm layer height on a 0.4mm nozzle and printed it in PLA.</p><p> </p>
With this file you will be able to print Improved Radius Gauge for Calipers with your 3D printer. Click on the button and save the file on your computer to work, edit or customize your design. You can also find more 3D designs for printers on Improved Radius Gauge for Calipers.
