Improved New 3DS charger dock door
thingiverse
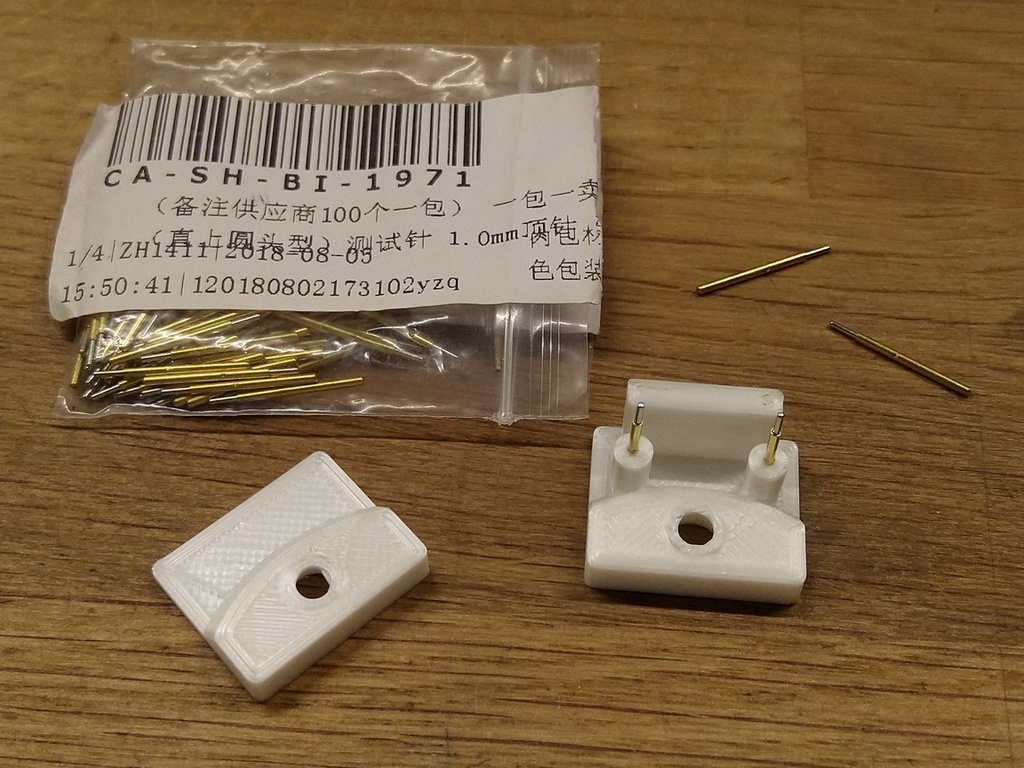
Note: see also my make (https://www.thingiverse.com/make:914583) of this thing for more visual information. Background: after the print I noticed that the holes for the pogo pins were more than the 1mm needed wide and the pins would not hold in place to have them glued in. Also I am not a big fan of hot glue, as it hinders any maintenance in the future. So I extended the design of the bottom part to hold the pogo pins properly and also added some support for the bottom door to hold it nicely in place without wiggling. * Print the part with 100% infill as you will need to drill holes in the plastic. * Use the centering guides on the support cylinders to drill 1mm holes for the pins. * Carefully press-fit the pins in the holes. * Prepare the USB cable by pulling it all the way through the base and wire up the pogo pins (the plus/red cable has to go next to where the cable emerges inside the base - as stated in the text, see also the image for details). * Solder the wires to the pins. This will also further help to fix the pins in place as the plastic will likely melt a bit around the pins. * **Note**: do not put the soldering iron on the pins too long to avoid damage to the plastic piece. Use good flux to keep the soldering time short. * Carefully pull the cable back and align the door with the base. * Fasten the screw and enjoy. Thanks **@Dash_Lambda** for sharing his design!
With this file you will be able to print Improved New 3DS charger dock door with your 3D printer. Click on the button and save the file on your computer to work, edit or customize your design. You can also find more 3D designs for printers on Improved New 3DS charger dock door.
