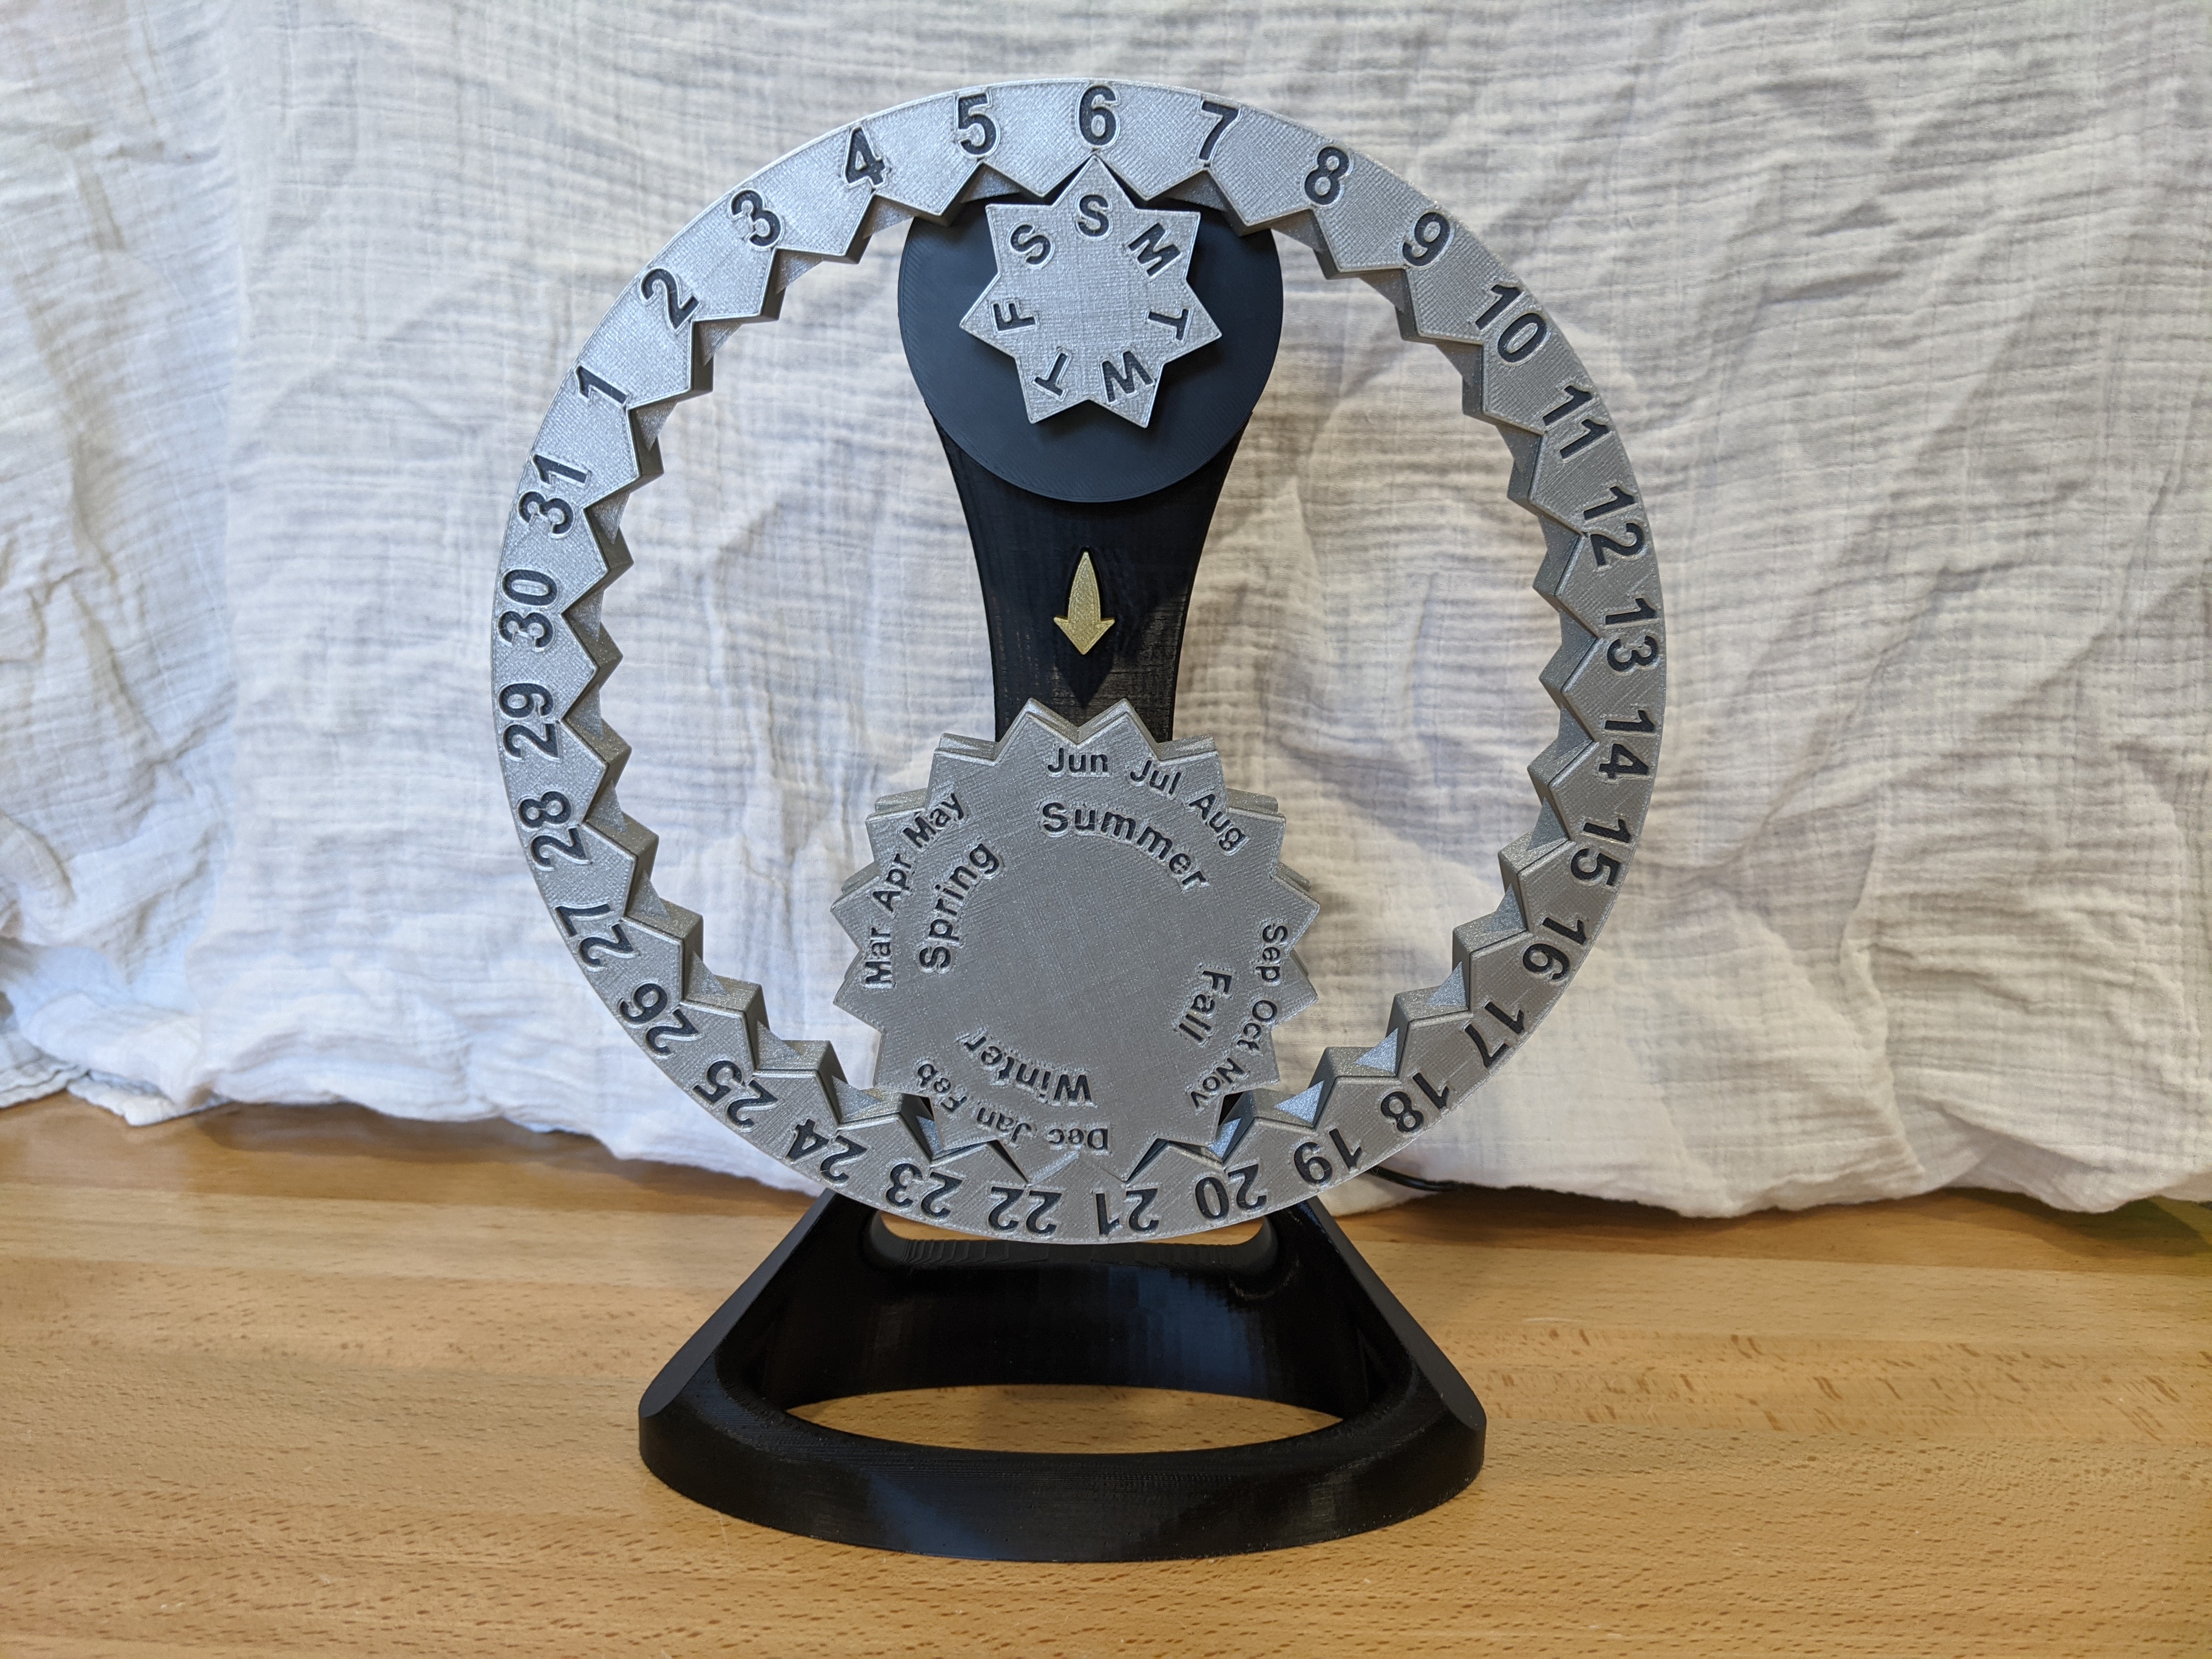
Impractical Gear Calendar
prusaprinters
<p>This calendar, powered by Arduino, will automatically rotate the gears to update the date each day for you.</p><p>It is kind of a strange mechanism so your first question about this Calendar is likely how does it work? Because as you probably noticed, if you move the day forward 1, you also change the month!!?</p><p>Well, that is why I decided to call this the Impractical Gear Calendar, because to move forward 1 day and still be correct, this calendar needs to do a little over 200 full rotations of the Day of the Week Gear!! Essentially this calendar maintains its accuracy by using the gear ratios in such a way that any date can be shown by rotating the gears some number of times. It takes about 15-30 mins, but since this happens in the middle of the night, I figure its no big deal. So when you wake up, the date will be correct! Very fun mechanism, but also quite impractical.</p><figure class="media"><oembed url="https://www.youtube.com/watch?v=XTyoTDa4cFA"></oembed></figure><p>When designing this calendar, multiple simulations were run to ensure any day of the year would be reachable. And, using an internal Real Time Clock (RTC) module, it knows when a month doesn't have 31 days and will determine the number of rotations needed to ensure when you wake up, the date shown is correct.</p><p><strong>Printing Instructions:</strong></p><p>All parts are oriented and designed to print without support. Tolerances where included, so parts should fit together easily.</p><p>It is recommended to use a color change on the gears to give the lettering color.</p><p>Bill of Materials:</p><ul><li>Arduino Nano</li><li>DS1307 RTC Module</li><li>28BYJ-48 DC 5V Stepper Motor</li><li>ULN2003 Driver</li><li>5V 1A Power Supply DC Power Adapter</li><li>2-4 M3x10 screws</li><li>4-8 M2.5x8 self tapping screws</li><li><a href="https://www.amazon.com/gp/product/B01N8VV78D/ref=ppx_yo_dt_b_asin_title_o04_s00?ie=UTF8&psc=1">DC Power Jack Female Panel Mounting Connector Socket</a></li><li>Super Glue</li></ul><p><strong>Setup:</strong></p><p>For the most part, it should be pretty straight forward on where each piece goes for assembly. (if I had more time and skill I would have made a more comprehensive manual). Some of the parts, like if you print the large gear in pieces, should be superglued together.</p><p>For installing the electronics into the Body:</p><ul><li>The stepper motor should be slid into place. A little force might be required, and when viewed from the outside should fit snuggly at the bottom groove.<ul><li>M3x10 screws can be used to ensure it stays in place, but I found it wasn't needed.</li></ul></li><li>The Stepper Driver and RTC module each has a plate that you can use 2-4 M2.5x8 self tapping screws to secure.<ul><li>These plates just slide into the Top and Side locations of the body</li></ul></li><li>There is also an Arduino Nano holder, for which you just slide the nano into until the front of the PCB is flush with the printed part</li><li>Below is a circuit diagram on how all the electronics were connected:</li></ul><figure class="image"><img src="https://media.prusaprinters.org/media/prints/68632/rich_content/7aafb3ad-c67a-4ae2-964f-5c9d6af8d5de/circuitpng.png#%7B%22uuid%22%3A%2205375c06-b0ae-465a-94c1-39794cd7913d%22%2C%22w%22%3A1761%2C%22h%22%3A1167%7D"/></figure><ul><li>Once everything is connected, they can be inserted into the body, and 2 M3x10 screws can be used to secure the back plate to the body.</li><li>Upload the Arduino Code and Set the Calendar to the current date<ul><li>I uploaded it twice, the second time commenting out <code>clock.setDateTime(__DATE__, __TIME__);</code> because, I wasn't sure how it functioned later.</li><li>I also used a strange RTC library from Elegoo, which can be found here: <a href="http://69.195.111.207/tutorial-download/?t=Mega_2560_The_Most_Complete_Starter_Kit">http://69.195.111.207/tutorial-download/?t=Mega_2560_The_Most_Complete_Starter_Kit</a></li></ul></li></ul><p><strong>Inspired By:</strong></p><p><a href="https://www.instructables.com/Automated-Perpetual-Calendar/">https://www.instructables.com/Automated-Perpetual-Calendar/</a></p><p><a href="https://www.kickstarter.com/projects/athlone/perpetual-ring-calendar-by-athlone-designs?ref=crowdfundedcoyoutube">https://www.kickstarter.com/projects/athlone/perpetual-ring-calendar-by-athlone-designs?ref=crowdfundedcoyoutube</a></p><p> </p>
With this file you will be able to print Impractical Gear Calendar with your 3D printer. Click on the button and save the file on your computer to work, edit or customize your design. You can also find more 3D designs for printers on Impractical Gear Calendar.
