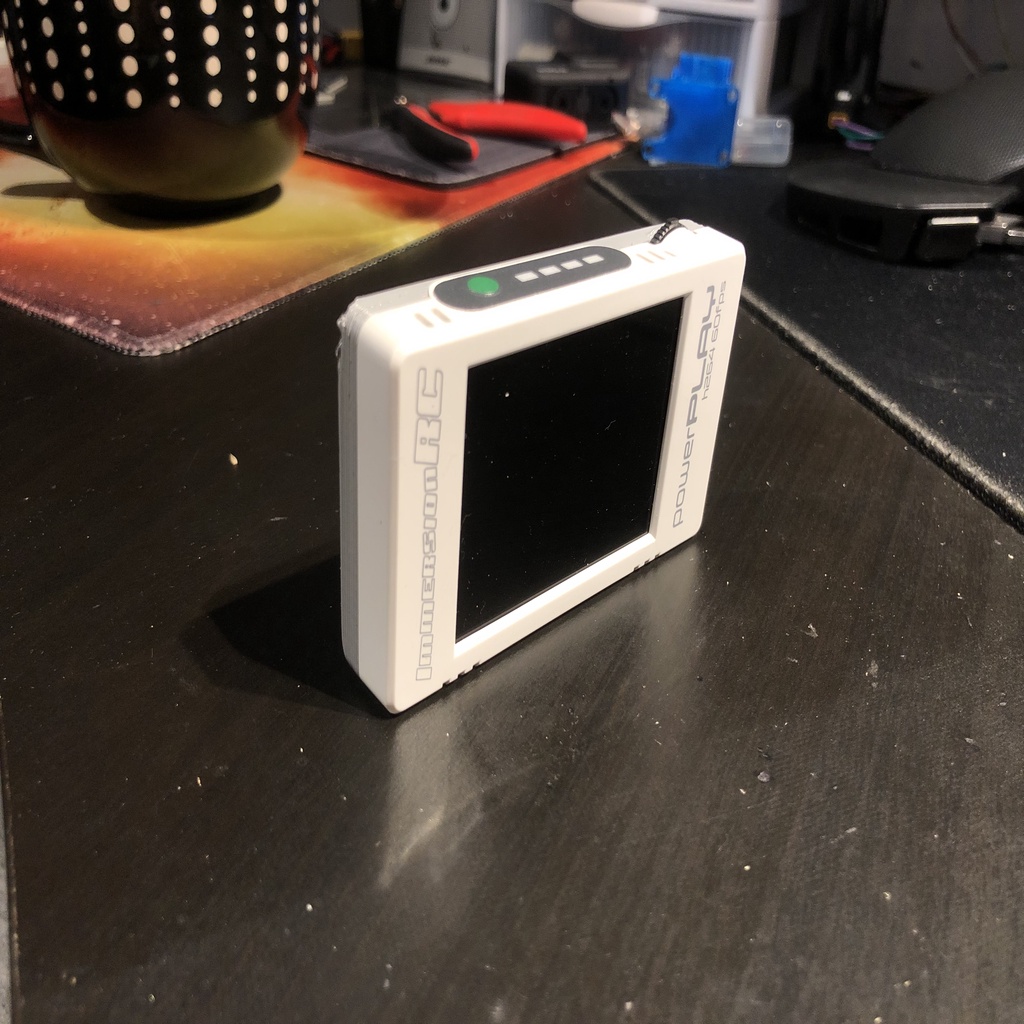
ImmersionRC PowerPlay Slim Case
thingiverse
This modification removes batteries from the ImmersionRC PowerPlay and runs the unit via an external power source. The JST male connector fits into the slot where the original barrel connector was located. This modification removes the controlled output power of the original unit and only allows for input power via the JST connector. **You must do this modification at your own risk, as I will not assume responsibility if it's done incorrectly by you. PLA or TPU can both be used for printing this item. Sorry about the low quality prints in the photos. _______________________________________________________________________ Operations: 1. Open PowerPlay case by removing the four screws. 2. Desolder the two battery tabs, freeing the PWB from the battery bay. 3. Desolder the barrel connector from the PWB with care, as plated through holes can be damaged by improper removal. 4. Solder a JST male connector to the points where the battery bay was soldered, measuring wires for correct length and routing them as shown in the photos. The polarity is also visible on the top side of the PWB if further clarification is needed. 5. Assemble the unit with the new back plate, being careful not to pinch the wires. Pressure should hold the JST connector inside the unit, but if it's too loose, adhesive can be applied to secure it better.
With this file you will be able to print ImmersionRC PowerPlay Slim Case with your 3D printer. Click on the button and save the file on your computer to work, edit or customize your design. You can also find more 3D designs for printers on ImmersionRC PowerPlay Slim Case.
