iMirror – DIY Smart Mirror
cults3d
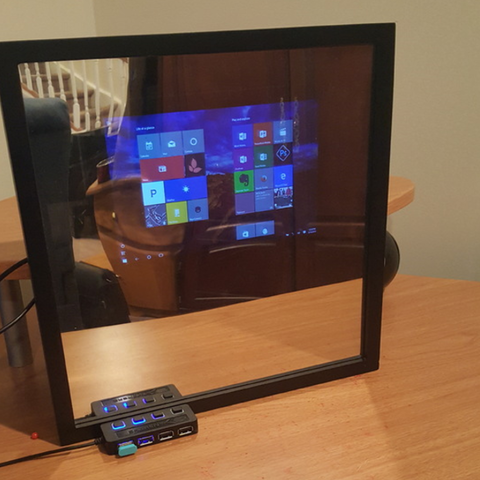
The iMirror is the first gesture-controlled smart mirror that's designed to be a universal smart mirror compatible with any tablet and even devices like Raspberry Pi. The level of difficulty for this project varies from easy to challenging, depending on the teaching option you choose. The iMirror is perfect for college students who want to have a personal computer at their fingertips without getting up or typing on a keyboard. Simply hang it on the wall or wardrobe across from your bed and enjoy watching Netflix or browsing the web. To get started: Buy all the necessary items as listed in the Bill of Materials. Modify the cradle using CAD software if needed, then print it. Cut the wood backing to fit the picture frame, trace the cradle onto the board, and cut it out. Ensure the tablet or display fits comfortably inside the cut-out area. Place the two-way mirror in the frame followed by the wood backing. Use wood glue to attach the cradle to the backing. Wait a couple of minutes before handling the project. Slide the tablet or display into place and add foam if necessary. Connect the micro-USB to USB adapter, as well as a USB extension cable. Connect the Myo or Kinect device for gesture control. Set up the Myo and Keylemon facial recognition software - this is the most exciting part! You now have a fully interactive, gesture-controlled smart mirror! To build your iMirror: Two-way mirror Tablet or LCD display with Raspberry Pi Plywood Wood glue Micro-USB to USB adapter Myo, Kinect, or other gesture control device Picture frame Keylemon or other facial recognition software (log in without using a keyboard)
With this file you will be able to print iMirror – DIY Smart Mirror with your 3D printer. Click on the button and save the file on your computer to work, edit or customize your design. You can also find more 3D designs for printers on iMirror – DIY Smart Mirror.