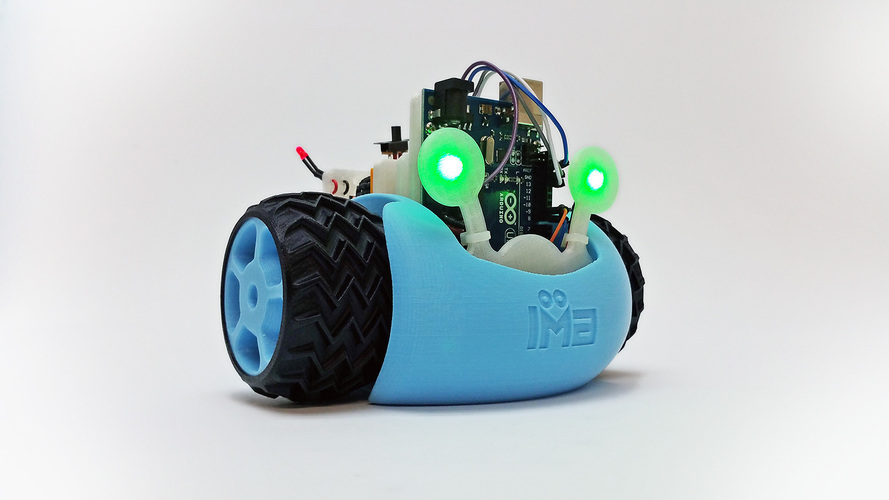
IMA Juno - Arduino Rover
pinshape
Juno is a fun and charismatic robot that makes learning to make electronics and 3D printing a breeze. You don't need any prior experience with either subject to create Juno, making it an excellent introduction for beginners. Just follow Juno's easy-to-follow step-by-step instructions, and you'll learn about basic wiring, LEDs, servo motors, and introductory Arduino code. The robot's 3D printable parts are well-designed and optimized for success on any desktop 3D printer. If you're looking for a challenging 3D printing project, Juno is an excellent place to start. Juno isn't just a beginner-friendly robot; it's also adaptable and expandable. You can add new Arduino modules to extend its functions, allowing students to decide their coding direction. I designed Juno using SolidWorks, taking many weeks of trial and error to ensure all the pieces fit together well and print reliably and efficiently. The break-away support tabs on the body are a notable design feature, with a 0.2mm gap between them and the body that allows for easy removal after printing. Juno is an introductory Arduino-based rover designed for beginner makers. Once the original rover is made, different Arduino sensors and modules can expand its functions, allowing students to decide their coding direction. The objectives of creating Juno are: * Follow instructions to create a functional Juno * Demonstrate understanding of circuits to power LEDs and motors * Describe the functions in the provided Arduino code * Creative design to personalize each Juno Juno is suitable for grade 9 to adult students, covering subjects such as electronics, coding, physics, math, and design. The skills learned through creating Juno include: * Understanding wiring requirements and completing circuits * Documenting the process of creating a Juno, including any adaptations made * Introduction to computer coding with Arduino To facilitate teamwork and reduce material costs, students can work in groups of 2 or 3, switching roles every 5-10 minutes. Homework suggestions include documenting their process. We've created a step-by-step assembly guide with suggestions for extensions, as well as resources and Thing files. You can extend the lessons by adapting Juno with new Arduino modules, creating a class challenge that uses various sensors or outputs. The duration of this project depends on the number of students and their experience, taking around 2-3 hours to assemble and add code. However, there are opportunities to expand each section, making it suitable for different types of classes. Materials needed to create Juno include: * 3D printed parts * Arduino Uno * HC-06 Bluetooth module * Servo motors * LEDs: 2 red for back, 2 green for front * Jumper wires – 4 male/female; 10 male/male * Small breadboard * Switch * Screws (12) * Battery holder for 4xAA batteries * Pin connectors * Shrink tube * Zip-ties * Double-sided tape * Phillips screwdriver * Wire stripper (optional) * Heat gun/hair dryer for shrink tape (optional) * Soldering (optional) * Glue/super glue (optional) Assessment of the project can be based on: * Documentation of the process * Completed Juno that drives forwards, backwards, and turns * Designing a plan for adapting the Juno Handouts and assets include Juno Assembly instructions, Hardware Kits, and 3D Printed Parts plus Hardware Kits.
With this file you will be able to print IMA Juno - Arduino Rover with your 3D printer. Click on the button and save the file on your computer to work, edit or customize your design. You can also find more 3D designs for printers on IMA Juno - Arduino Rover.
