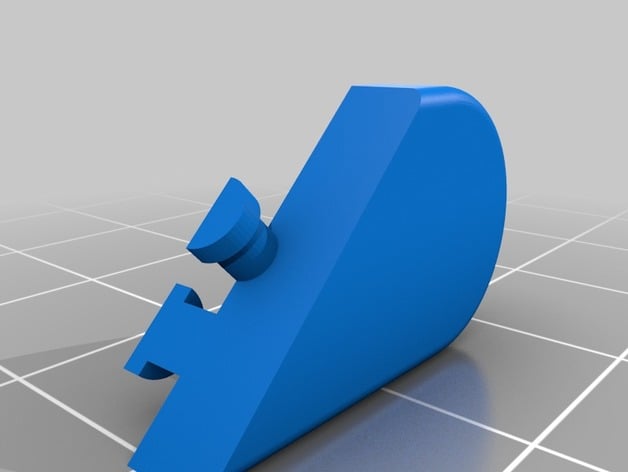
Illusionist Locket
thingiverse
I've been captivated by this intricate locket design ever since watching The Illusionist movie. At that moment, I was eager to bring it to life but lacked the necessary tools. Fate eventually smiled upon me when I discovered an online tutorial explaining how to create each component. I fine-tuned the plan to make each piece robust and perfectly printable using my M3D printer. By positioning them with their rounded parts facing upwards, the printing results are incredibly crisp. Stay tuned for photos showcasing the finished project. Although some manual smoothing may be required afterwards to ensure all parts fit snugly together, the process has been remarkably smooth. With each part requiring about an hour to print at high resolution, this challenging task was broken down into manageable bits. Feel free to reach out and request the Fusion 360 files if you'd like to replicate this masterpiece. As for the latest updates, I've now successfully refined my design so that all components align flawlessly. Now, my focus is on figuring out an effective way to securely fasten these intricate pieces together. After some careful consideration, adding magnets to specific parts might be just the trick to keep everything perfectly in place – parts 20 and 21 could likely benefit from this ingenious solution. Furthermore, magnets strategically positioned at the bottom points of the heart would not only prevent it from rotating freely but also add an elegant touch. If you have any suggestions or innovative ideas on how I can enhance my design, don't hesitate to share your thoughts in the comments below.
With this file you will be able to print Illusionist Locket with your 3D printer. Click on the button and save the file on your computer to work, edit or customize your design. You can also find more 3D designs for printers on Illusionist Locket.
