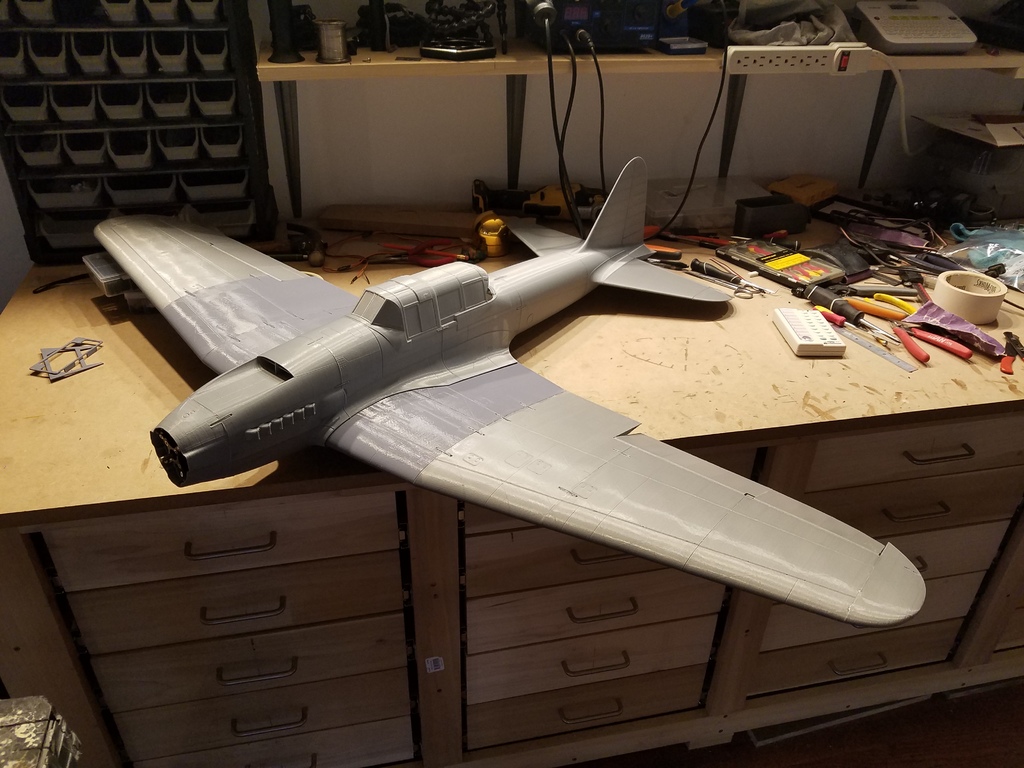
IL-2 Sturmovik - Wing Servo Connector - 3DLabPrint
prusaprinters
<p>Along the lines of my other workups:</p> <p>B-25 Mitchell <a href="https://www.thingiverse.com/thing:4121096">https://www.thingiverse.com/thing:4121096</a></p> <p>Spitfire Mk IX <a href="https://www.thingiverse.com/thing:4143803">https://www.thingiverse.com/thing:4143803</a></p> <p>F4U Corsair <a href="https://www.thingiverse.com/thing:4178322">https://www.thingiverse.com/thing:4178322</a></p> <p>EDGE 540 46” <a href="https://www.thingiverse.com/thing:4128056">https://www.thingiverse.com/thing:4128056</a></p> <p>EDGE 540 73" <a href="https://www.thingiverse.com/thing:4368656">https://www.thingiverse.com/thing:4368656</a></p> <p>Qtrainer <a href="https://www.thingiverse.com/thing:4137667">https://www.thingiverse.com/thing:4137667</a></p> <p>P-51D <a href="https://www.thingiverse.com/thing:4186416">https://www.thingiverse.com/thing:4186416</a></p> <p>Focke-Wulf Ta152H <a href="https://www.thingiverse.com/thing:4195584">https://www.thingiverse.com/thing:4195584</a></p> <p>Fully templated, easy installation, adjustable.</p> <p>Uses 2.54mm JST-XH connectors, standard servo connectors, and 3 M3x8mm self tapping screws.</p> <p>Designed for and installed in a fully assembled plane.</p> <p>NOTE: Unless you use Standoffs/Clevises, I reccommend that you install and connect the Elevator servo/pushrod before installing this mod. There might not be enough room to get the Z-bend pliers in there afterwards.</p> <h3>Print Settings</h3> <p><strong>Printer:</strong></p> <p>AluMaker</p> <p class="detail-setting rafts"><strong>Rafts: </strong> <div><p>No</p></div> <p><strong>Supports:</strong></p> <p>Yes</p> <p class="detail-setting resolution"><strong>Resolution: </strong> <div><p>Normal, .15 in Cura</p></div> <p><strong>Infill:</strong></p> <p>Varied</p> <p><strong>Filament:</strong></p> eSun is what I used PLA or PLA+ (my preference) <p>Your choice</p> <p><br/> <p class="detail-setting notes"><strong>Notes: </strong></p> </p><div><p>Print all parts arranged as illustrated.</p> The W-Filler Plate and the Templates get 10% Infill. <p>All other parts get 35% Infill.</p> <p>Use Support for the W-Mount Plate, W-Plug Plate, F-Mount and F-Plug Plate.</p> <p>If you find that this makes your flying sessions MORE enjoyable with LESS hassle, please consider buying me a cup of coffee at</p> <p>paypal.me/MakeItMakeItMakeIt</p> <p>Thank You!</p> <h3>Post-Printing</h3> <p><strong>Installation</strong></p> <p>Place the Wing Template as shown on the back upper edge of the wing, pegs in the holes.</p> <p>Ensure that the wing surface is flat and smooth where the W-Mount Plate is to go.</p> <p>With the slot UP and toward the front of the wing, glue the W-Mount Plate to the wing.</p> <p>Remove and recycle/discard the Wing Template.</p> <p>Install your prepared wing XH connector by inserting it into the W-Plug Plate.</p> <p>Then add the W-Filler Plate over the wiring and insert it into the Plug Plate.</p> <p>The Filler and Plug plates have angled back faces: ensure they are parallel with each other when assembling.</p> <p>Secure the Plug Plate using 2 M3x8mm screws, tightening until snug.</p> <p>Now loosen each screw enough so that the Plug Plate can be easily moved but stays where placed</p> <p><strong>Wing Plug Plate installed</strong></p> <p>Position the Fuselage Template as shown, then...</p> <p>Test-fit the F-Bracket.</p> <p>It should fit between the sides, allowing for a small ridge where the interior has been cut away.</p> <p>The top edges of the bracket fit flush to the fuselage.</p> <p>The back edge fits against the Template</p> <p>File/sand/smooth the fuselage as needed.</p> <p>When you are satisfied with the fit, glue the bracket in place, ensuring it is positioned against the Template as shown.</p> <p>Remove and recycle/discard the Template.</p> <p><strong>Template placed and F-Bracket glued.</strong></p> <p>Compose your desired wiring and assemble the XH connector to the F-Plug Plate.</p> <p>Apply a bead of hot glue to the backside wiring and plate to retain the XH connector.</p> <p><strong>F-Plug Plate Assembly</strong></p> <p><strong>Hot Glued (messy)</strong></p> <p>Install the Plug Plate Assembly to the F-Bracket using 1 M3x8mm screw.</p> <p><strong>Wing Installation</strong></p> <p>When installing the wing, hold the back edge away from the fuselage until the nose of the wing is fully seated forward, then press/wriggle the wing into place.</p> <p>The Wing connector can only move up/down on the screw slots, so there is room for play intentionally.</p> <p>Once center has been found, it will find it again easily every time.</p> </div></p></p> Category: R/C Vehicles
With this file you will be able to print IL-2 Sturmovik - Wing Servo Connector - 3DLabPrint with your 3D printer. Click on the button and save the file on your computer to work, edit or customize your design. You can also find more 3D designs for printers on IL-2 Sturmovik - Wing Servo Connector - 3DLabPrint.
