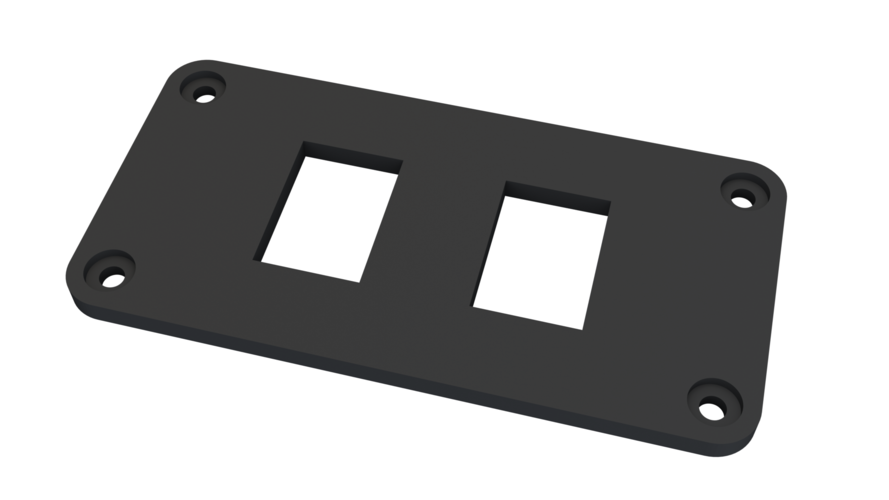
Ikea Stuva Switch Plate
pinshape
Mounting a dual switch panel onto an Ikea Stuva requires attention to detail and some basic tools. Start by locating the correct mounting bracket for your specific Stuva model, as these can vary significantly between different designs. Once you have identified the appropriate bracket, attach it firmly to the Stuva's back plate using screws provided with the bracket. Next, locate the dual switch panel and align its front edge with the bracket's mounting points. Securely fasten the panel in place using additional screws supplied with the bracket. Double-check that all connections are secure before moving on to the next step. Mounting two switches onto an Ikea Stuva is a straightforward task when approached methodically, but it does demand some patience and attention to detail.
With this file you will be able to print Ikea Stuva Switch Plate with your 3D printer. Click on the button and save the file on your computer to work, edit or customize your design. You can also find more 3D designs for printers on Ikea Stuva Switch Plate.
