IKEA Skadis Peg board snap fit connector (V2 Updated)
thingiverse
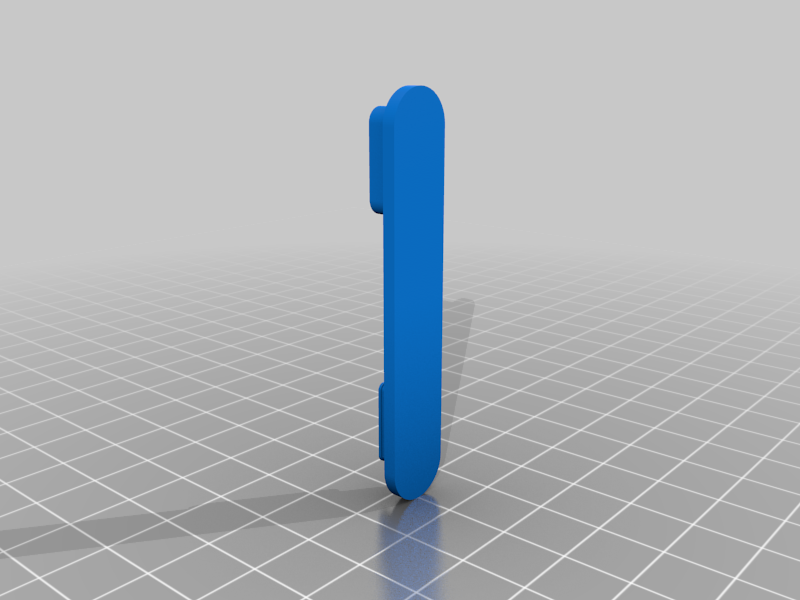
Hi, I required attaching one IKEA Skadis to another and therefore decided to design this snap-fit connector. You can print it without any support needed. To install it, place two IKEA Scadis pegboards on the floor, take the longer connector piece and position it underneath the boards. Next, slowly apply pressure until it snaps into the board. Then secure it from the other side with a second connector piece. The connection is quite tight, so you might want to use a mallet or a piece of wood to join the two parts together. Be cautious while moving the boards until all connectors are installed because 2-3 connectors won't be able to support the weight of the boards and may break. If you have any questions or suggestions, please leave a comment. UPDATE 31.07.2020 I've uploaded a new file that is version two. It combines both male and female parts as suggested in the comments. I haven't printed it yet, but the model is the same, so it should work just fine.
With this file you will be able to print IKEA Skadis Peg board snap fit connector (V2 Updated) with your 3D printer. Click on the button and save the file on your computer to work, edit or customize your design. You can also find more 3D designs for printers on IKEA Skadis Peg board snap fit connector (V2 Updated).