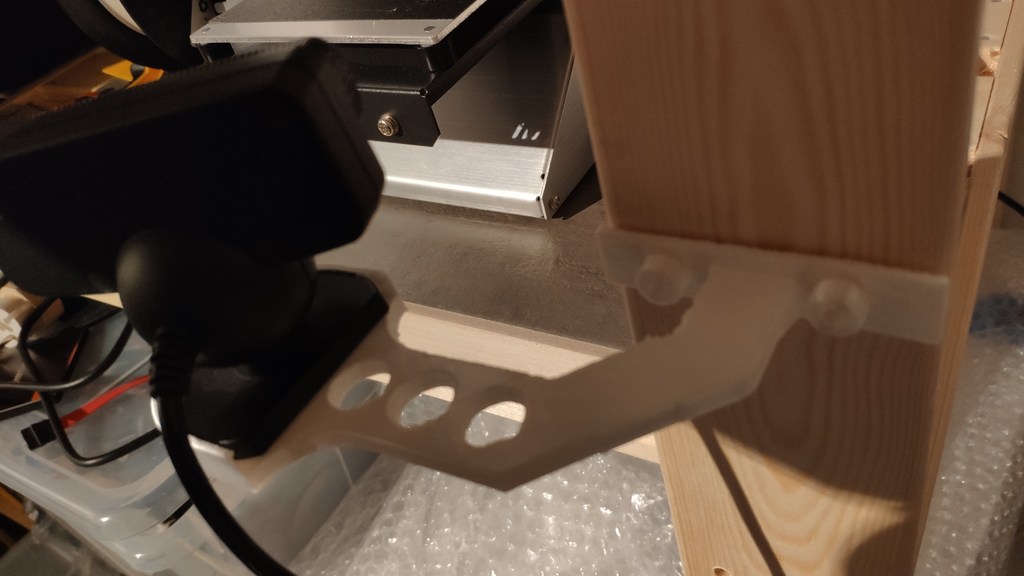
Ikea Shelf Playstation Eye Camera mount
thingiverse
Mounting a PlayStation Camera on an IKEA Hejne Shelf is a straightforward process requiring basic DIY skills. Start by locating the camera mount, which typically consists of a sturdy plastic or metal base attached to a long arm ending in a universal joint. This allows for flexible positioning of the camera. Next, acquire a suitable bracket from the shelf unit. For the IKEA Hejne Shelf, remove one of the middle shelves and locate two small holes on either side near the back. These will serve as mounting points for the bolt and nut provided with the camera mount. Align the base of the camera mount with these holes, ensuring proper clearance between the arm and the shelf's edge. Secure the base to the shelf using the provided bolt and nut, tightening firmly until snug. Route the arm of the camera mount around the back of the shelf, positioning it as desired for optimal camera visibility. The universal joint allows for easy adjustment in any direction. Finally, attach the camera to the end of the arm, ensuring a secure fit. Once complete, test the camera's functionality by moving it through its range of motion to verify smooth operation and clear visuals.
With this file you will be able to print Ikea Shelf Playstation Eye Camera mount with your 3D printer. Click on the button and save the file on your computer to work, edit or customize your design. You can also find more 3D designs for printers on Ikea Shelf Playstation Eye Camera mount.
