Ikea Pax Hanger Hack
thingiverse
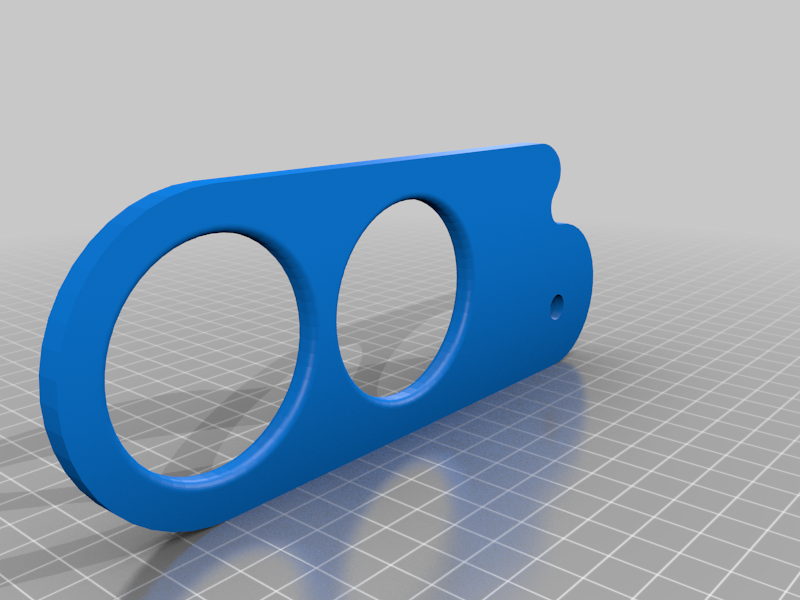
I was fed up with standard hangers that always seemed to be in the way. The bulky design of these hangers would get stuck and poke me all the time. This clever hack is a game-changer. If you no longer need the hanger, simply push it back into its hiding place. But if you do need it, just give it a quick spin and hang your favorite clothes with ease. To create this ingenious solution, print one Ikea Pax Hanger and two Ikea Pax Hanger Rings. Insert one ring into the main body of the hanger, using the standard screws that came with the PAX cabinet to secure it firmly on the side. That's all there is to it! This print is designed for the left side, but if you need a version for the right side, just mirror the part in your slicer and you're good to go.
With this file you will be able to print Ikea Pax Hanger Hack with your 3D printer. Click on the button and save the file on your computer to work, edit or customize your design. You can also find more 3D designs for printers on Ikea Pax Hanger Hack.