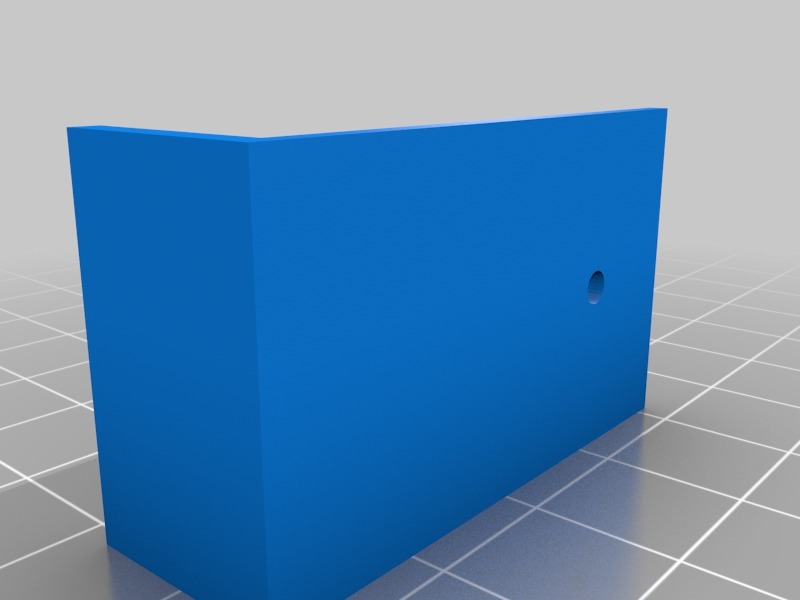
Ikea Norrfly Drill Template
thingiverse
Here's a template for drilling holes into your IKEA Norrfly cabinet lighting system: **Step 1: Prepare Your Tools and Materials** Gather all necessary tools and materials before starting the project. * Drill bits (various sizes) * Power drill or hand drill * Measuring tape * Pencil * Level * Safety glasses * Work surface **Step 2: Locate the Mounting Points** Find the mounting points on your cabinet where you want to install the lighting system. Typically, these are pre-drilled holes in the back of the cabinet. * Check the manufacturer's instructions for specific mounting point locations. * Use a level to ensure the mounting points are straight and level. **Step 3: Drill Pilot Holes** Drill pilot holes into the cabinet at the marked mounting points using a drill bit that is slightly smaller than the screw or bolt you will be using. * Apply gentle pressure and maintain a steady hand while drilling. * Use a drill press or hand drill with a stable work surface for best results. **Step 4: Install the Lighting System** Install the lighting system into the cabinet by inserting the screws or bolts into the pre-drilled pilot holes. * Tighten the screws or bolts securely, but avoid over-tightening, which can damage the cabinet or surrounding material. * Double-check that all connections are secure and functioning properly.
With this file you will be able to print Ikea Norrfly Drill Template with your 3D printer. Click on the button and save the file on your computer to work, edit or customize your design. You can also find more 3D designs for printers on Ikea Norrfly Drill Template.
