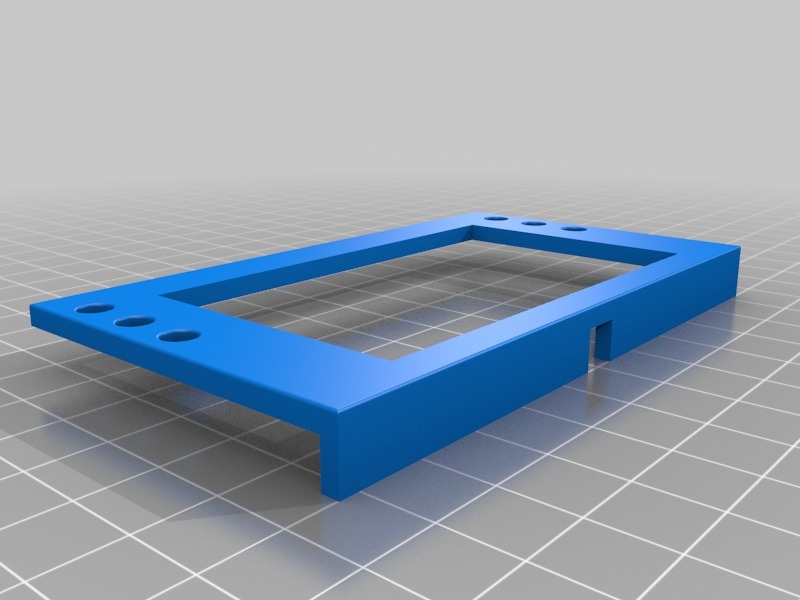
IKEa Mollarp Drawer Handle Guide
thingiverse
Installing Mollarp Handles on IKEA Drawers: A Step-by-Step Guide Are you tired of bland, unadorned drawers? Look no further! With these easy-to-follow steps, you'll be able to give your IKEA drawers a stylish makeover in no time. **Materials Needed** * 2 x Mollarp Handles (one for each drawer) * Drill bits (1/8 inch and 1/4 inch) * Wall anchors * Screws * A pencil **Step 1: Measure the Drawer** Before you start installing, make sure to measure the width of your drawer. This will ensure that you choose the right size handle for a perfect fit. **Step 2: Mark the Spot** Using a pencil, mark the spot where you want to install the handle. Make sure it's centered and evenly spaced from the edge of the drawer. **Step 3: Drill the Hole** Using a drill bit, carefully drill a hole in the marked spot. Start with a small hole (1/8 inch) and gradually increase the size as needed. **Step 4: Install the Handle** Place the handle on the drilled hole and screw it into place using wall anchors and screws. Make sure it's secure and evenly spaced from the edge of the drawer. **Step 5: Repeat for Second Drawer (If Applicable)** If you have multiple drawers, repeat steps 2-4 for each one. This will ensure that all your drawers look uniform and stylish. **Tips and Tricks** * Use a level to ensure the handle is perfectly straight. * Choose a handle color that matches your drawer's style and decor. * Consider adding a decorative screw or two for extra flair. With these simple steps, you'll be able to give your IKEA drawers a sleek, modern look in no time. Happy decorating!
With this file you will be able to print IKEa Mollarp Drawer Handle Guide with your 3D printer. Click on the button and save the file on your computer to work, edit or customize your design. You can also find more 3D designs for printers on IKEa Mollarp Drawer Handle Guide.
