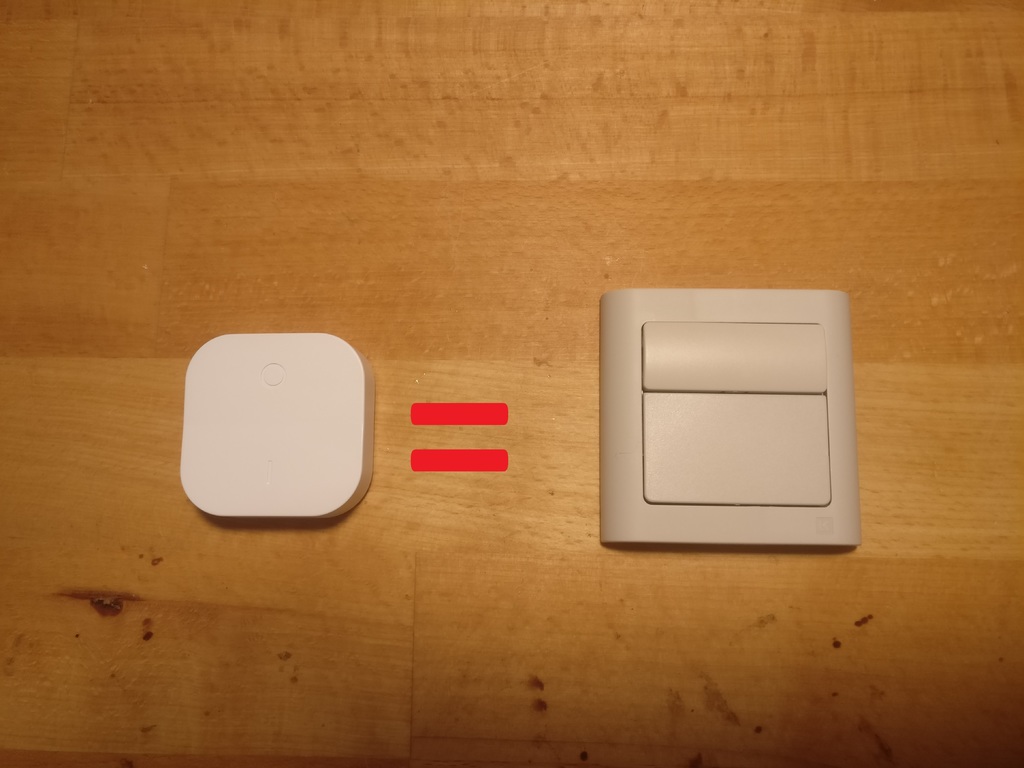
Ikea lysdæmper til FUGA® kontakter (Hue og TRÅDFRI)
thingiverse
Install a <a href="https://www.ikea.com/dk/da/p/tradfri-tradlos-lysdaemper-hvid-70408595/">Ikea Lysdæmper</a> in a FUGA contact using LK's low-voltage switch keys (EAN: 5703302132145 + 5703302140607). The design is based on the following Thingiverse model: <a href="https://www.thingiverse.com/thing:3655354">ZigBee to FUGA Contactors (Hue and TRÅDFRI)</a>, where you can also find information about ordering PCBs and contacts. Take a look at the images to see how to wire the Lysdæmper and PCB (green to R3-right side). - Remove both buttons from the light dimmer for the print to fit. - Make a hole in each side of the PCB for the Ikea light dimmer, in front of the contacts (be careful not to damage the print path on one side!), so it can be placed between the screw holes. - Apply tape to the back of the PCB to prevent short circuits (if there are any solder bridges, etc., on the back). If you don't want to move the pairing button in front, you can skip the green wire and small contact, and instead drill a hole in the back of the small square. This way, the original button can be accessed with a paper clip. Note: The print is not designed with a frame and sticks out 2mm on both sides! *Print it at 100.6% for optimal size in PLA
With this file you will be able to print Ikea lysdæmper til FUGA® kontakter (Hue og TRÅDFRI) with your 3D printer. Click on the button and save the file on your computer to work, edit or customize your design. You can also find more 3D designs for printers on Ikea lysdæmper til FUGA® kontakter (Hue og TRÅDFRI) .
