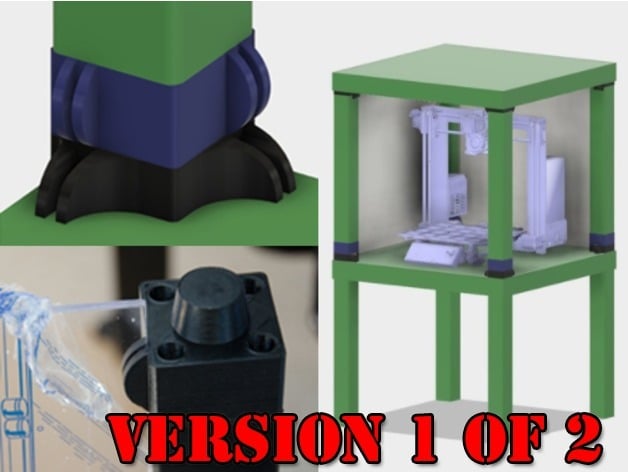
IKEA LACK ENCLOSURE V1
thingiverse
The instructions provided are for building a Prusa i3 3D printer enclosure using plexiglass and printed parts. The steps include: 1. Assembling the frame of the enclosure with plexiglass sides. 2. Adding lower legs to the enclosure, which will be secured later. 3. Drilling holes in the lower legs for screws and securing them to the table. 4. Attaching a handle to the door. 5. Creating a grommet for the power lead. 6. Assembling all the parts together. The author mentions that they still have some items left to complete, including adding a filament guide, screen mount, lights, and webcam.
With this file you will be able to print IKEA LACK ENCLOSURE V1 with your 3D printer. Click on the button and save the file on your computer to work, edit or customize your design. You can also find more 3D designs for printers on IKEA LACK ENCLOSURE V1.
