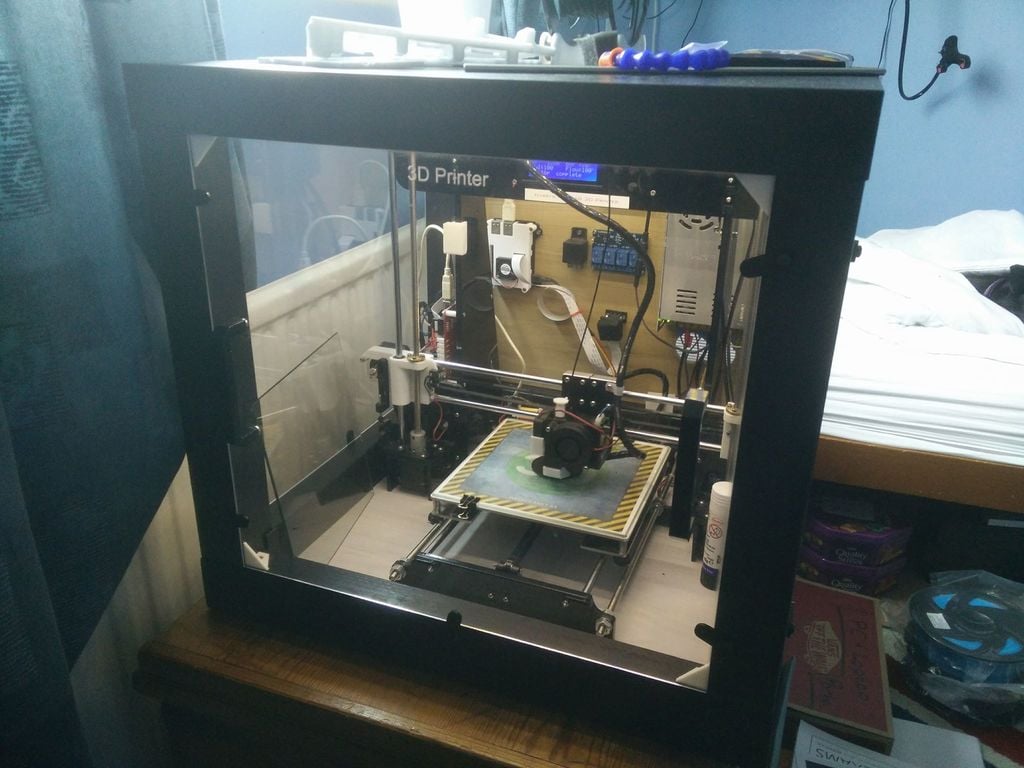
Ikea Lack Enclosure (For Anet A8)
thingiverse
This is my enclosure I built for my Anet A8 using a £5 Ikea Lack Table. I utilized some Studwork / CLS Timber to construct a mitre joint frame that serves as the bottom plate. Then, utilizing a router, I trimmed an edge so a piece of wood could fit and function as the base. Next, I drilled holes in each corner and also drilled holes in the bottoms of each table leg on the Lack table to enable me to dowel them together with a dowel joint. This allows me to disassemble the table if necessary in the future. I used a laser cutter to create the screw-on twisting pieces that will hold the acrylic panels in place. The transparent acrylic was also cut using a laser cutter. The 3D printed corner brackets can be screwed in and prevent the side panels from sliding back too far. The back panel of the enclosure is a piece of MDF attached with two hinges to facilitate easy access to the PSU and other electronics. I designed table feet components to provide additional support for the table or as an alternative, if you prefer not to dowel the table together, these can be screwed into the inside of each corner. This way, the table can only go up. If my explanation is unclear, please let me know so I can clarify any points that may need further explanation.
With this file you will be able to print Ikea Lack Enclosure (For Anet A8) with your 3D printer. Click on the button and save the file on your computer to work, edit or customize your design. You can also find more 3D designs for printers on Ikea Lack Enclosure (For Anet A8).
