Ikea Fintorp cover and spacer for installation using tesa Power.Kit (glue on studs)
prusaprinters
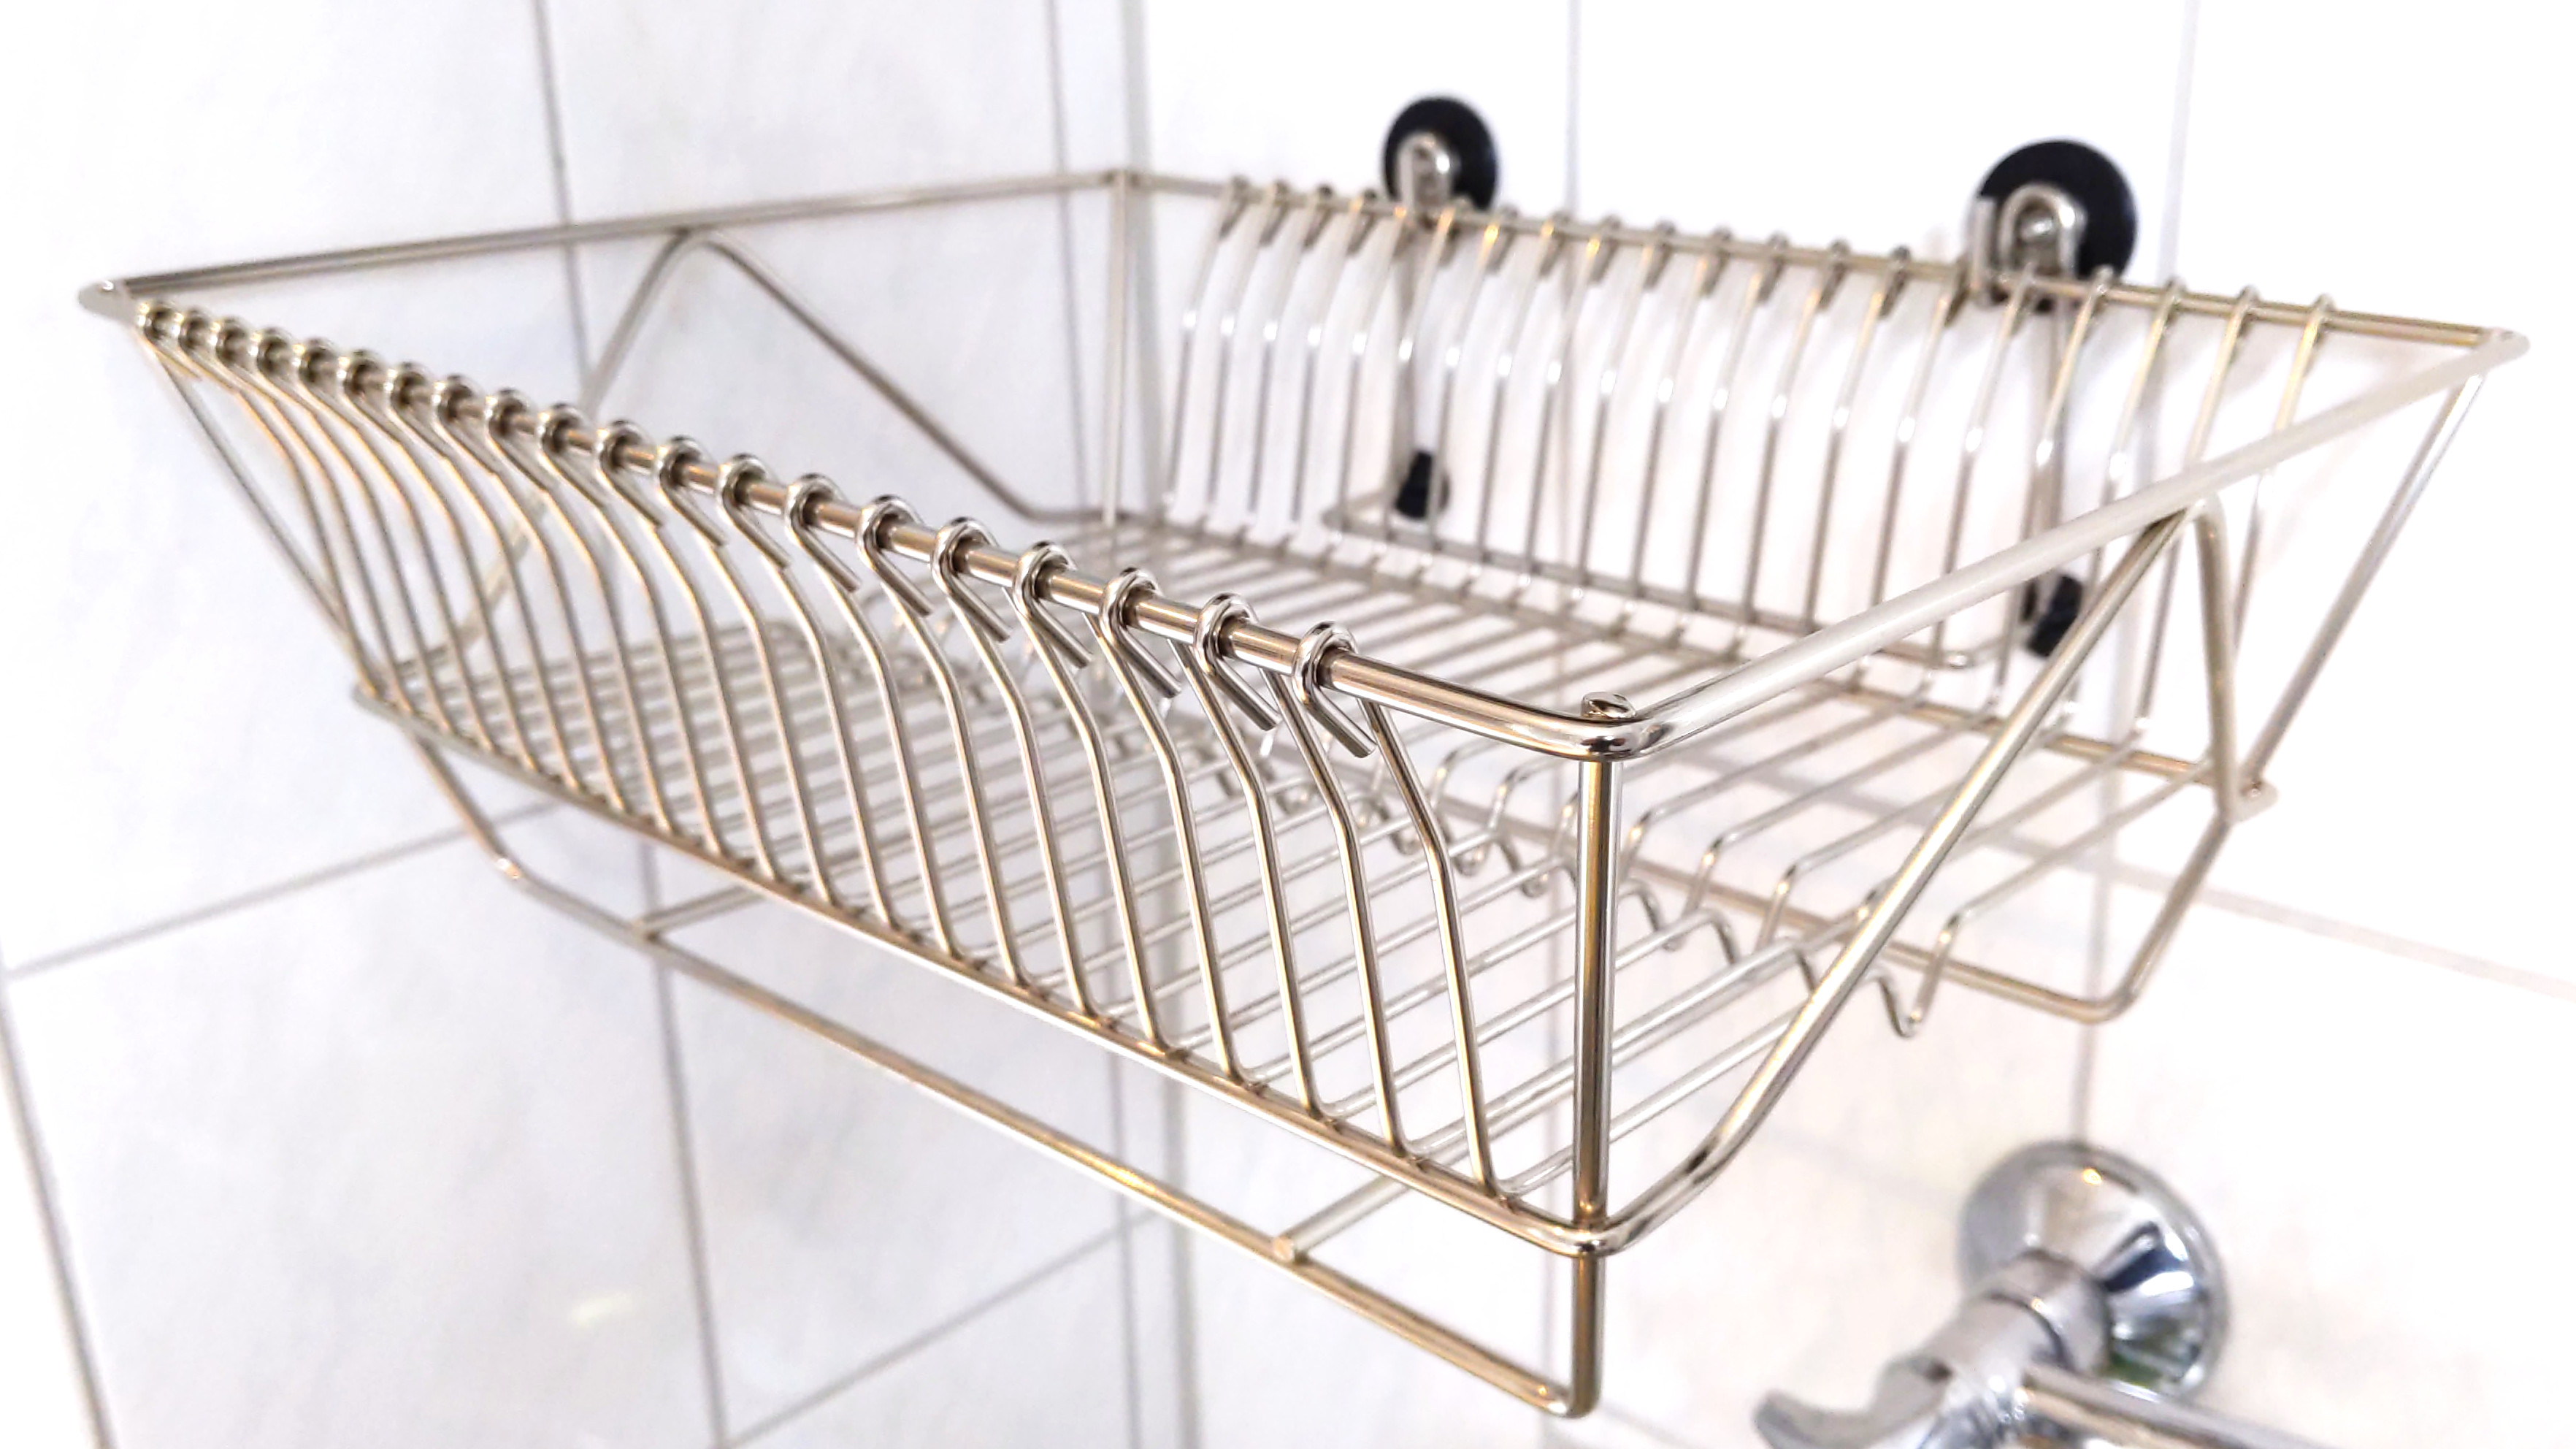
<p>I wanted to mount my Ikea Fintorp draining rack without drilling into the walls, thus avoiding to damage pipework and tiles in my kitchen.</p> <p>Therefore, I got one set of these glue-on studs from tesa:</p> <p><a href="https://www.tesa.com/en/consumer/tesa-spare-adapter-kit-bk43-2.html">https://www.tesa.com/en/consumer/tesa-spare-adapter-kit-bk43-2.html</a></p> <p>To hide them, I made small covers and also some spacers that allow for the holder to be supported by the wall.</p> <p>Both models are fully customizable. To tweak them to your needs, download the FreeCAD-files (*.fcstd) and open the spreadsheet ("Customize here"). All of the relevant variables can be changed there.</p> <p>I fastened the nuts with my fingers first and used a flat screwdriver to push their edges to fully tighten them.</p> <h3>Print instructions</h3><p>The covers fit quite tight, especially the thread clicks into it. For me this was nice, but maybe you prefer a little bit more clearance.</p> <p>I printed the covers upside down from PETG on a textured bed which makes for a nice surface finish. Wall thickness (0,89mm) and thickness of the flat part (0,5mm) are optimised for a 0,4mm nozzle in combination with 0,05mm layer height. Even with this fine layer height, printing time is about half an hour for one.</p> <p>The spacers clip right to the metal rods. Beware, that for optimal results, the height of the cover has to be matched by the spacer internal structure, cf. screenshots.</p> <p>Neither support nor brim is needed to print both models.</p>
With this file you will be able to print Ikea Fintorp cover and spacer for installation using tesa Power.Kit (glue on studs) with your 3D printer. Click on the button and save the file on your computer to work, edit or customize your design. You can also find more 3D designs for printers on Ikea Fintorp cover and spacer for installation using tesa Power.Kit (glue on studs).