IKEA 365+ ihändig Spice Mill Grinder Replacement Part
prusaprinters
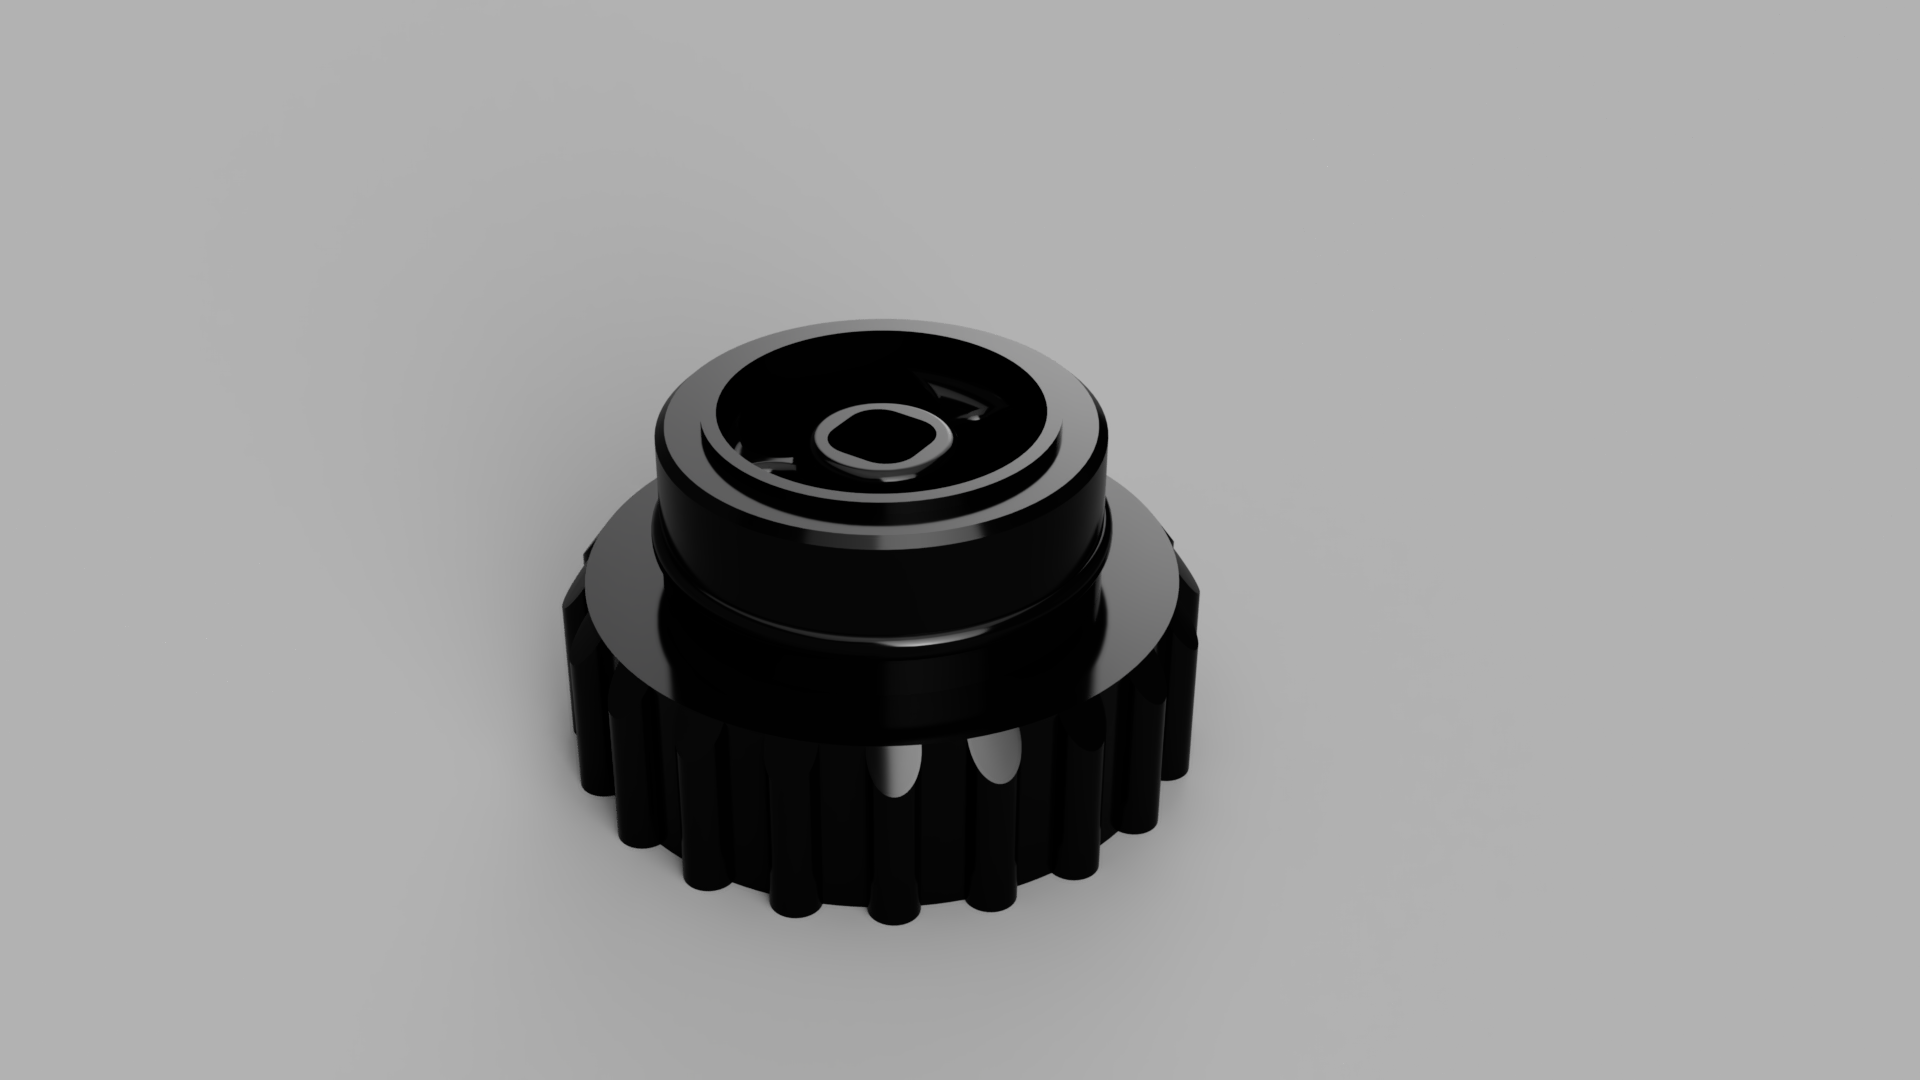
<p>This replacement part for the IKEA ihändig spice mill is a small personal project.<br/> I have two of these at home (a salt and pepper mill) and both of them started working less and less well until one day they just stopped altogether.</p> <p>Turns out the ribs which attach the grinding mechanism to the actual grinder body are relatively thin walled as they are produced using injection moulding. This leads to them snapping over time and the spice mill stops working.</p> <p>Not one to throw things out without trying to repair them I thought this a nice job for the 3D printer.<br/> I redesigned the part in such a way that it is sturdier than the original yet still snaps together with the original IKEA parts.<br/> Printed out of PETG the part should be able to stand up to most of the abuse thrown at it.</p> <p>Enjoy!<br/> Dylan<br/> 100%FAT</p> <h3>Print instructions</h3><p>Everything is already set-up for you in the .3mf file.</p> <p>Print is best done at a high infill (40%) at 0.15mm layer height and a minimum perimeter value of 4. This gives it enough strength to cope with the torsional forces applied by grinding.</p> <p><strong>Taking apart your old ihändig</strong></p> <ul> <li>Take off the smooth plastic cover and unscrew the grinder assembly from the glass part.</li> <li> Unscrew the adjustment knob from the grinder assembly.</li> <li> Gently, with something like a butter knife, pry the two halves of the grinder assembly apart, they are clicked together using a small snap-fit.</li> <li> Finally, take off the ceramic grinding stone and remove the spring and metal rod from the bottom part of the assembly.</li> </ul><p><strong>Reassembling your ihändig using the new part</strong></p> <ul> <li>Remove supports from the print if you have not already done so. Make sure you are thorough so you do not get any plastic in your spices later on!</li> <li>Using a pair of pliers and a heat gun heat up the metal rod you took out and gently press it into the cavity in the part. This might take several tries to reach the bottom of the cavity.</li> <li> Once the metal rod is seated properly the grinder can be reassembled. </li> </ul>
With this file you will be able to print IKEA 365+ ihändig Spice Mill Grinder Replacement Part with your 3D printer. Click on the button and save the file on your computer to work, edit or customize your design. You can also find more 3D designs for printers on IKEA 365+ ihändig Spice Mill Grinder Replacement Part.