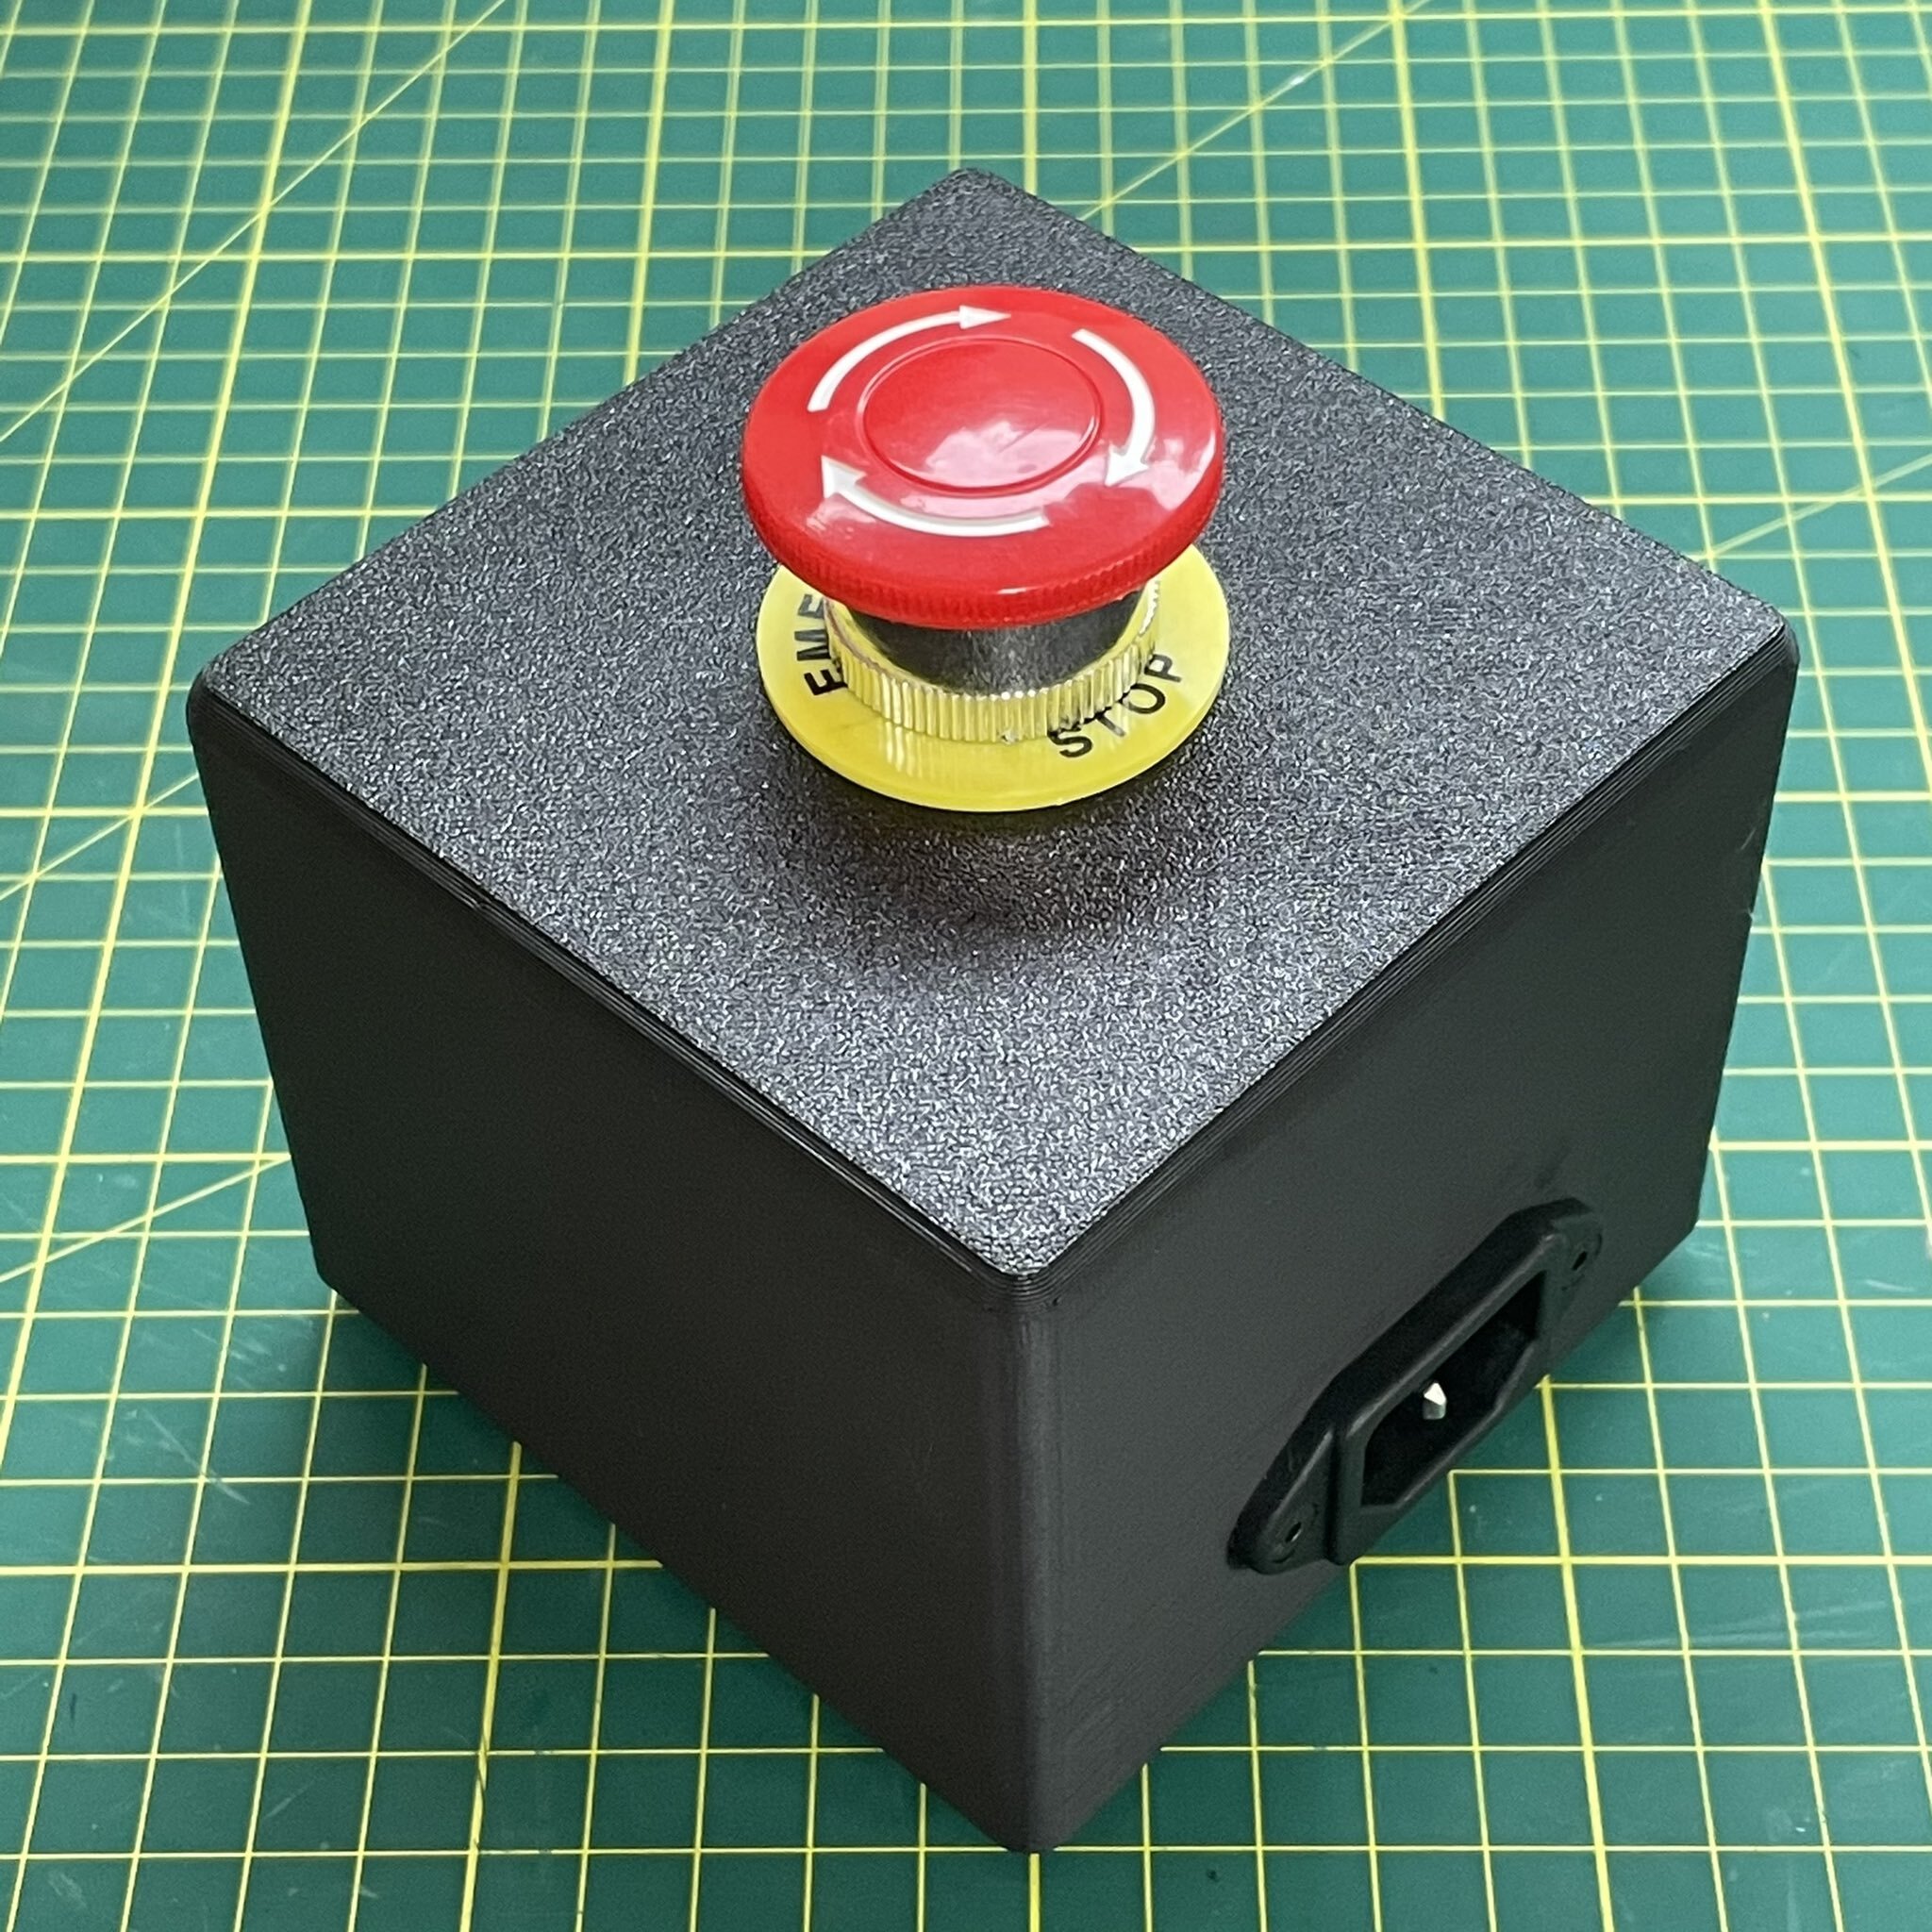
IEC Inline E-Stop
prusaprinters
<p><strong>WARNING: This project involves working with mains voltage. If you are not experienced and comfortable safely working with mains voltages walk away now! Use at your own risk, no assurance is provided that this is safe and you can be pretty sure it won't meet any local electrical standards. You have been warned.</strong></p><p>Often when commissioning devices that have moving parts like 3D printers, CNC machines or laser cutters I want to have a fast way to stop things if something goes wrong. I figured someone would make an inline E-stop but couldn't for the life of me find one so made my own.</p><p>IEC C14 and C13 receptacle is used on each side of the E-Stop so you can use it with any device using an IEC cable. If your device doesn't use an IEC connector you can use an <a href="https://www.jaycar.com.au/iec-c14-male-to-3pin-mains-socket-150mm/p/PS4100">IEC pigtail</a> (commonly used on UPS devices) to connect a standard mains plug.</p><p>The main components I used for this build were:</p><ul><li><a href="https://www.aliexpress.com/item/32517103077.html">E-stop Switch AC 660V 10A 2NC DPST</a></li><li><a href="https://www.altronics.com.au/p/p8326A-c13-female-plug-chassis-mount-10a-iec/">IEC C13 Female Plug Chassis Mount</a></li><li><a href="https://www.altronics.com.au/p/p8320b-c14-male-socket-chassis-mount-10a-iec/">IEC C14 Male Socket Chassis Mount</a></li><li><a href="https://www.aliexpress.com/item/33009219896.html">8 x M3x8mm Countersink Screws</a></li><li><a href="https://www.altronics.com.au/p/w0587-15a-flat-lights-mains-tps-cable/">15A Mains TPS Cable</a></li><li>Crimp Terminals</li></ul><p>This was designed for 230V so components may need modification depending on your local requirements. Ensure the E-stop you get is 2NC (both halves of the switch normally closed). Several have one side NC and the other NO. I was also not comfortable with only breaking the high side and wanted both active and neutral cut off when the switch is depressed.</p><p>I used mains cabling that is typically installed in walls which contains all three wires and removed the outer white insulation. Whatever you use make sure the wiring, crimps and E-stop can all handle the maximum current draw from a single outlet (10A here in Australia).</p><p>The case has been designed so that no screw which is accessible from the outside protrudes to the inside to ensure there is no chance of them coming into contact with any of the wires inside.</p><p>The IEC connectors used spade terminals. For the E-stop I used the captive circular terminals to reduce the chance of pull out. The enclosure is somewhat oversized to allow a fairly wide bend radius on the mains cables.</p><p>I am not providing a wiring diagram here. If you are not comfortable working that portion out yourself then you absolutely, positively should not be building this in the first place. Needless to say check your work with a multimeter to ensure the switch behaves as expected and that the correct paths pass all the way through.</p><p>The base can be printed in either orientation depending on what you want the bottom to look like. In my print I hollowed out the base to add a weight. I would recommend printing with 100% infill if you don't do something similar. I also added some rubber feet to give a bit more stability.</p><p>If you need to modify the enclosure for different model IEC connectors or E-stop buttons the STEP files are provided as well as a link to the original <a href="https://onshape.com">Onshape</a> document.</p><p>Onshape Document: <a href="https://cad.onshape.com/documents/1852e6b41138717f95bb224a/w/800821a04f6f0bb33afcf1dd/e/84e7148b2be3d50d0f718267">https://cad.onshape.com/documents/1852e6b41138717f95bb224a/w/800821a04f6f0bb33afcf1dd/e/84e7148b2be3d50d0f718267</a></p>
With this file you will be able to print IEC Inline E-Stop with your 3D printer. Click on the button and save the file on your computer to work, edit or customize your design. You can also find more 3D designs for printers on IEC Inline E-Stop.
