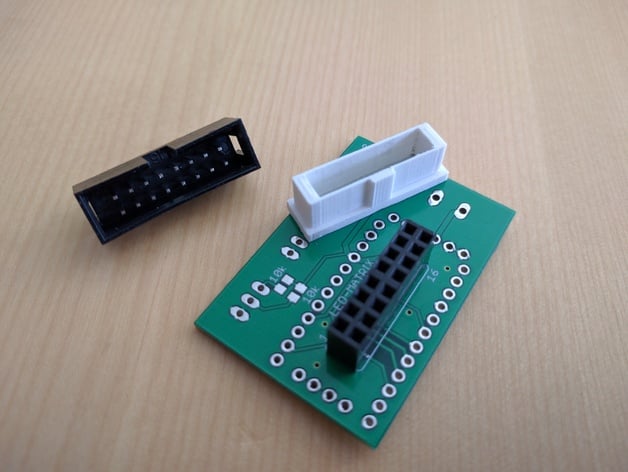
IDC Plug Frame
thingiverse
Transforming a 2xN Header-Pin Assembly into a Functional 2xN IDC Plug Requires Strategic Planning and Precision Execution. To accomplish this conversion, start by carefully separating the 2xN header-pins from their original circuit board or connector. This will allow for individual handling of each pin, facilitating a smooth transition to the IDC plug format. Next, meticulously inspect each pin to ensure they are free from any debris or corrosion that may impede proper functionality within the new IDC connector. Any damaged pins must be replaced prior to proceeding with the conversion process. Now, attach the header-pins to a 2xN IDC plug base using a high-quality soldering technique. This will securely fasten each pin in place, guaranteeing efficient electrical conductivity and reliable performance within the IDC connector. Upon completing the soldering process, carefully insert the 2xN IDC plug assembly into an available IDC socket or header. Securely fasten the IDC plug to the socket using a suitable mounting method, such as screws or clips. Finally, verify that all connections are secure and functioning correctly by applying a low-voltage electrical signal to the IDC connector. This will confirm that the conversion process has been successful and the 2xN IDC plug is ready for use in its intended application.
With this file you will be able to print IDC Plug Frame with your 3D printer. Click on the button and save the file on your computer to work, edit or customize your design. You can also find more 3D designs for printers on IDC Plug Frame.
