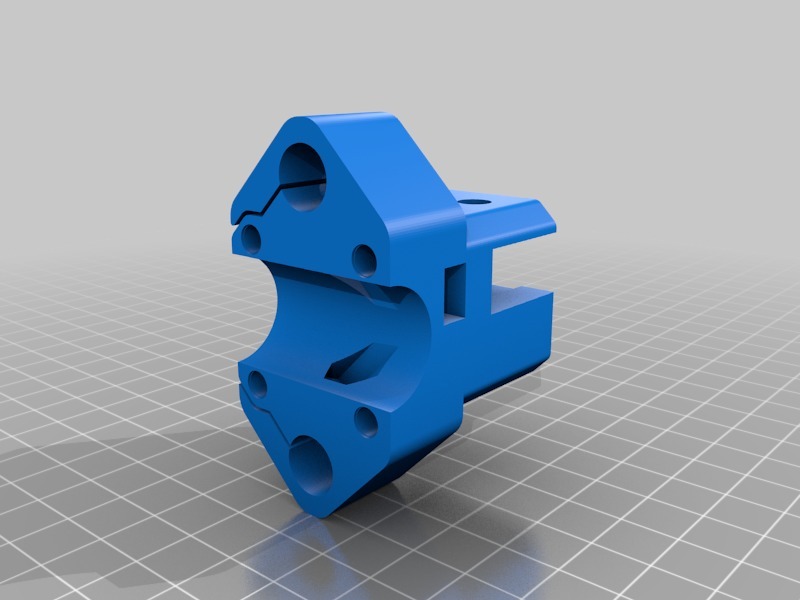
Hypercube Evolution rework to use 10 mm Steel Rod's on X Axis
thingiverse
The Things now are Successfully Assembled within my Printer and Functioning Properly so far. With this Assembly, you can utilize a 10mm steel Rod for the X Axis. To accomplish this Build, you will need 2 10mm Rods and 2 LM10LUU bearings. You can reuse all other Components from the Original Design. On November 10th, 2017, I centered the Y carriage in the hex nut pocket of the rod clamp. On September 21st, 2017, I introduced X Carriage V2 after initially experiencing some instability with my first prototype. I added the Y Endstop flag and X Endstop flags to resolve these issues. On October 8th, 2017, I shared some Photos taken with this Modification. If you have any suggestions for improving the corners, please feel free to share your ideas as this has been a persistent problem since the beginning of my project, even when using 8mm rods. This Print was accomplished at a speed of 50 mm/s. (c) https://hypercube-evolution.de
With this file you will be able to print Hypercube Evolution rework to use 10 mm Steel Rod's on X Axis with your 3D printer. Click on the button and save the file on your computer to work, edit or customize your design. You can also find more 3D designs for printers on Hypercube Evolution rework to use 10 mm Steel Rod's on X Axis.
