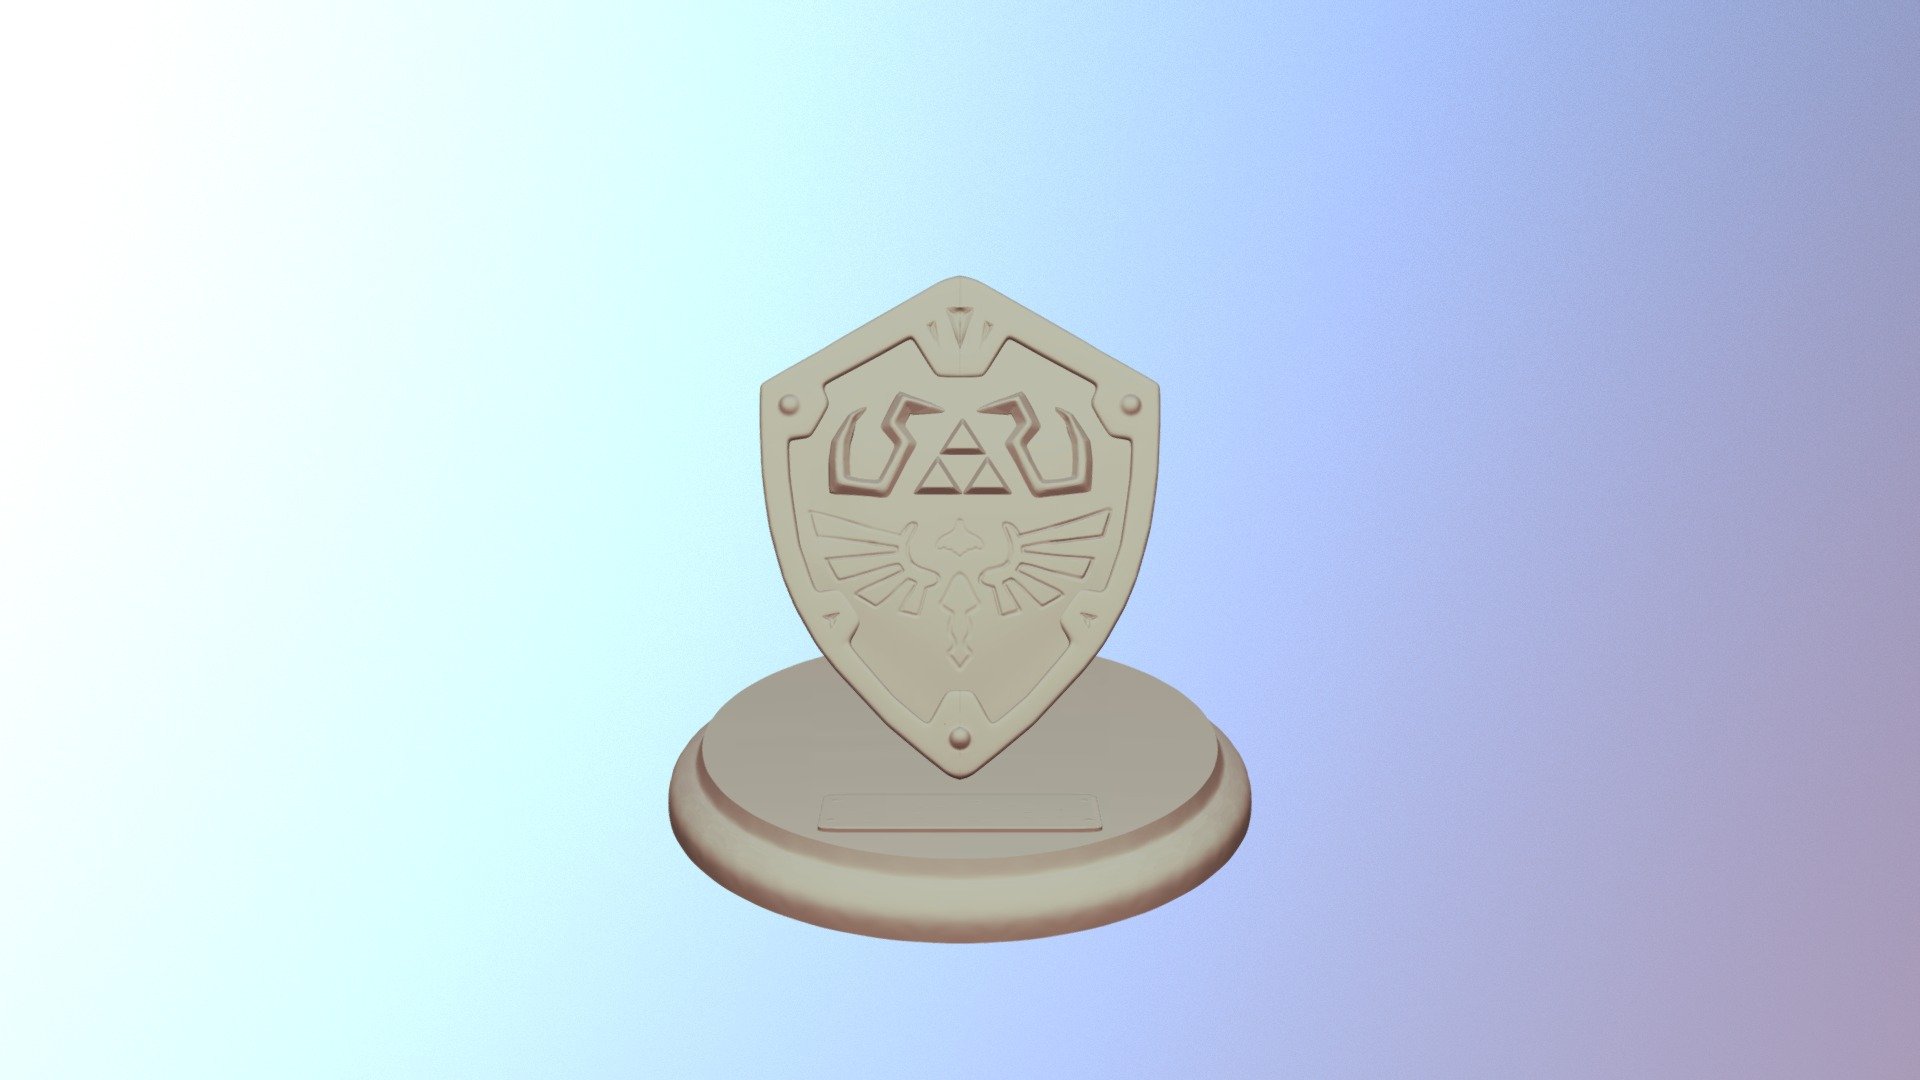
Hylian Shield
sketchfab
Hylian Shield Sculpture in Blender In this tutorial, we will learn how to create a detailed and realistic 3D model of the iconic Hylian shield from the Legend of Zelda series using Blender. We'll go through each step carefully, making sure you understand every technique involved. Step 1: Setting Up the Scene -------------------------------- First, let's set up our scene in Blender. Open a new project and delete any default cubes or objects that come with it. We're starting from scratch here! In this step, we'll create a basic plane that will serve as the base of our shield. This plane should be white and have no texture applied to it yet. To do this, go to the top toolbar and select 'Plane' under the 'Mesh' tab. Name your new object 'Shield Base'. Make sure its dimensions are set to 1 meter by 1 meter. Now that we've created our base plane, let's move on to step two where we'll start adding some details to it. Step 2: Adding Details ------------------------- Next, we need to add some detail to our shield base. To do this, go back to the top toolbar and select 'Loop Cut' under the 'Edit Mode' tab. This will allow us to cut a loop in our plane and create a new edge. Cut a loop around your entire plane, making sure not to intersect any edges already present. Once you've done that, press enter to confirm your changes. Step 3: Adding the Shield's Edge -------------------------------- Now that we have our base plane with a cut loop around it, let's add some details to the edge of the shield. To do this, go back to the top toolbar and select 'Extrude' under the 'Edit Mode' tab. Extrude the edges of your cut loop outwards from the center of your plane by about 0.1 meters. This will give us the basic shape of our shield's edge. Step 4: Adding Texture ---------------------- Next up, let's add some texture to our shield base. To do this, go back to the top toolbar and select 'UV unwrap' under the 'Edit Mode' tab. Unwrap your plane by selecting all vertices and pressing u. This will open up a new window where you can adjust the UV coordinates of each vertex on your object. Step 5: Finalizing Your Shield ------------------------------ The final step is to finalize your shield model. To do this, go back to the top toolbar and select 'Smooth' under the 'Edit Mode' tab. Smooth out any rough edges or bumps on your shield by selecting all vertices and pressing s. This will give you a smooth and realistic finish for your Hylian shield. And that's it! You now have a detailed 3D model of the iconic Hylian shield from the Legend of Zelda series using Blender.
With this file you will be able to print Hylian Shield with your 3D printer. Click on the button and save the file on your computer to work, edit or customize your design. You can also find more 3D designs for printers on Hylian Shield.
