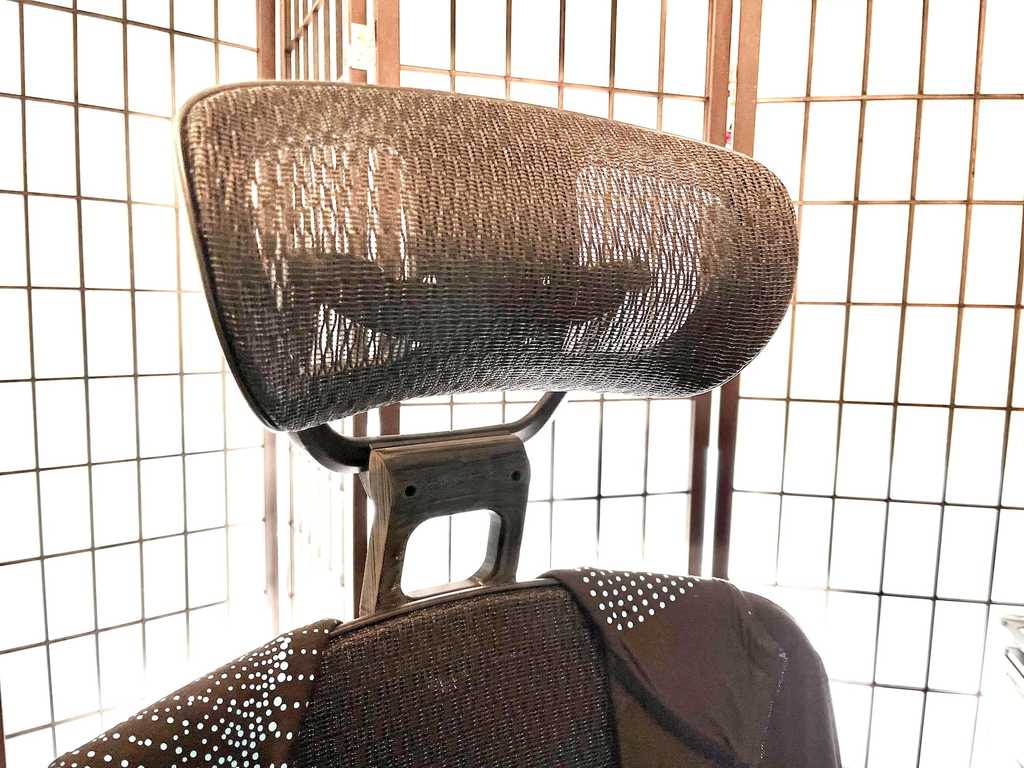
Hyken Mesh Flexfit Headrest Riser
thingiverse
During the pandemic, I upgraded my home office sitting situation from a folding chair to a [Hyken Mesh Flexfit](https://www.staples.com/Staples-Hyken-Technical-Mesh-Task-Chair-Black/product_990119) office chair. The chair itself was well reviewed for tall people and overall it has been good (get the roller-blade wheel upgrades) but the headrest was uncomfortable as it cut into my shoulders and was far too low. I designed this riser to bolt on in between the chair and the headrest. You will also need M6 heat-set inserts and some new M6 bolts. To print, use the default orientation mostly flat to the bed with the bolt holes going straight up) with supports, at least 4 top and bottom layers and walls, and 30% or more Gyroid infill. After printing, removing supports and a quick sanding to clean up the faces, install the heat set inserts and while they are still a bit warm, run bolts through the headrest and into the inserts and tighten only partially. After a few minutes when the plastic and inserts have fully set, then you can fully tighten them down. Then you can use the original bolts for the headrest to attach the new headrest + riser assembly to the chair.
With this file you will be able to print Hyken Mesh Flexfit Headrest Riser with your 3D printer. Click on the button and save the file on your computer to work, edit or customize your design. You can also find more 3D designs for printers on Hyken Mesh Flexfit Headrest Riser.
