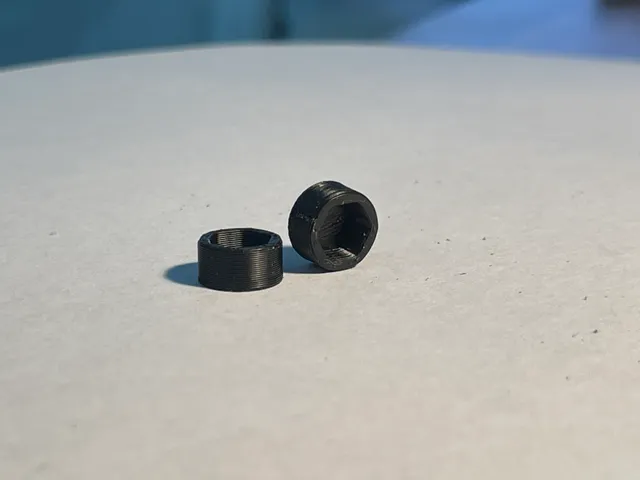
Hydra AMS - Threaded Rod Nut Cap
prusaprinters
I LOVE @humebeam's Hydra mod, but found the M3 bolts of the rear rollers constantly falling out during swaps or storage. Figured there had to be a solution to fix them in place. I went with a solid M3 threaded rod and a bit of locktite to secure a M3 nut to each side. Then modeled this cap to fit over the nuts using the dimensions from the original Hydra socket head casing. The finished rollers stay firmly together in one piece and roll sooo much better. Original @humebeam Improved Rear Roller design, with separate M3 bolt and socket casings.Step 1: Cut M3 threaded rod to 80mm. I did this with a metal chop saw, but can just as easily use a hack saw. I got the threaded rod here from Amazon: https://www.amazon.com/dp/B094H9VD44?psc=1&ref=ppx_yo2ov_dt_b_product_details Step 2: Fasten M3 nuts on one side of the thread rod pieces, and secure with locktite. I let this dry for awhile before moving on because I did not want to damage the bearings.Step 3: Insert threaded rod into the roller, dab with locktite, and fit second nut to other end. Again try to keep the wet locktite away from bearing. I let this dry again before moving on.Step 4: Press fit the 3D printed nut caps. You're done. The rollers should spin very freely. I don't know if this made a difference in tolerance, but I had previously drilled the center of the rollers with a M3 drill bit to allow the original bolt design to spin a little more smoothly.
With this file you will be able to print Hydra AMS - Threaded Rod Nut Cap with your 3D printer. Click on the button and save the file on your computer to work, edit or customize your design. You can also find more 3D designs for printers on Hydra AMS - Threaded Rod Nut Cap.
