Hybrid Plaster Plastic Ant Nest (experimental)
thingiverse
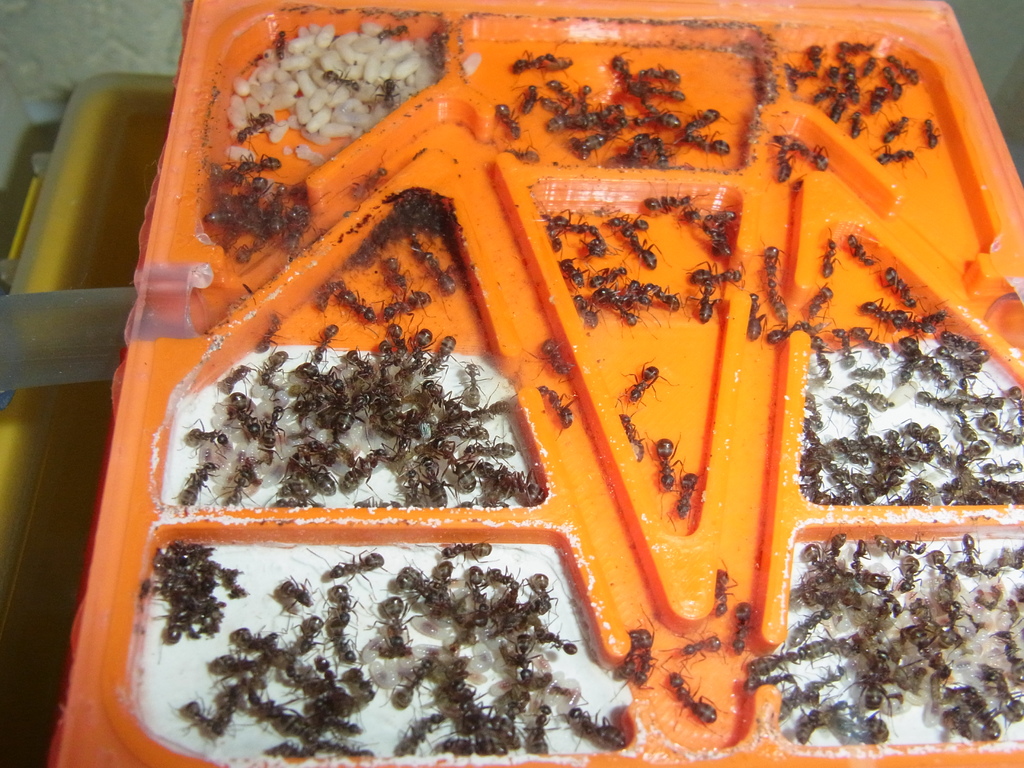
Some ant species, such as Formica cunicularia, thrive in nests with distinct zones of dryness and humidity. These zones serve specific purposes that support the ants' well-being. The proposed nest features compartments made from dry plastic and plaster, which can be watered via a built-in water basin. This setup allows for precise control over moisture levels within the nest. To create this unique habitat, gather the following materials: * Model plaster * A PVC tube with an outer diameter of 10mm * Aquarium silicone * A 100 x 100mm acryl or glass plate Now, follow these steps to assemble the nest: 1. Securely attach the water basin cover to the nest. 2. Mix the plaster with water and pour it into the nest while it's still in a liquid state (refer to photos for height guidelines). 3. After 30 minutes, carefully remove the cover from the nest. 4. Allow the mixture to dry for an entire day (24 hours) before proceeding. 5. Apply silicone to the openings where the tube connects to the nest. 6. Attach the tubes to the silicone, ensuring a secure fit. 7. Coat the tubes and all four sides of the nest with additional silicone. 8. Affix the acryl or glass plate to the silicone, then place a weight on top for an additional 24 hours (be cautious not to scratch the surface). 9. Wait another day or two until the gas released by the silicone has dissipated from the nest. 10. Connect this new section to your existing ant nest or test tube setup. 11. Add a small amount of water to the water basin on a monthly basis, or as needed, to maintain optimal humidity levels within the nest.
With this file you will be able to print Hybrid Plaster Plastic Ant Nest (experimental) with your 3D printer. Click on the button and save the file on your computer to work, edit or customize your design. You can also find more 3D designs for printers on Hybrid Plaster Plastic Ant Nest (experimental).