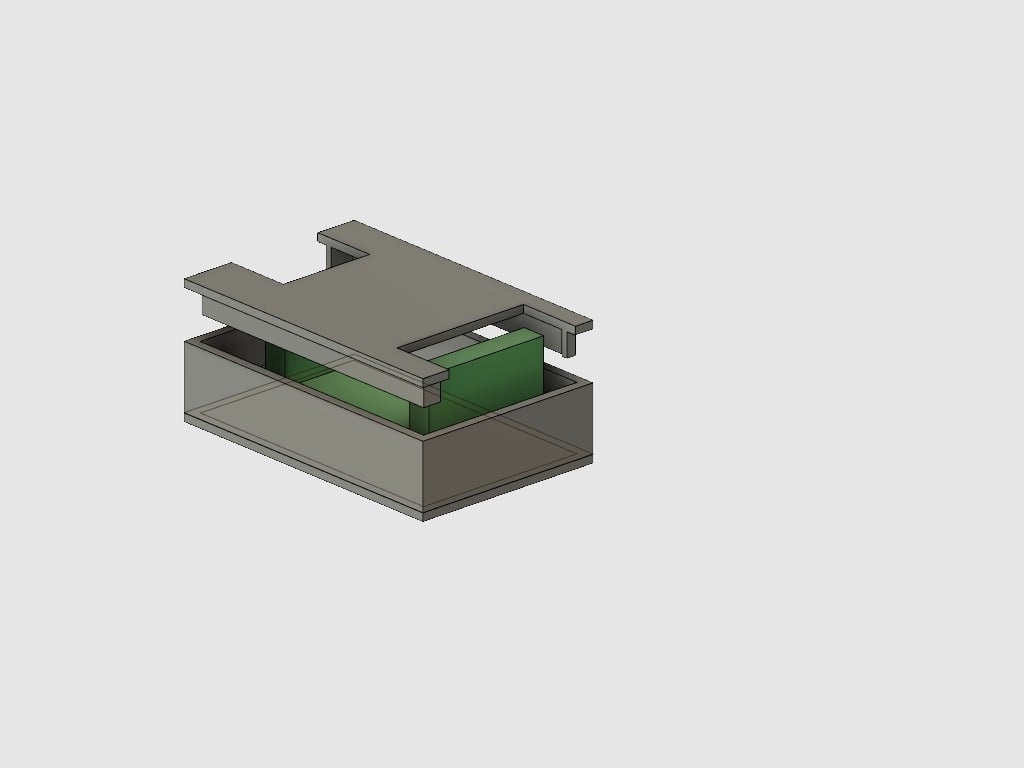
HX 711 Board Case
thingiverse
The HX 711 board is a versatile and user-friendly platform that makes it incredibly easy to get started with weighing sensors. This simple case will walk you through the basic steps of connecting your sensor to the board, uploading a sample sketch, and reading data from the sensor. To begin, ensure that you have the HX 711 breakout board in hand along with an analog output capable weighing sensor, such as the AM312 or HX711. The breakout board has two terminals: VCC (red) and GND (black). Connect your sensor to these terminals according to its manufacturer's instructions. Next, connect the HX 711 board to a microcontroller such as Arduino Uno. This can be done using a breadboard or directly soldering wires to the board. Make sure to keep track of which pin corresponds to VCC and GND on both boards. Once you've successfully connected your sensor and the HX 711 board, it's time to upload a sample sketch to your microcontroller. Open up Arduino IDE, create a new project, and copy-paste the following code into it: ```cpp const int pins[2] = {A0, A1}; // Define the analog input pins for the sensor int outputValue; void setup() { Serial.begin(9600); // Initialize serial communication at 9600 baud rate } void loop() { for (int i = 0; i < 2; i++) { outputValue = analogRead(pins[i]); Serial.print("Channel "); Serial.print(i + 1); Serial.print(": "); Serial.println(outputValue); delay(100); // Pause for a short interval } } ``` This code reads the data from both channels of your sensor and prints it out to the serial monitor. The delay function is used to slow down the reading process, giving you time to observe the output values. To upload the sketch, click on the "Verify" button followed by the "Upload" button. Once the upload is complete, open up the serial monitor in Arduino IDE by clicking on "Tools" > "Serial Monitor". In the serial monitor window, select the correct baud rate and ensure that the "Newline" checkbox is checked. After setting up your environment, you're ready to start experimenting with your weighing sensor. You can adjust the code to suit your specific needs or explore other projects using the HX 711 board.
With this file you will be able to print HX 711 Board Case with your 3D printer. Click on the button and save the file on your computer to work, edit or customize your design. You can also find more 3D designs for printers on HX 711 Board Case.
