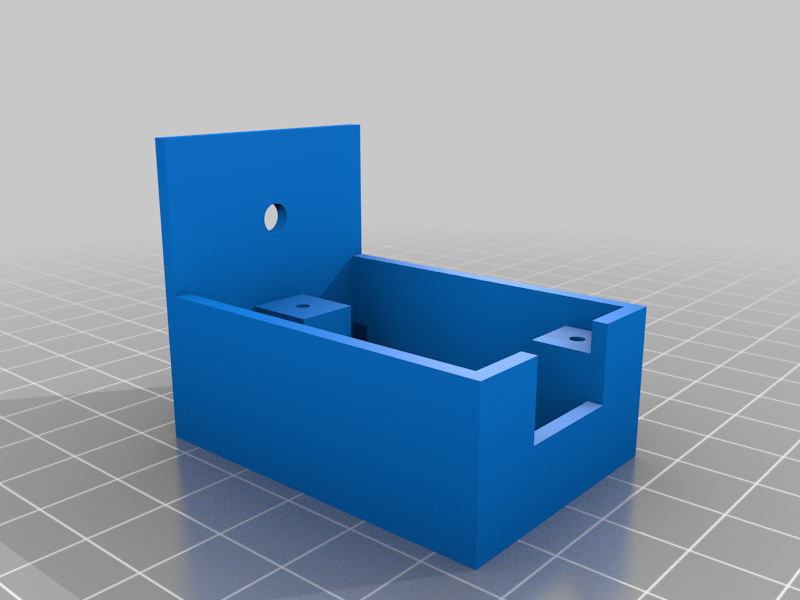
HW-468 buck converter enclosure
thingiverse
To build a compact housing for an HW-468 buck converter, start by crafting a small box that measures 1 inch x 2 inches x 0.5 inches in size. This enclosure will serve as the base for your project. Using a Raspberry Pi as the target device, you'll need to power it from your Ender 3 Pro's power supply. To achieve this, connect the buck converter to the power supply and then link it directly to the Raspberry Pi's input pins. Ensure that all connections are secure and won't be affected by vibrations or other external factors. Mounting the converter requires an M4X6 screw and a T-nut to provide stability and prevent movement during operation. Additionally, three tapping screws (3x8) will be needed for securing the capacitor in place.
With this file you will be able to print HW-468 buck converter enclosure with your 3D printer. Click on the button and save the file on your computer to work, edit or customize your design. You can also find more 3D designs for printers on HW-468 buck converter enclosure.
