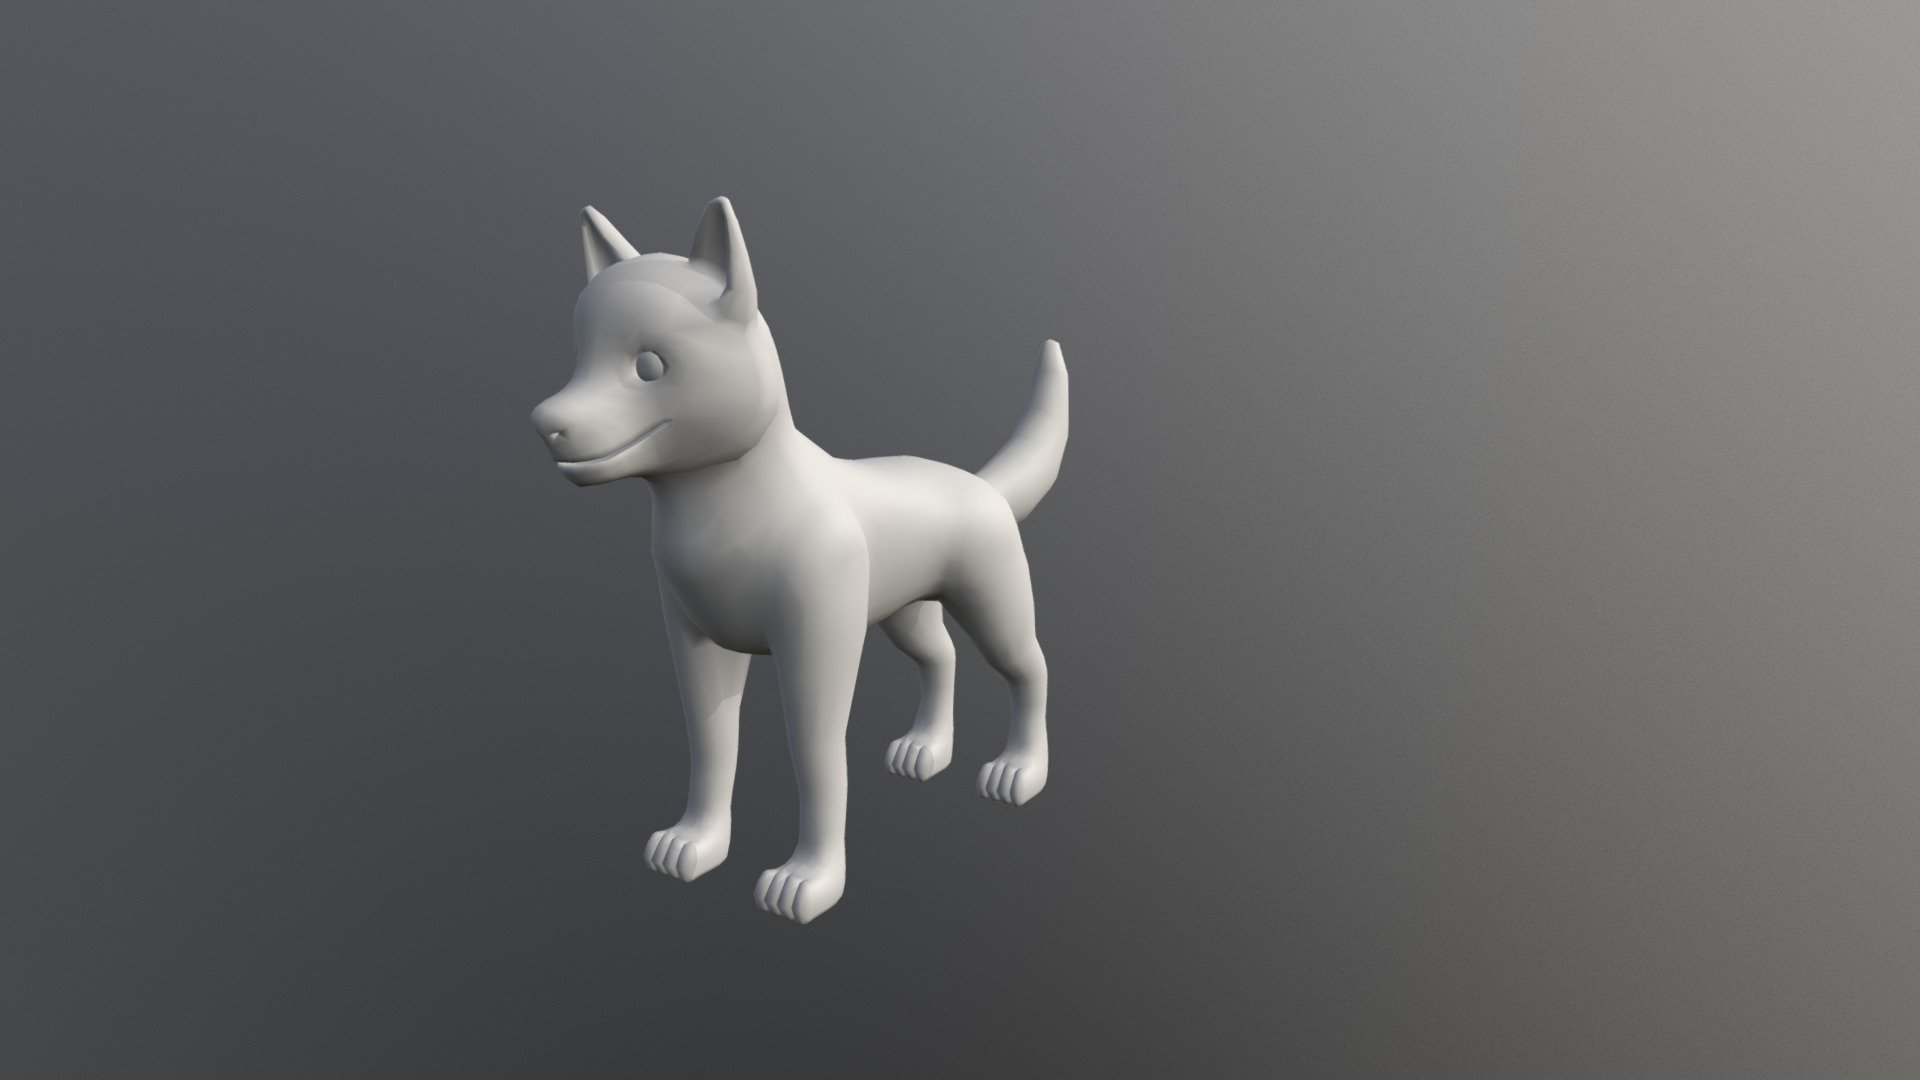
Husky Puppy
sketchfab
CGCookie Exercise We're going to make a 3D model of a simple house from scratch using Blender. To begin with, let's set up our project. Open Blender and click on File > New. Then, name your new file something like "house" and choose "Blank Project". Next, we'll need to create a cube for the base of the house. To do this, go to the Object Mode tab and press Shift + A. This will open up the menu where you can select objects to add to your scene. Click on Mesh > Cube, which should be under the "Mesh" section at the bottom left of the menu. Then, click anywhere in the 3D view to place the cube. You'll notice that it's selected automatically. Now, we need to size our cube to make it look like a house base. To do this, go back to Object Mode and select the cube by clicking on it in the 3D view. Then, press S to enter scale mode. Use your mouse to move the cursor over one of the axes (X, Y, or Z) and then click and drag to change the size of the cube. Try making the cube about 5 units long for each axis. Next, we'll make a wall for our house by duplicating the cube. To do this, select the cube in Object Mode and press Ctrl + D (or Command + D on Mac). This will duplicate the selected object, leaving it in place but also creating an exact copy that you can move around. Now, let's position the second cube as a wall. To do this, go back to Object Mode and click on the duplicated cube. Then, press G to enter grab mode and use your mouse to select one of the edges of the first cube. Move your cursor over the edge until it changes color, indicating that you've selected it. Then, click and drag to move the edge to the position where you want the wall to be.
With this file you will be able to print Husky Puppy with your 3D printer. Click on the button and save the file on your computer to work, edit or customize your design. You can also find more 3D designs for printers on Husky Puppy.
