HUMMbug the Hemera Unibody Mutant Mount
prusaprinters
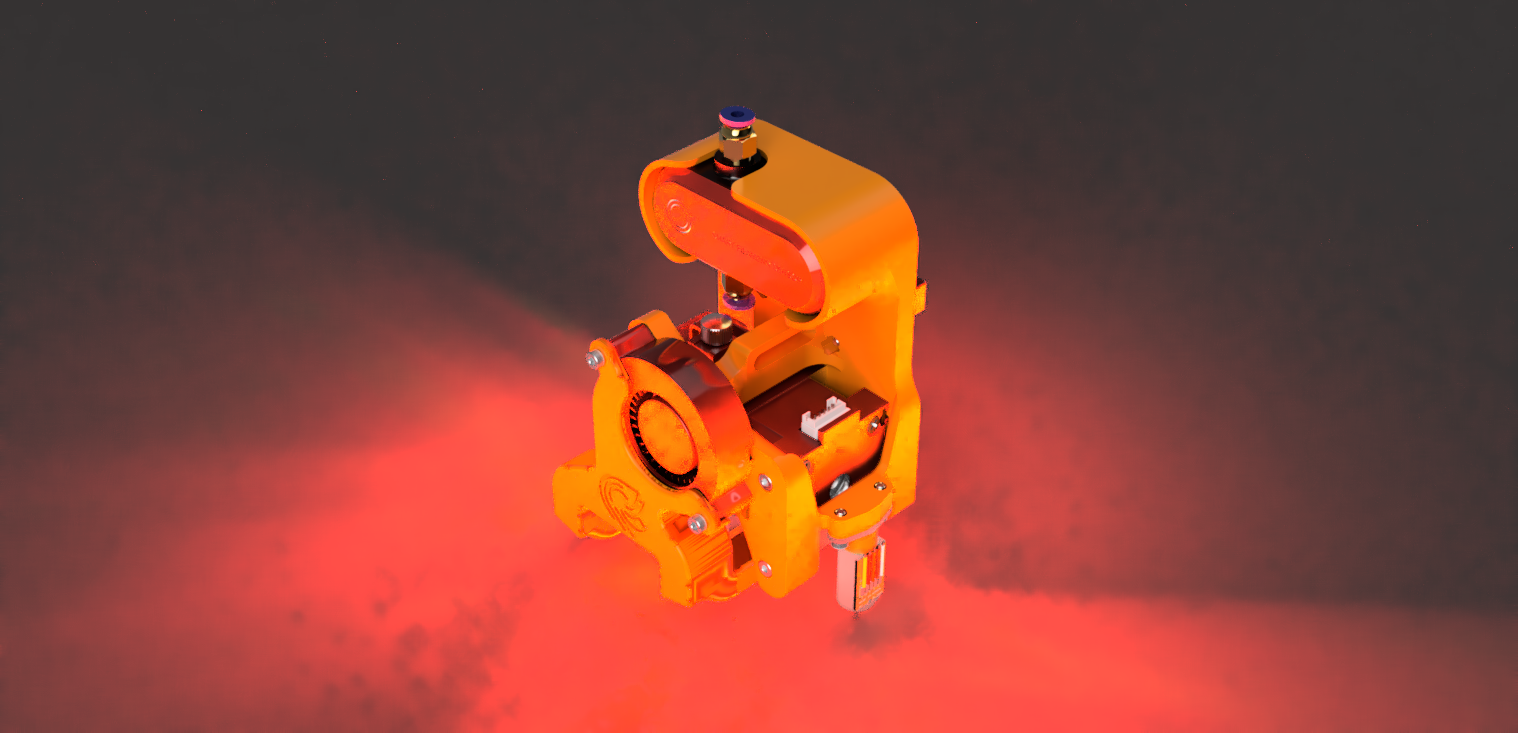
<p>The purpose of this thing is to mount all the premium attachments for a Hemera printhead to the Wham Bam Mutant v2 plate in a single piece (unibody) for the purposes of rigidity and compactness. While there are Mutant mounts out there, at the time of this design, the add-ons like BLTouch and smart filament sensor and part cooling fan are all separate, and piecing mounts for those together makes a print head large. By combining all the mounts into one piece, the goal was to add rigidity.<br><br>The part cooling fan duct is from HangTight on Thingiverse here:<br><br><a href="https://www.thingiverse.com/thing:4042492">https://www.thingiverse.com/thing:4042492</a><br><br>I find it to be both compact in its form factor, as well as versatile between standard V6 heater block and Volcano (which is what I use). Thank you HangTight for the great design.</p><p>Because the unibody is designed for function above “printability”, there is no particularly favorable print orientation that doesn't require supports. I printed it in the orientation that it would mount to the printer (the orientation the model comes in). I used PrusaSlicer 2.4, “0.2mm quality” setting with supports everywhere. 0.4mm hardened nozzle. With these settings the supports peeled off fairly easy.<br><br>Fasteners required:</p><ul><li>M3x8 socket head bolt, quantity 7</li><li>M3x10 socket head bolt, quantity 7</li><li>M3x14 socket head bolt, quantity 6</li><li>M3x25 socket head bolt, quantity 2</li><li>M3 nut, quantity 7</li><li>M3 brass threaded heat inserts, quantity 2<br> </li></ul><p>Assembly instructions:</p><ol><li>Use a soldering iron with appropriate tool to insert the M3 brass threaded inserts for the BLTouch. You can skip this step if you don't want or have the inserts and use a nut and longer bolt on the upper face of the probe mount. I think the inserts should be more rigid option, but not necessary.</li><li>Insert all the M3 nuts into the unibody first. Don't forget the ones for the part cooling fan on the “front's backside”. The rear nut pockets should keep them snug, but the front pocket slots are a bit loose (due to the need to slide the part cooling fan later) so you should hold the unibody front face down to keep the nuts in place.</li><li>Insert T-nuts into Hemera at all corners.</li><li>Slide the Hemera into the unibody, again holding the unibody face down to retain the fan M3 nuts. Make sure none of the T-nuts fall out. Once the Hemera is snug in, you can rotate the whole assembly in hand without anything falling out.</li><li>Fasten the Hemera at 7 points using M3x8 bolts.</li><li>You can now mount the rest of the addons in any order. I mounted the Mutant plate next. Then i mounted the smart filament sensor, then BLTouch, then part cooling fan and fan duct.</li><li>Wire according to your Mutant layout, but there is a central rib above the Hemera for use with zip ties if you wish.</li></ol><p><br> Probe offsets from nozzle: X+60.25mm Y-7.2mm</p><p>I printed mine out of Protopasta HTPLA-carbon fiber, and heat treated it. I chose this filament for its rigidity as well as thermal stability when heat treated. You can use a different material of your choice. If you wish to heat treat this filament, remember to scale the part to account for shrinkage factor. The included g-code has that scale. HTPLA-CF scales 100.6% in XY and 99% in Z, while HTPLA sparkly scales 102% in XY and 99% in Z.</p><p> </p>
With this file you will be able to print HUMMbug the Hemera Unibody Mutant Mount with your 3D printer. Click on the button and save the file on your computer to work, edit or customize your design. You can also find more 3D designs for printers on HUMMbug the Hemera Unibody Mutant Mount.