Humidity And Temperature Monitor For 3D Printer Enclosure
thingiverse
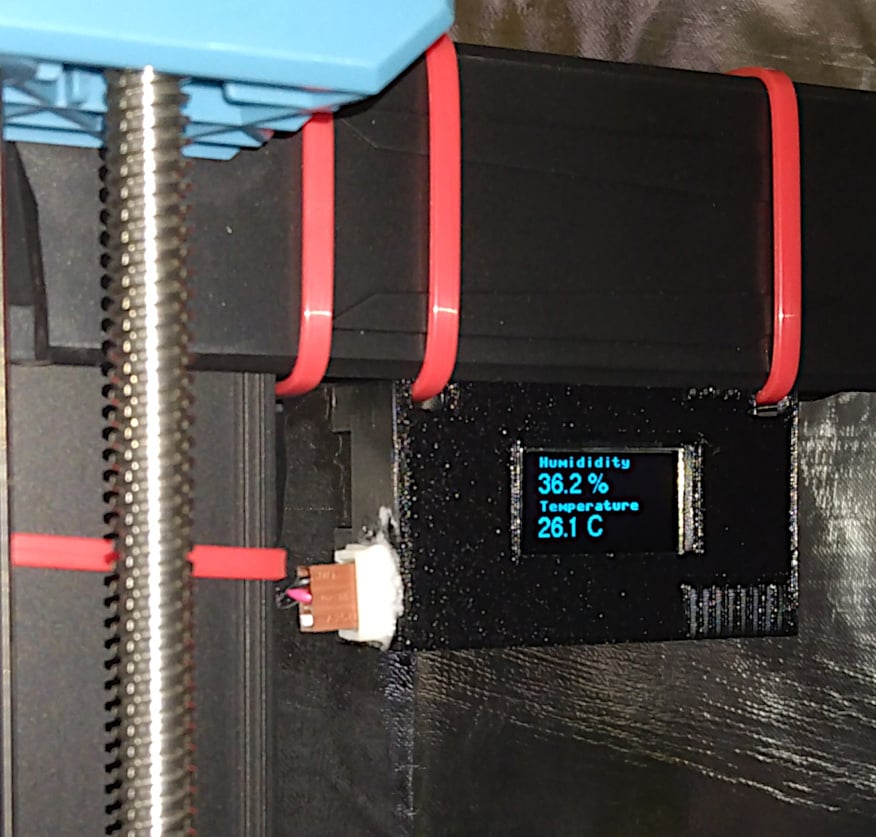
This is a simple humidity and temperature display I built for inside my enclosure. It uses a Raspberry Pi Pico, a SHT40 sensor, and a SSD1306 OLED. The SHT40 and SSD1306 are pretty cheap on eBay, and you can get a Pico anywhere that sells Raspberry Pi boards. The electronic components needed should cost no more than $12-$15. Besides the printable box, a circuit diagram and all of the code needed are included. I am also including the original blender files so you can modify them if you need to, one is the printable box, and one has the components so you can move them around and arrange things. It can be powered by anything that will power a Pico, a cheap USB charging brick and micro USB cable works well. How you mount it will depend on your printer. There are two holes in the box for cable ties at the top, I used these to attach it to the printer (Sovol SV06) under the top (see photo). When you mount it, make sure it doesn't interfere with anything that moves. If you are not familiar with the Pico, there are many great tutorials to get you started. All you need to do is install the Micropython firmware, upload all the files in the code zip file using Thonny, and do a bit of soldering to connect the sensors to the Pico. If you look at the PDF file with the circuit diagram, you can see it is pretty simple.
With this file you will be able to print Humidity And Temperature Monitor For 3D Printer Enclosure with your 3D printer. Click on the button and save the file on your computer to work, edit or customize your design. You can also find more 3D designs for printers on Humidity And Temperature Monitor For 3D Printer Enclosure.
