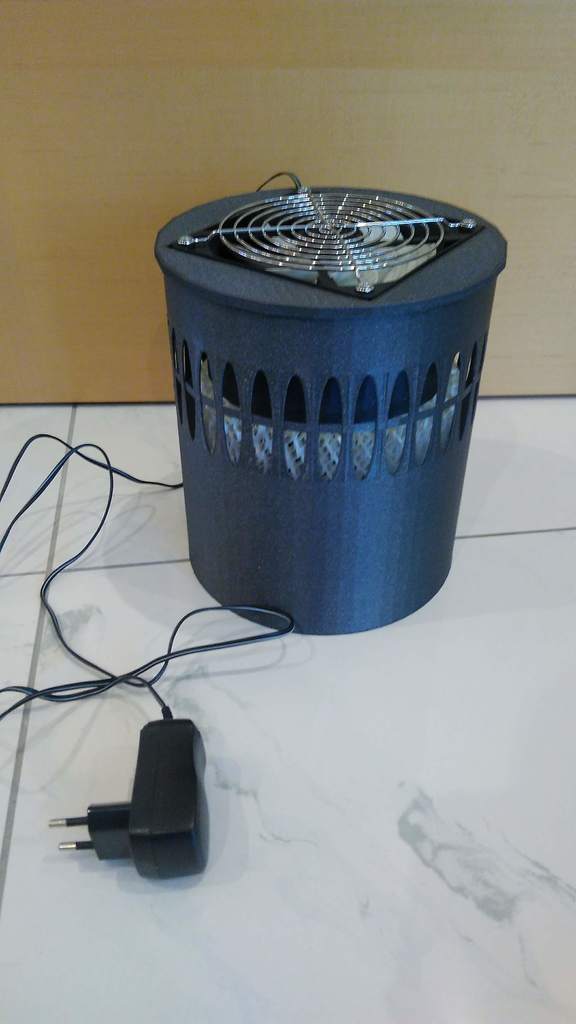
humidifer evaporator
thingiverse
Hello, this is my first self-designed project I've published online, so any recommendations for improvements or constructive comments are very welcome. In our home, we generally face low humidity in winter and two years ago I purchased a humidifier from Philips that works very well. It uses evaporative humidification which has two large advantages over traditional steam or ultrasonic humidifiers. - The power input on high setting is 19W (comparable steam humidifier is around 400W) - Scale and bacteria from the water are filtered out before distributing it in the room air Of course, this has its price, and the humidifiers start around $80 depending on size. After inspecting, I found that the principle is extremely simple, so I made a first model of my own using only a cheap small basket with a lid, some PVC pipe, and a Dremel tool. This was before owning a 3D-printer, though, and now the logical consequence was to create a design for printing it. So on this page you can find my first iteration of an evaporative humidifier compatible with spare filter/evaporator elements from Philips. I'm not sure if links to external websites are allowed here, so I'll just give you the material list and you can type them into the online suppliers website of your choice. Apart from the printed parts, following materials are required: 1 x PC-fan 120x120x25 mm (best to look for a silent model; found a good one for about $5) 1 x power supply - I recommend an adjustable one where you can choose the voltage (e.g. 3-12V) This way you can have it running flat out during the day and keep it on but very silent through the night. Mine cost around $6.50. The final thing you need is the filter/evaporator element. I'm using an original spare part, model HU4136/10. These cost around $6 and I replace them once to twice a heating season. Total price will depend on your print settings; I've used between 86g (vase mode) and 250g of filament for my prototypes. For printing please be aware that the body part needs to be watertight. My first print showed minor leakage, so I recommend turning up the extrusion factor. My second print (the grey one) was even printed in vase mode; seems the Prusa i3 MK3 produces watertight parts best in this mode. Of course, the walls are very thin here, even though a used an extrusion factor of 120% but as I handle it with care this is not an issue for me. Hope this is useful for some of you; if you want to modify my model feel free to do so, and I'd be happy about a comment with the link to your remix. Please apologize some minor flaws in the model; I've designed everything in Tinkercad. This is for sure not the best tool for such projects but at the current stage the easiest one for me to use.
With this file you will be able to print humidifer evaporator with your 3D printer. Click on the button and save the file on your computer to work, edit or customize your design. You can also find more 3D designs for printers on humidifer evaporator.
