Hugo toy car
thingiverse
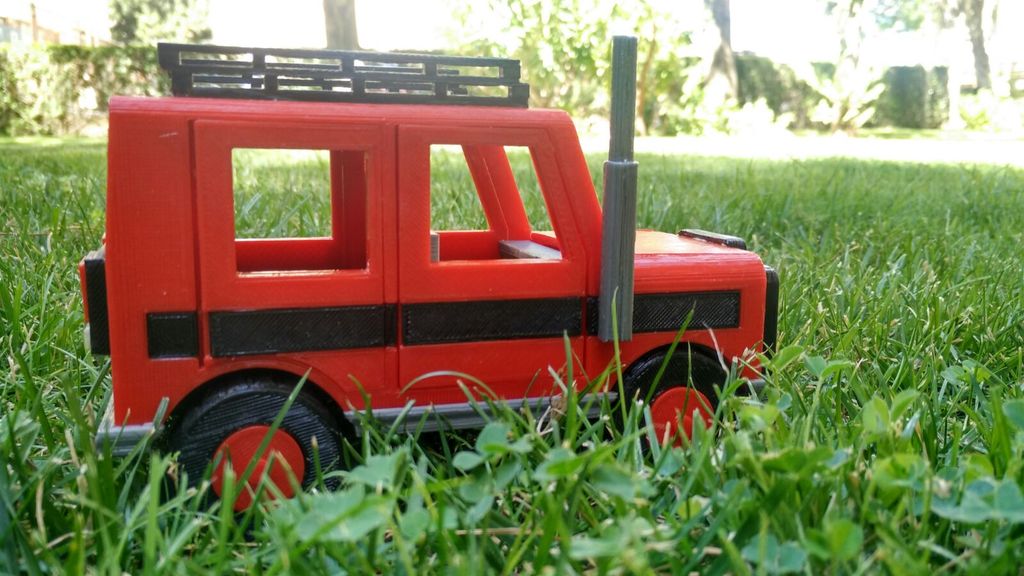
Human: #Hugo Toy Car ###v 1.0.0 #### Mechanics Linear bearing LMU88 is used x2. #### Printed Parts ##### Wheels Axis x2 Wheel Hook x2 Tire x4 Rim x4 ##### Spotlight Frontal White Spotlight x1 Back White Spotlight x1 Back Red Spotlight x1 ##### Bodywork Car Roof x1 Trunk x1 Lateral left x1 Lateral right x1 Front doors x1 Back doors x1 Frontal x1 Exhaust Pipe x1 Bumper x1 ##### Inside Inside components are printed x1. ##### Decorations Roof x1 Grill x1 Lateral Embellisher Left x1 Lateral Embellisher Right x1 Back hook x1 ##### Luggage Luggage pieces are designed for storage x5. #### Assembly Strong adhesives such as PVC glue, silicone, or strong glues are recommended for assembly. Doors cannot be opened in this initial version. Instructions: 1. Attach lateral embellishers to doors and car sides. 2. Join bodywork pieces except side bumpers; attach roof, back hook, spotlights, and grill. 3. Apply varnish for strength and let dry while attaching linear bearings to wheel hooks and interior components. 4. Combine inside with bodywork and apply additional varnish layer. 5. Attach tires to rims, then to axes, inserting into linear bearing and gluing second wheel. #### Recommendations Be patient during assembly. Sand printed pieces before gluing for improved adhesion. Report any defects; they will be addressed promptly. More vehicles are in development.
With this file you will be able to print Hugo toy car with your 3D printer. Click on the button and save the file on your computer to work, edit or customize your design. You can also find more 3D designs for printers on Hugo toy car.