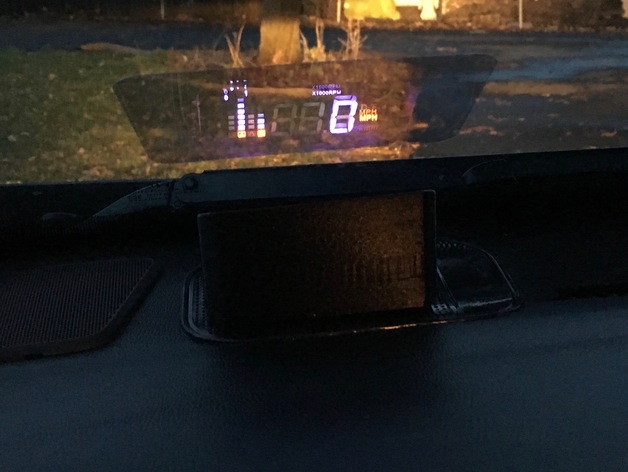
HUD shroud (Jeasun HUD X5)
thingiverse
I've had a chance to use it for a while, so I updated with a shorter version. Unfortunately, the taller version blocks half of the tachometer depending on how your seat is adjusted. Shroud for Jeasun HUD X5 prevents glare from display while driving at night: http://www.amazon.com/gp/product/B01AJQ4VVI The HUD fits snugly into the shroud; press the rocking switch to install. A hole in the bottom of the design makes removal easier. I installed it on my 2015 Honda Fit. Here's how I routed the cable: Pull out the speaker and feed the cable through from under the dash. Attach a zip tie about an inch or two from the end of the cable. Fold the end of the zip tie over and feed it back under the dash until the folded zip tie protrudes. Grab it with needle-nose pliers, but be patient – you'll need to push and pull to get the cable routed. Don't force it; take your time. Go back under the dash and route the cable above the steering wheel adjustment. Zip-tie it to other wiring harnesses to keep it away from pedals, but leave some slack on both ends for adjustment and to unplug from your OBD 2 port. Print Settings: Printer: xzy da vinci 1.0 Rafts: No Supports: No Resolution: Any Notes: Walls are 2mm thick all around – it should be easy to print 100% solid on printers with a 0.4mm nozzle diameter. Use a filament that can handle the heat your dash will see in the summer! Use a bridge over cable and switch holes; no supports needed.
With this file you will be able to print HUD shroud (Jeasun HUD X5) with your 3D printer. Click on the button and save the file on your computer to work, edit or customize your design. You can also find more 3D designs for printers on HUD shroud (Jeasun HUD X5).
